

REUPHOLSTERING FOR NEW LOOK
Have you ever wanted to reupholster a bench, chair or maybe even a stool? A few years ago I purchased for my living room a container that was used to house blankets and extra seating for guests. The look of it was perfect for the decor I was going for but as many of you know I like to change out my style often. To do that you have to get creative to save money.
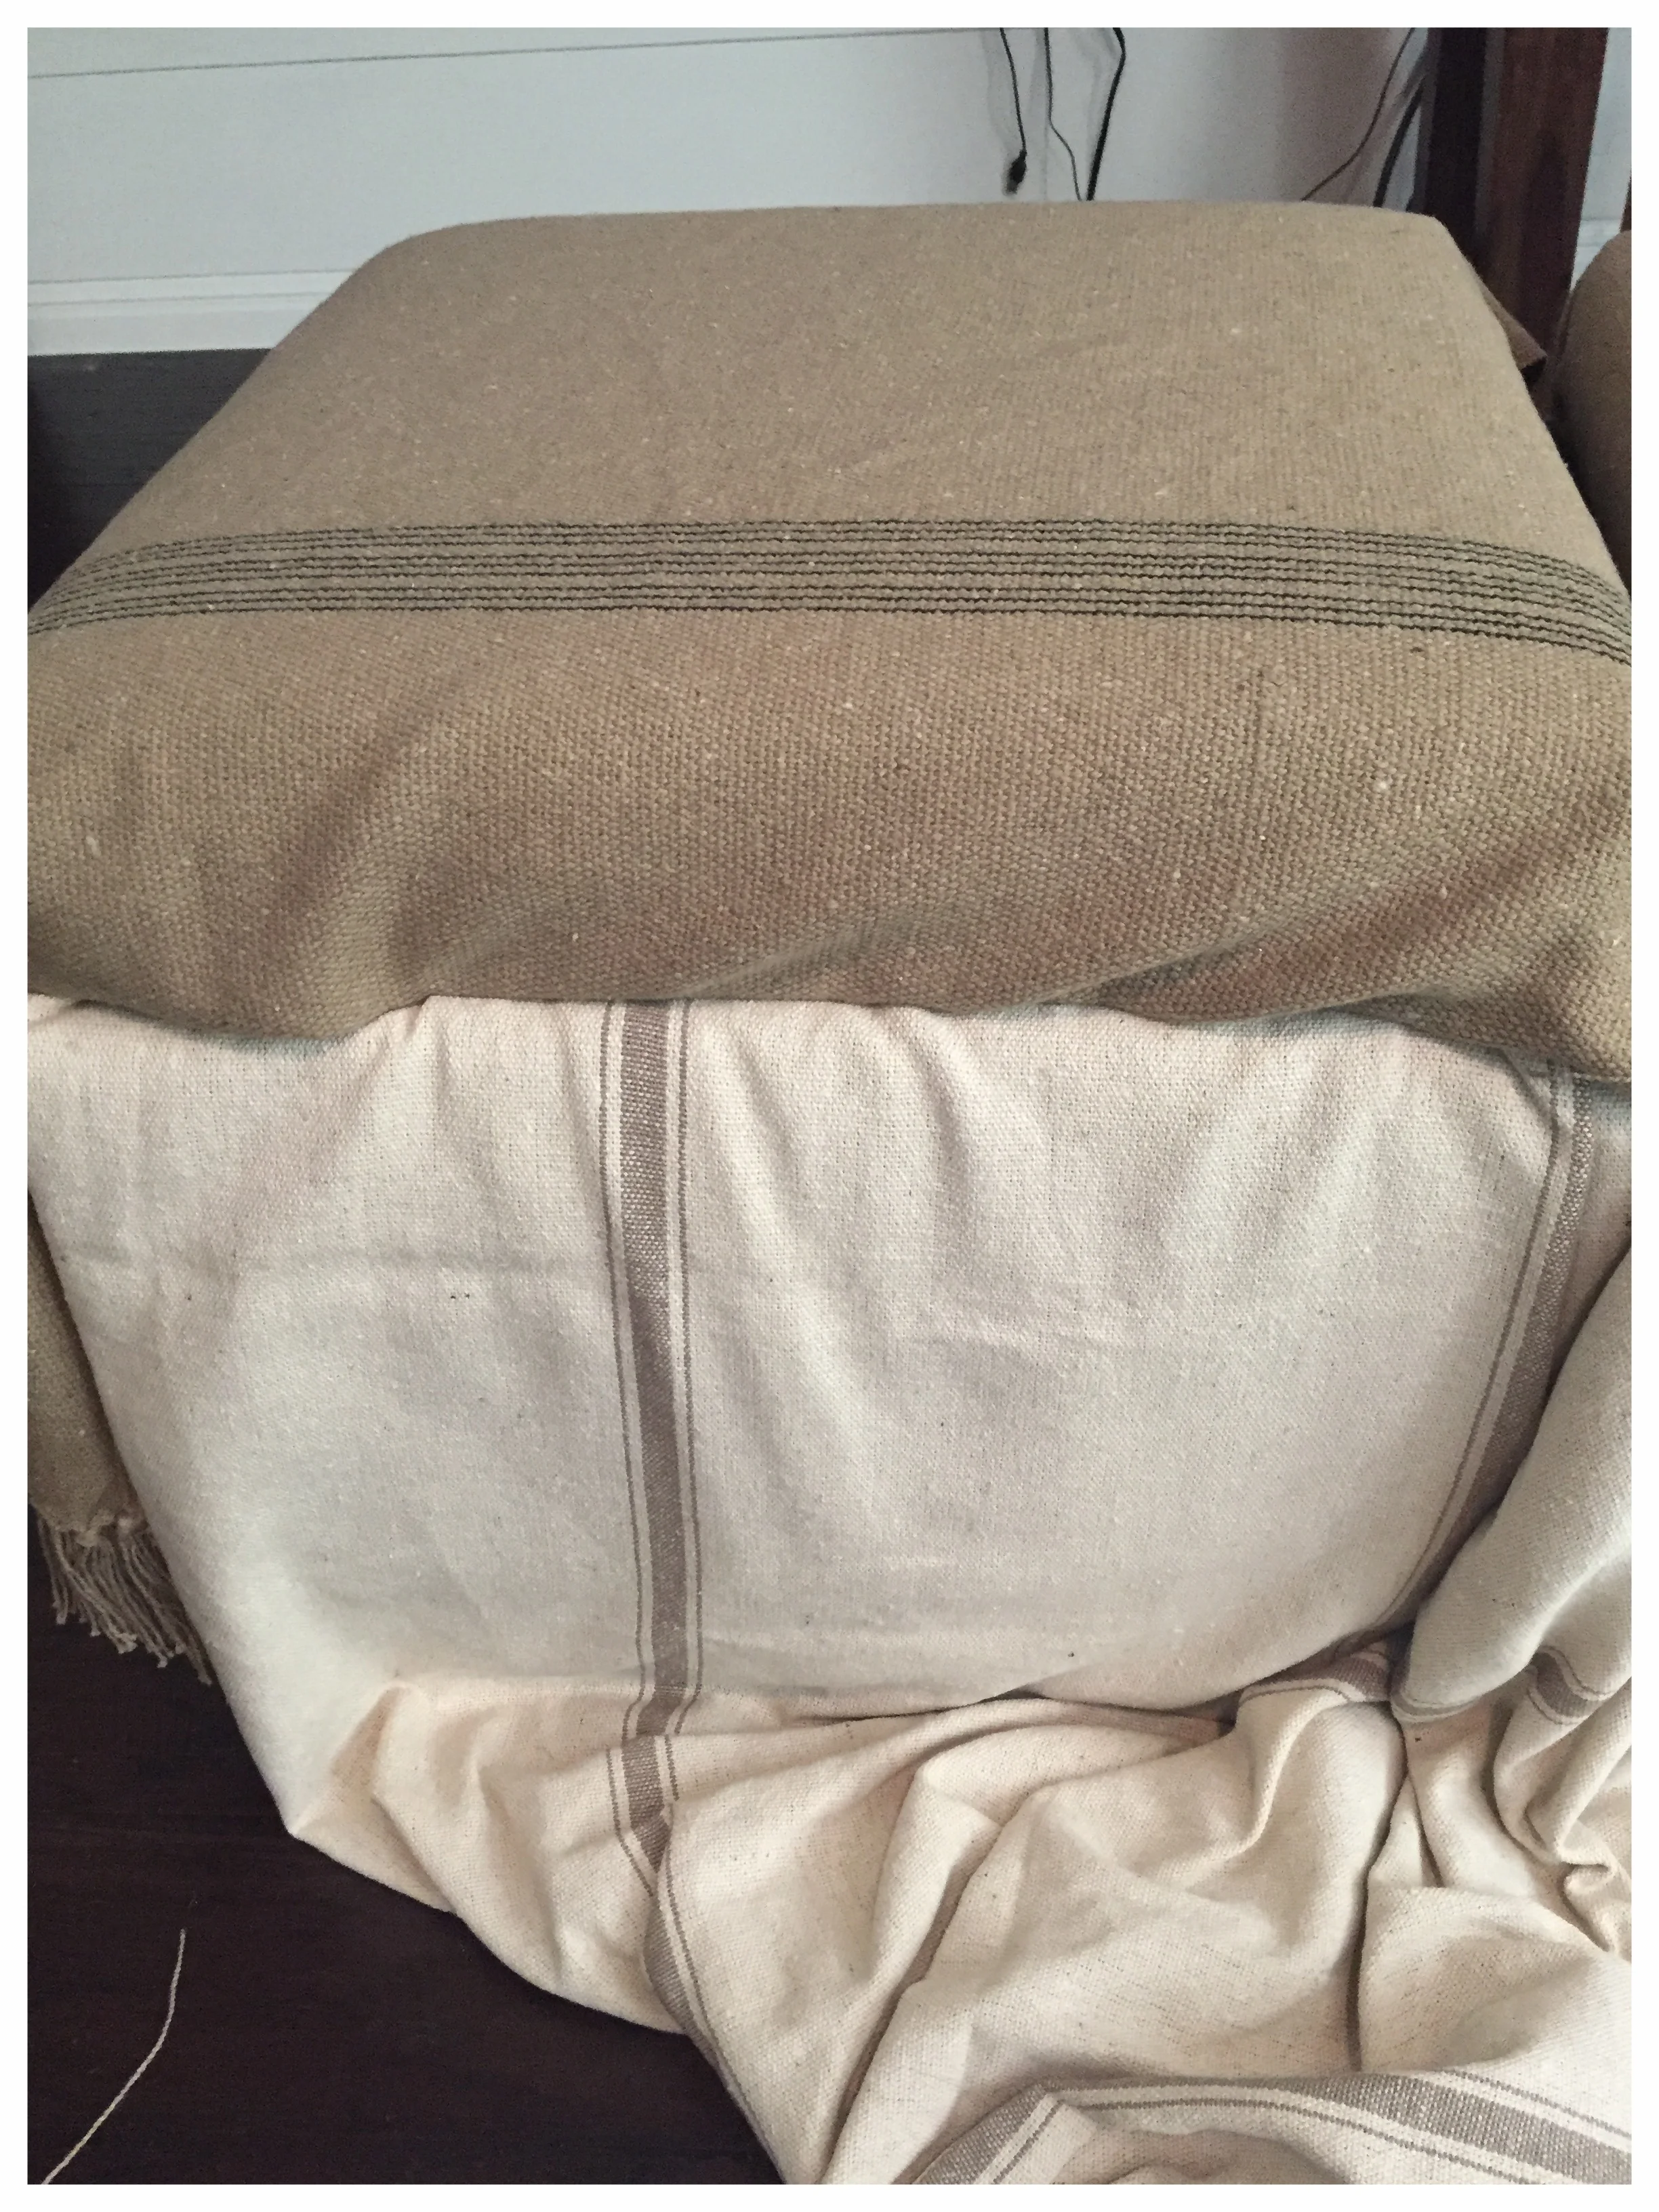
I first began shopping within my home to see what I could use for upholstery. Think outside of the box, no pun intended. I had this blanket that I bought from an online store that sells selected items called, Decorsteals. I love the miscellaneous items they put out for quick purchase. If you want to follow them to see what they have to sell then you'll want to get on their email list.

Here's the blanket I'm using for the top of my container. I also had on hand some feedsack fabric that I had bought from Decorsteals a while back.

If your budget conscience, don't have any fabric on hand, I suggest taking a look at Goodwill, Joann's fabric store or Hobby Lobby. You also might find some really good deals on Ebay, garage sales or online garage sale sites, like facebook.
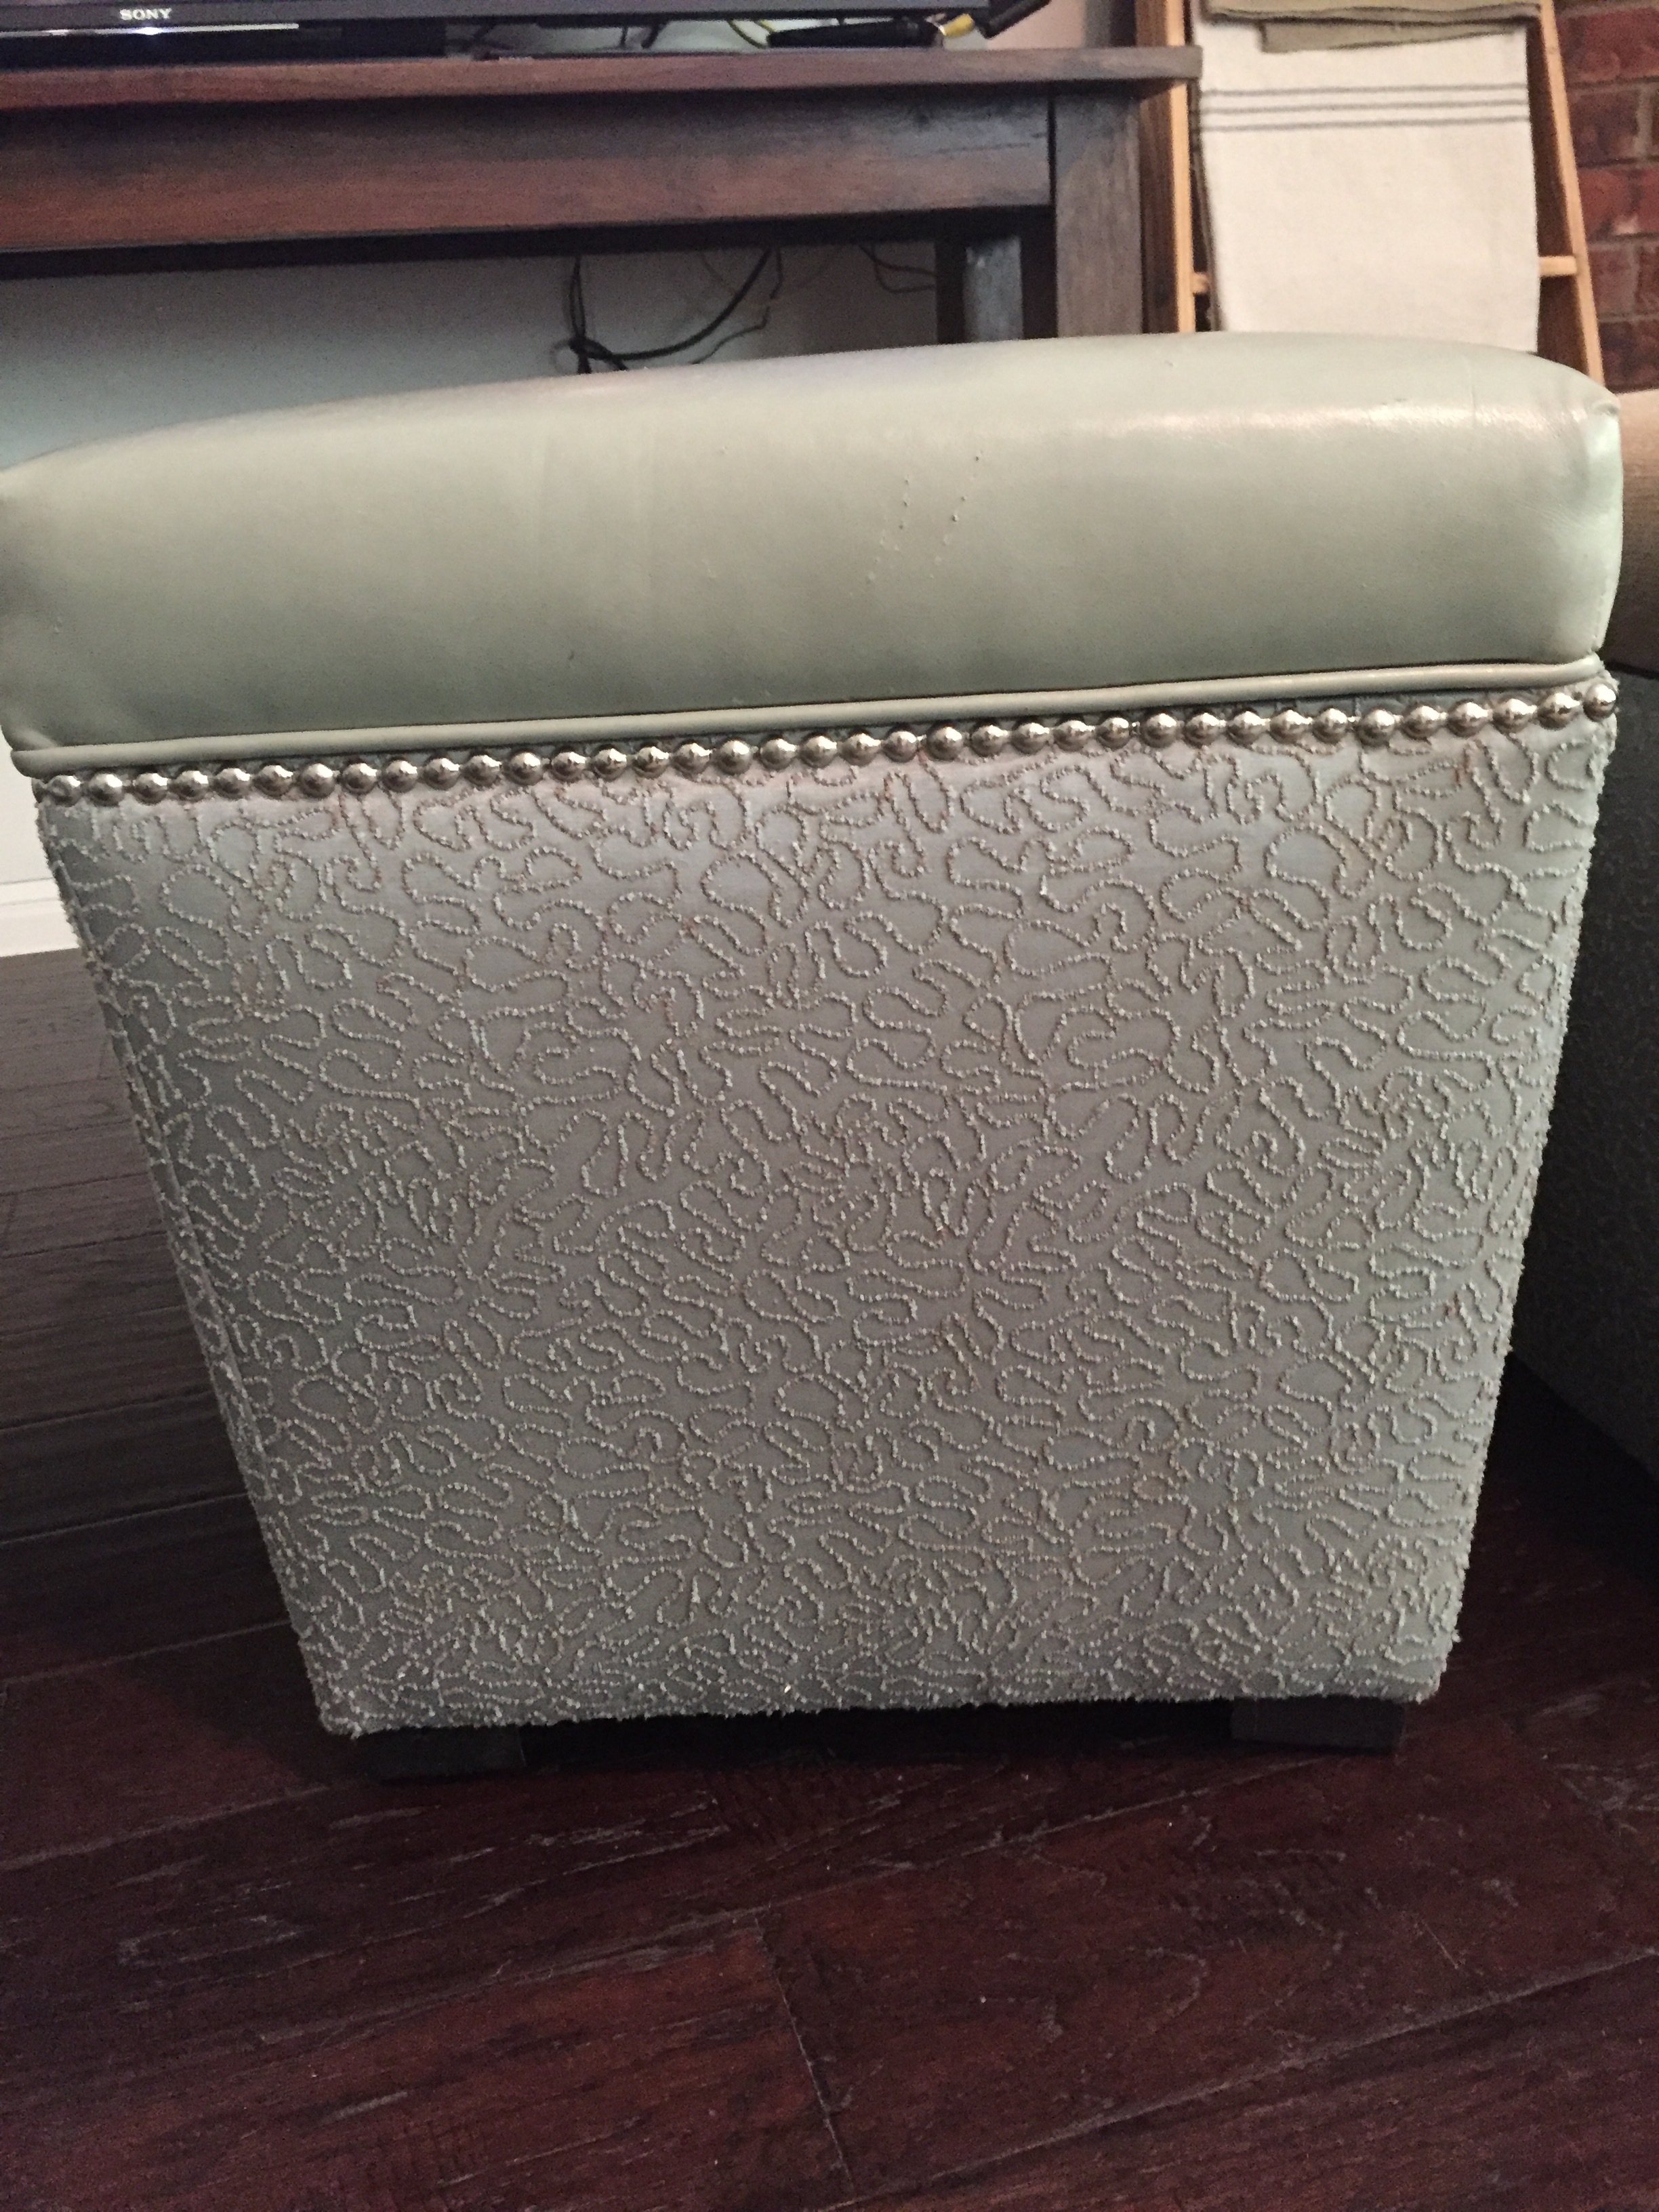
My plan for these containers is to keep the existing fabric on them and just cover it with new. This way if you ever want to go back to the original it will be there. So the Love you more blanket will serve as the top fabric and the feedsack will be the body.
Here's the tools you'll need

Not shown: you might need a screw driver

I used this gun to staple my furniture with. You can find one at target
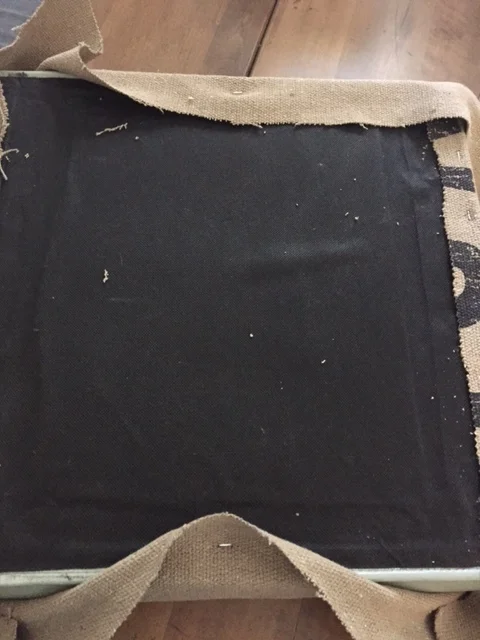
My first step was to take off the lids and then remove the backing along with the upholstery tacks. When figuring out what would work best for the use of my fabric, my goal was to make sure I used up as little as possible. Because of the width of my fabric it was best to keep the stripes going vertical vs horizontal. I also decided to cut the fabric for each side and sew it together. This allowed less fabric to be used.
Measuring your fabric to cut
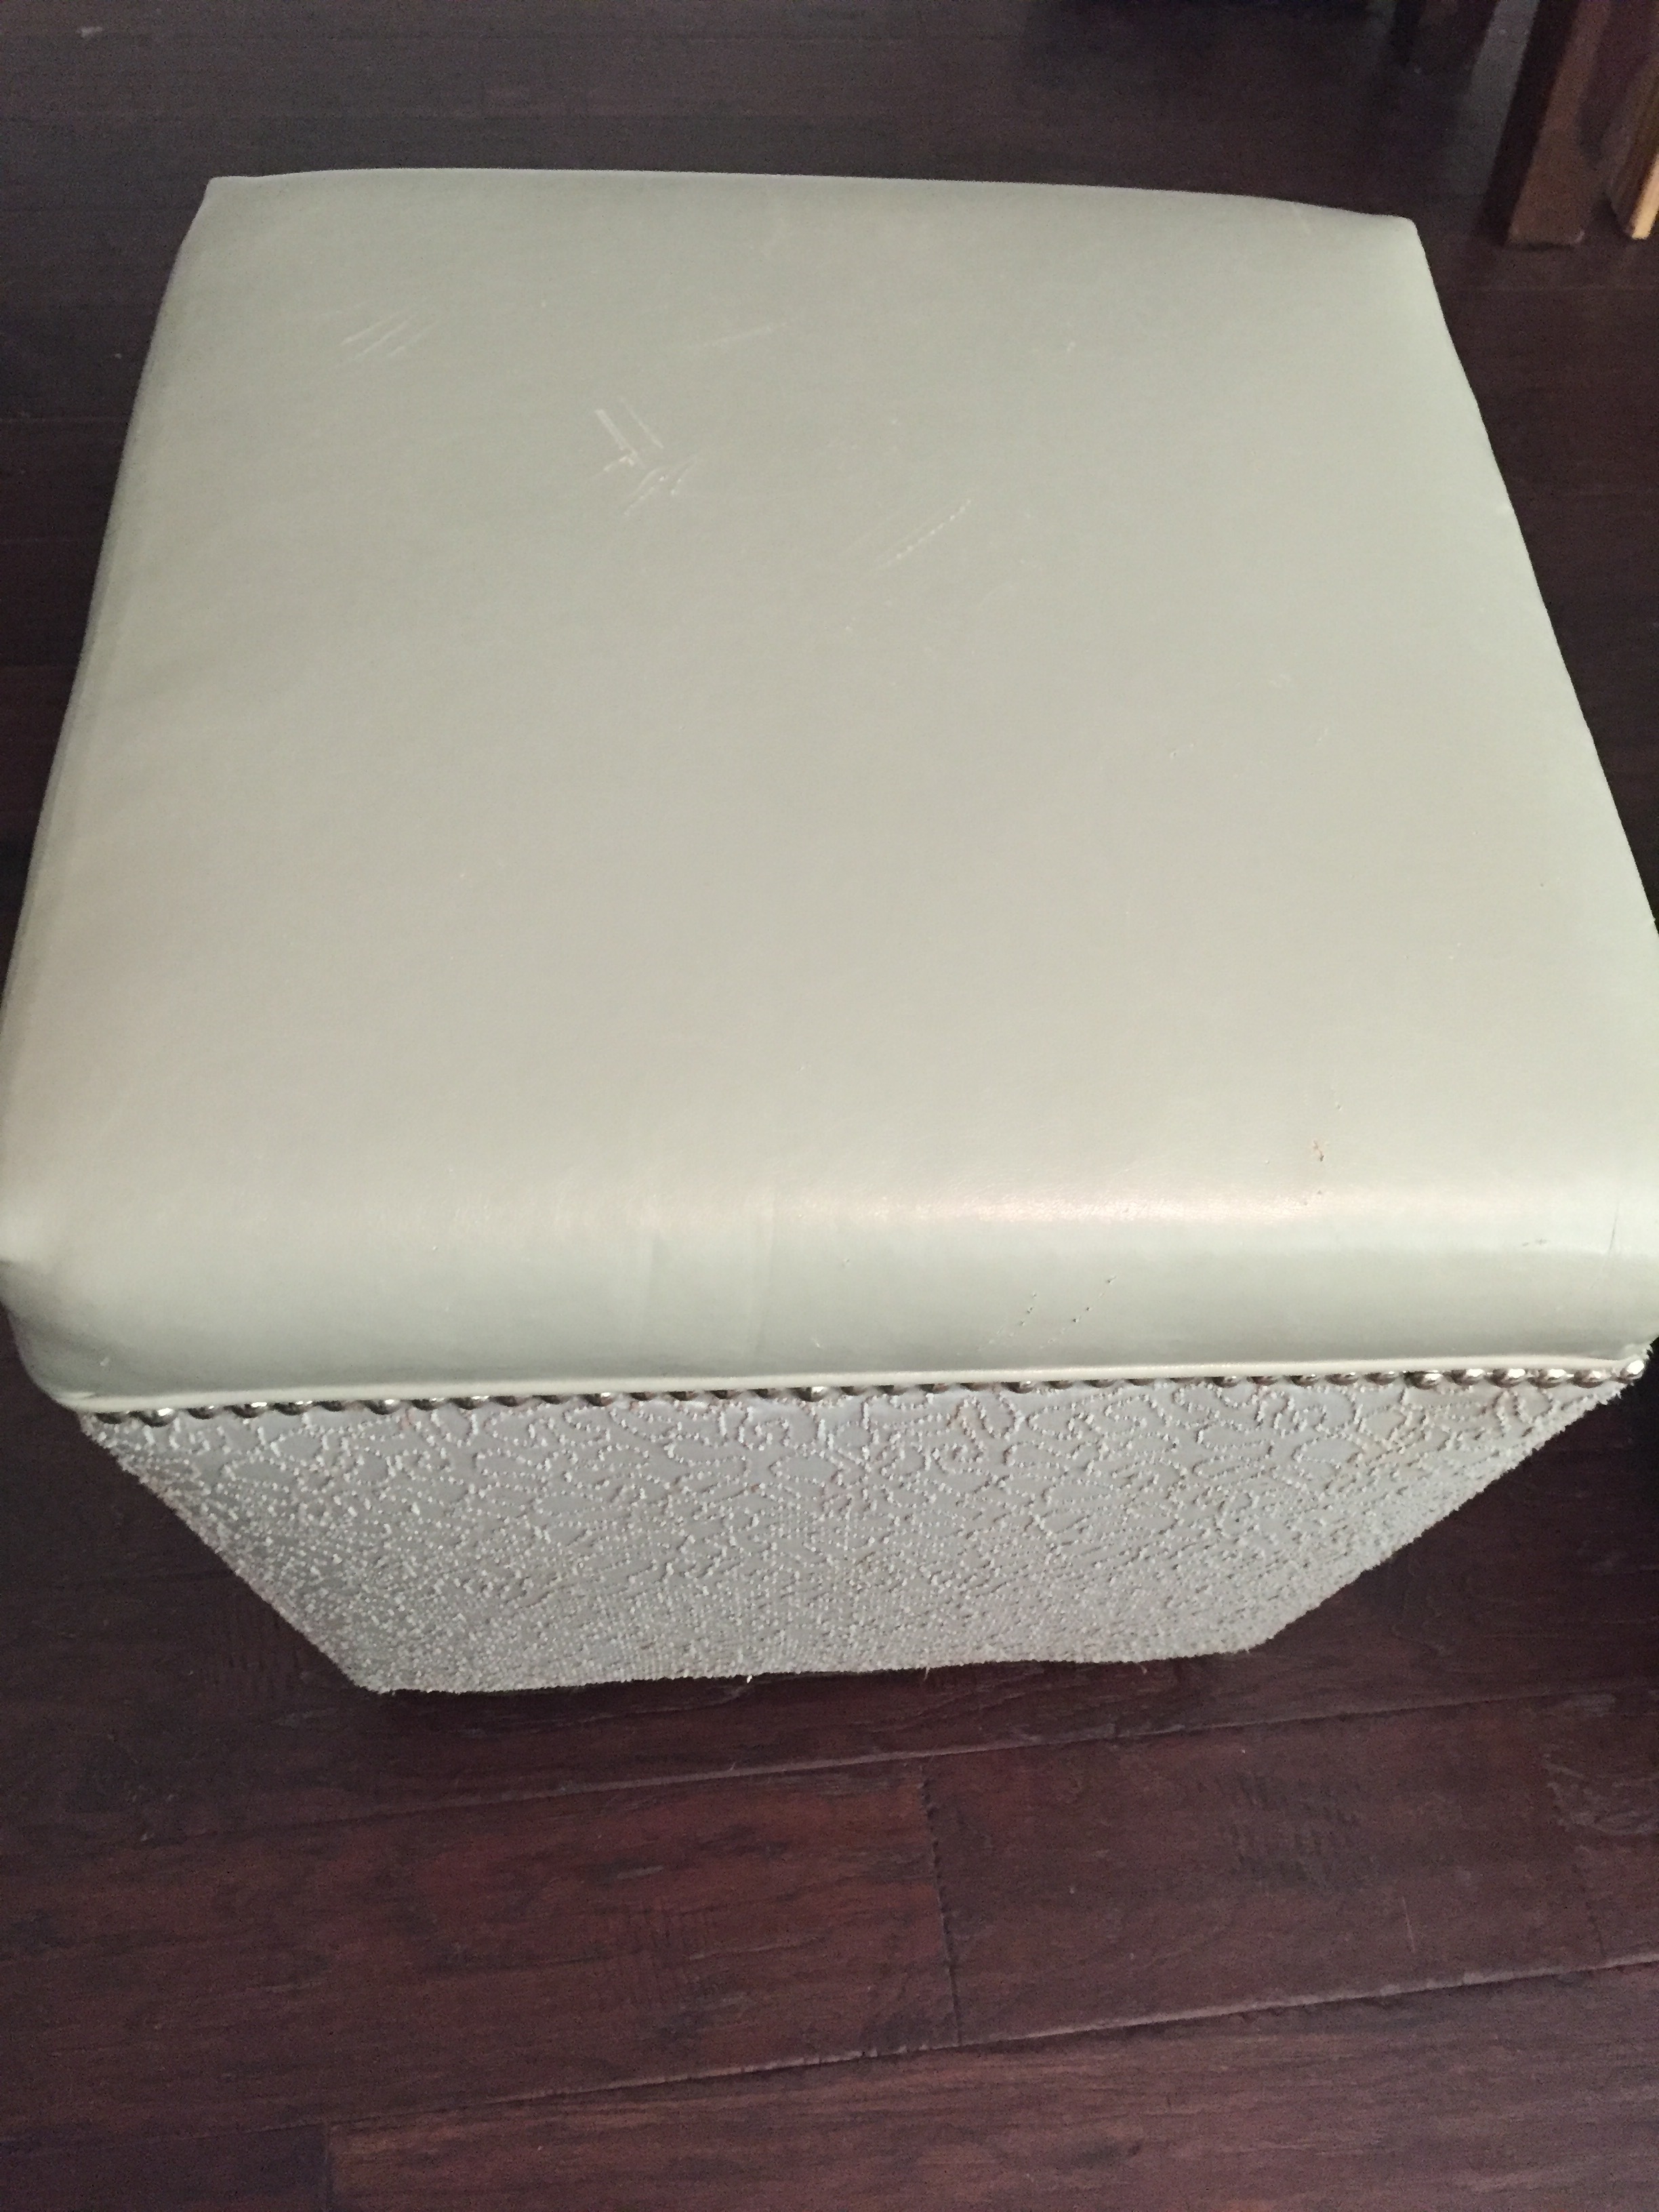
You'll want to measure your container width and length. Add 1" to the overall measurements to the width and length. Example if it measures 20"x20" then you'll have a final measurement of 21"x21". The extra will give you 1/2" to turn fabric and sew your edges. For the lid, there won't be a need to turn in the edges. I've used pinking sheers to keep the edges from fraying. If I turned the fabric it would cause the lid to not shut very well because of the thickness it creates.

Straight line
I like to use a T square ruler so that everything lines up straight. It's best to align the fabric's side that hasn't been cut against an edge of the table. This way you have another straight edge along with your ruler's. You can buy a ruler like mine at homedepot

Preparing to cut
I've marked my cut line. Here I've decided to use pinking shears to cut the fabric to keep the end product from fraying. You can purchase the scissors at Walmart.

LID FABRIC
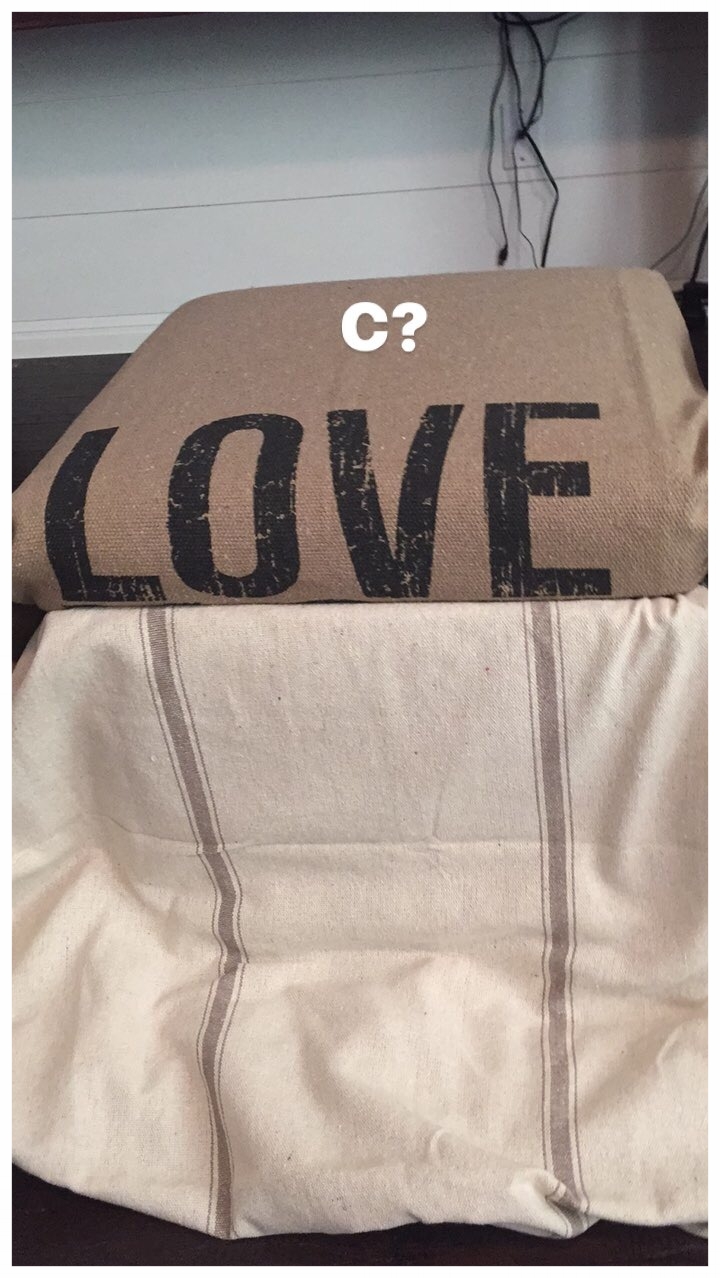
This is the love you more blanket. I've cut off the more part and will be using the "LOVE YOU" for one of the stool's lid. The second stool will have the stripe going across.

Stapling any fabric to furniture is easy. First place the fabric for it's final placement. Here I didn't turn my ends under instead kept them out. This is why I used the pinking sheers so it would cut down on the fraying. Start by stapling one side in the middle, on same side staple toward ends. So you have 3 staples, middle and ends. Next go across from the side you just stapled and do the same thing to that side as you pull your fabric taught. Finish off that side with more stapling between the 3 staples already done. Continue to the rest of the other sides. Corners will be folded in and stapled.
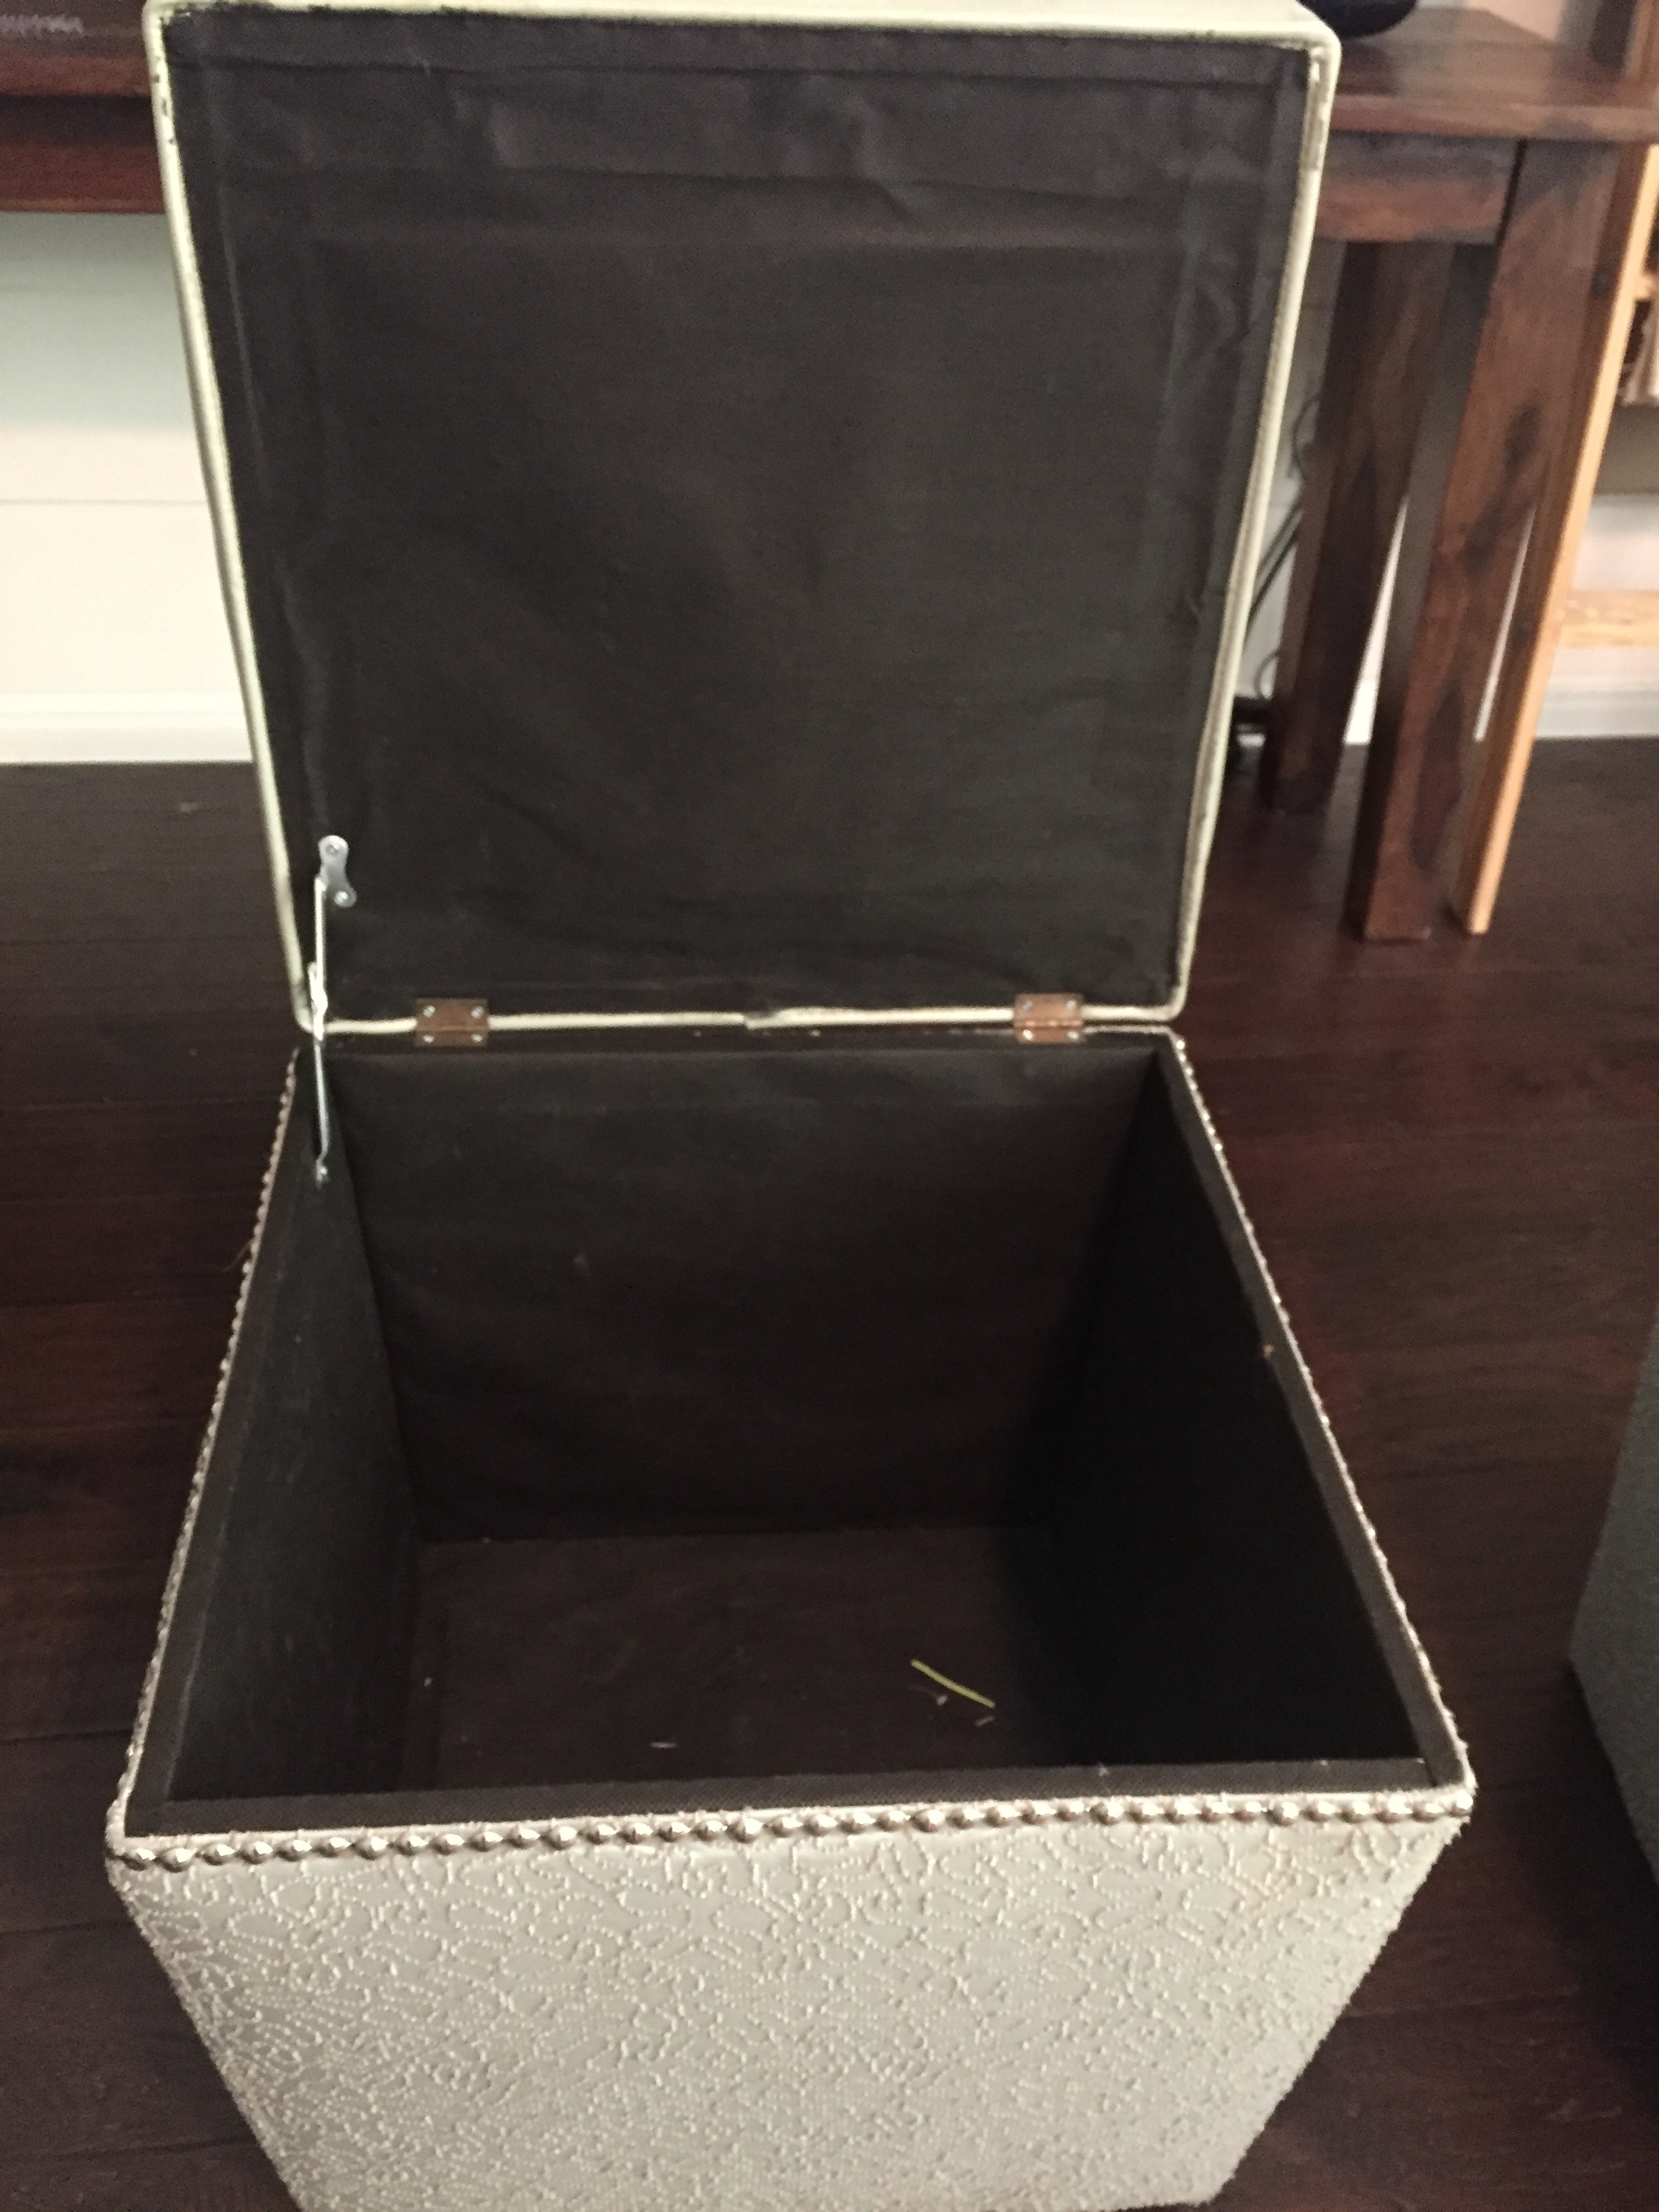
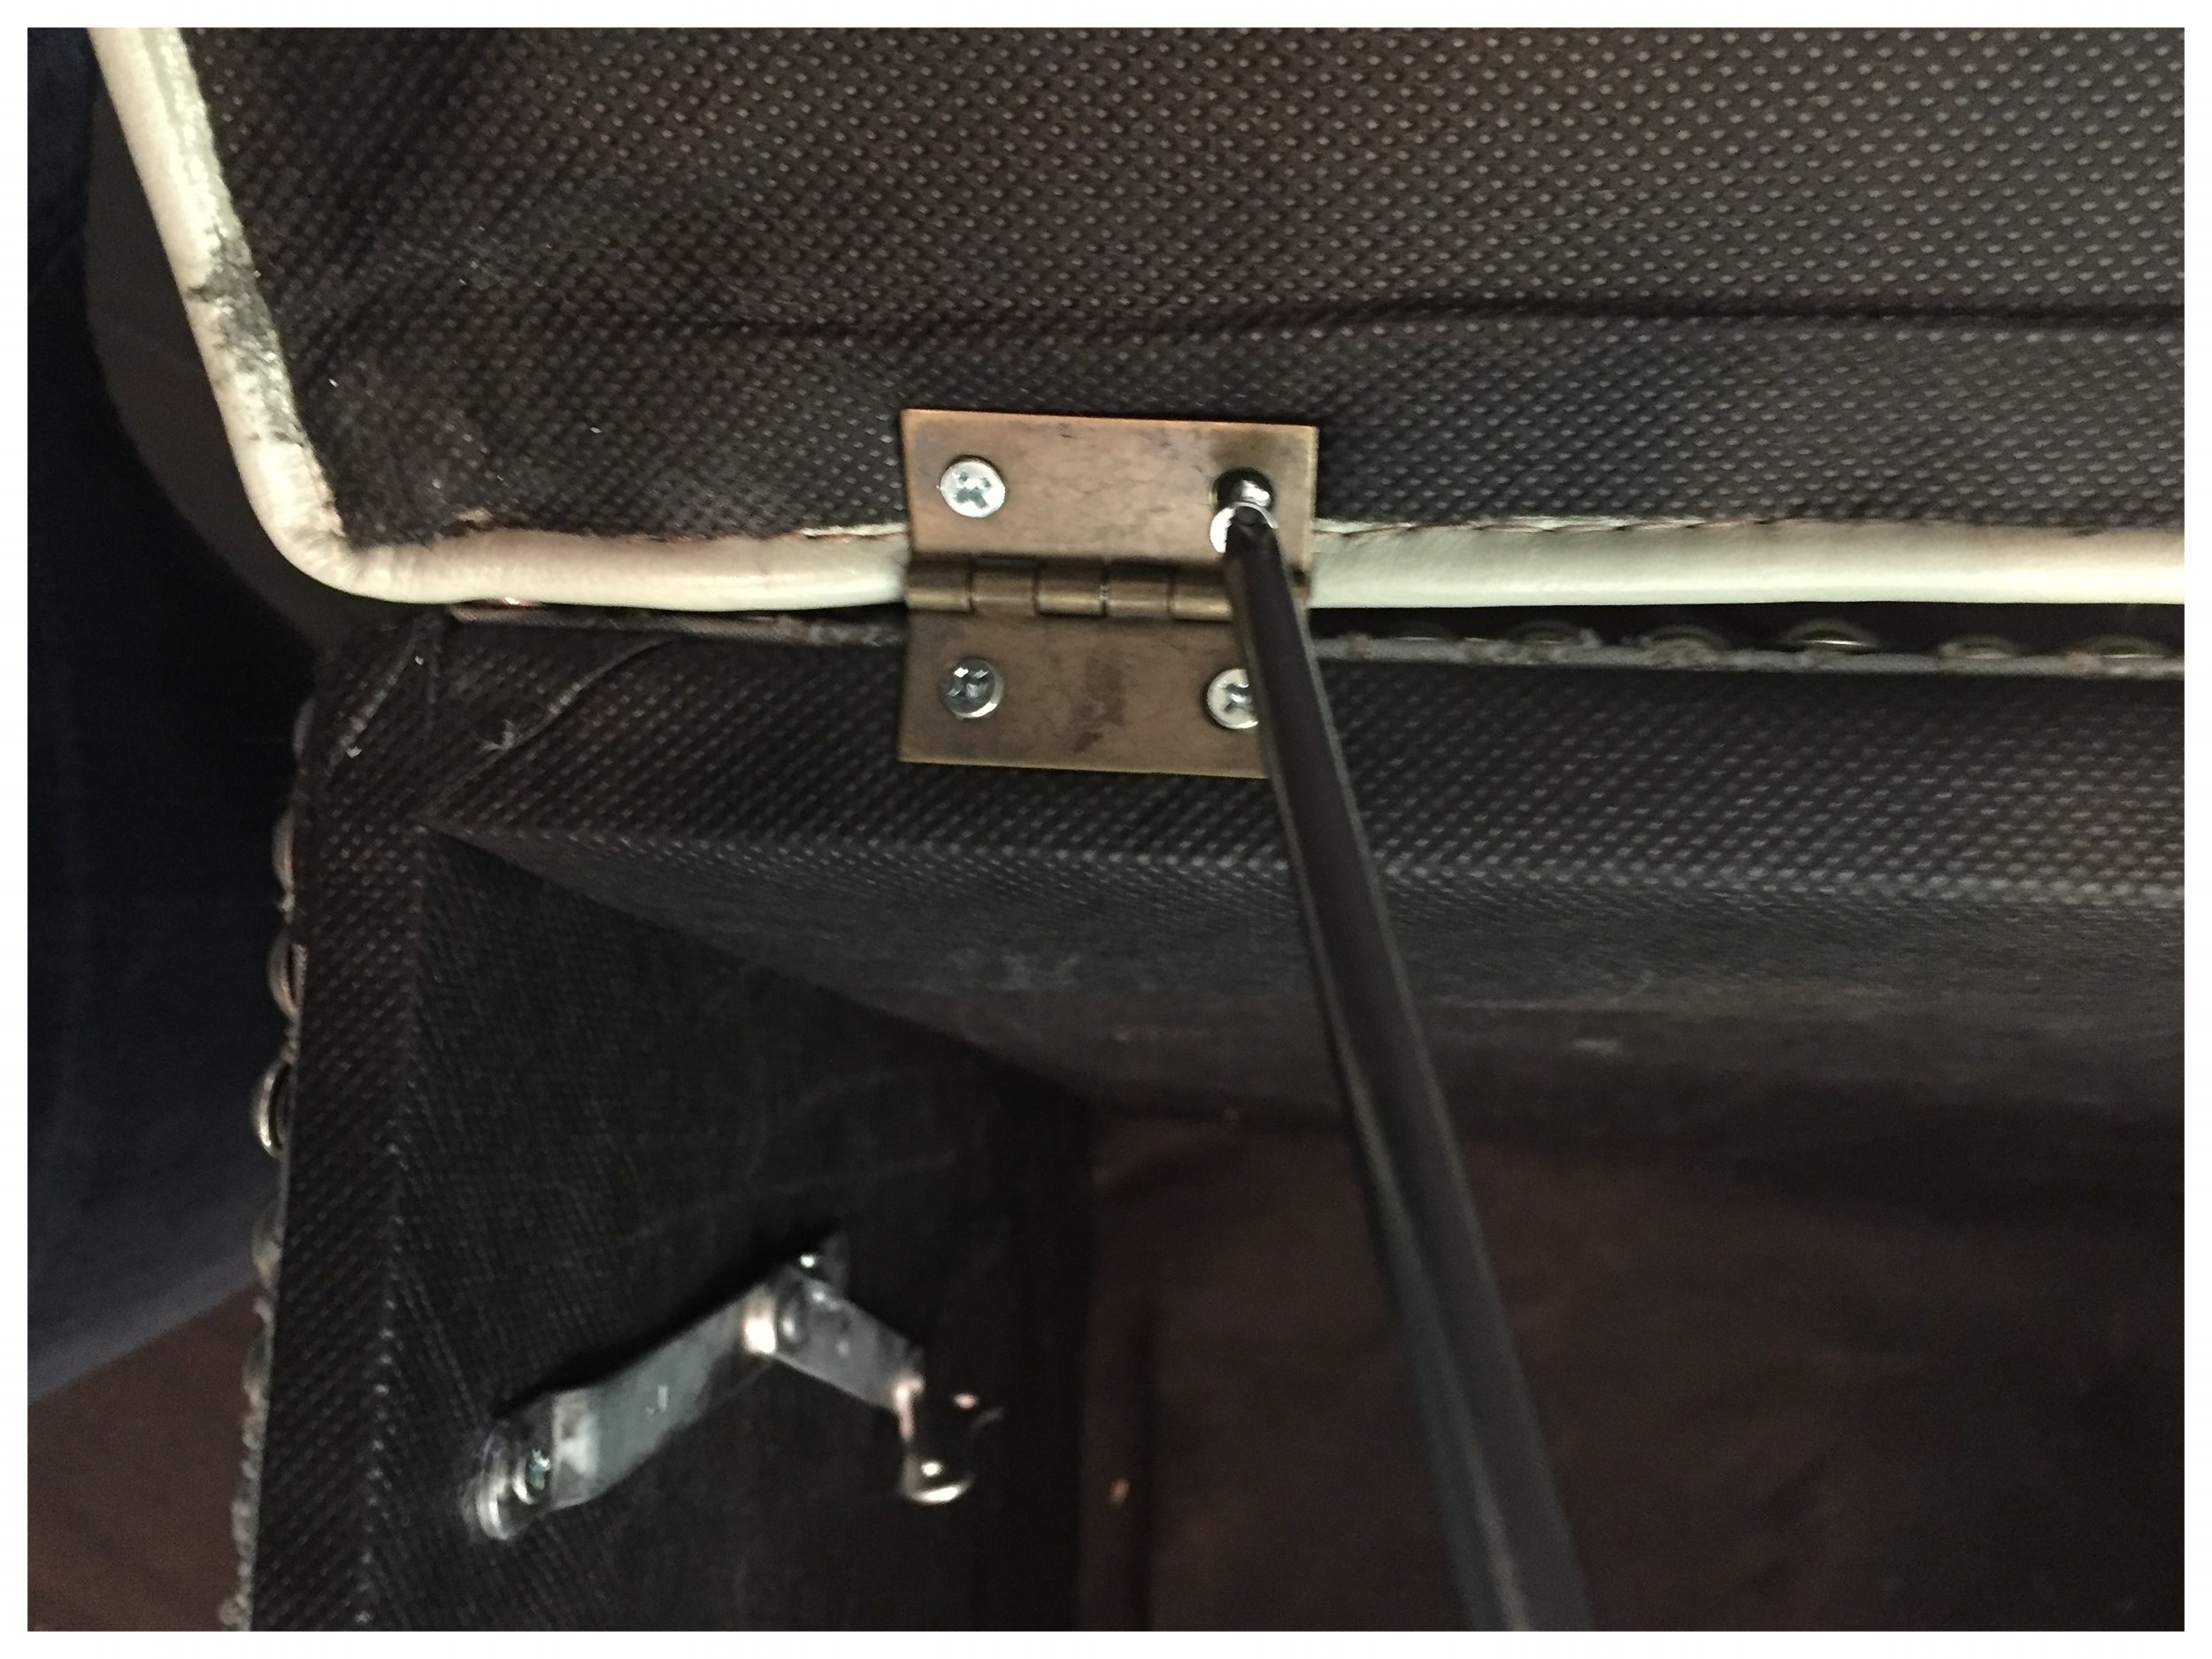
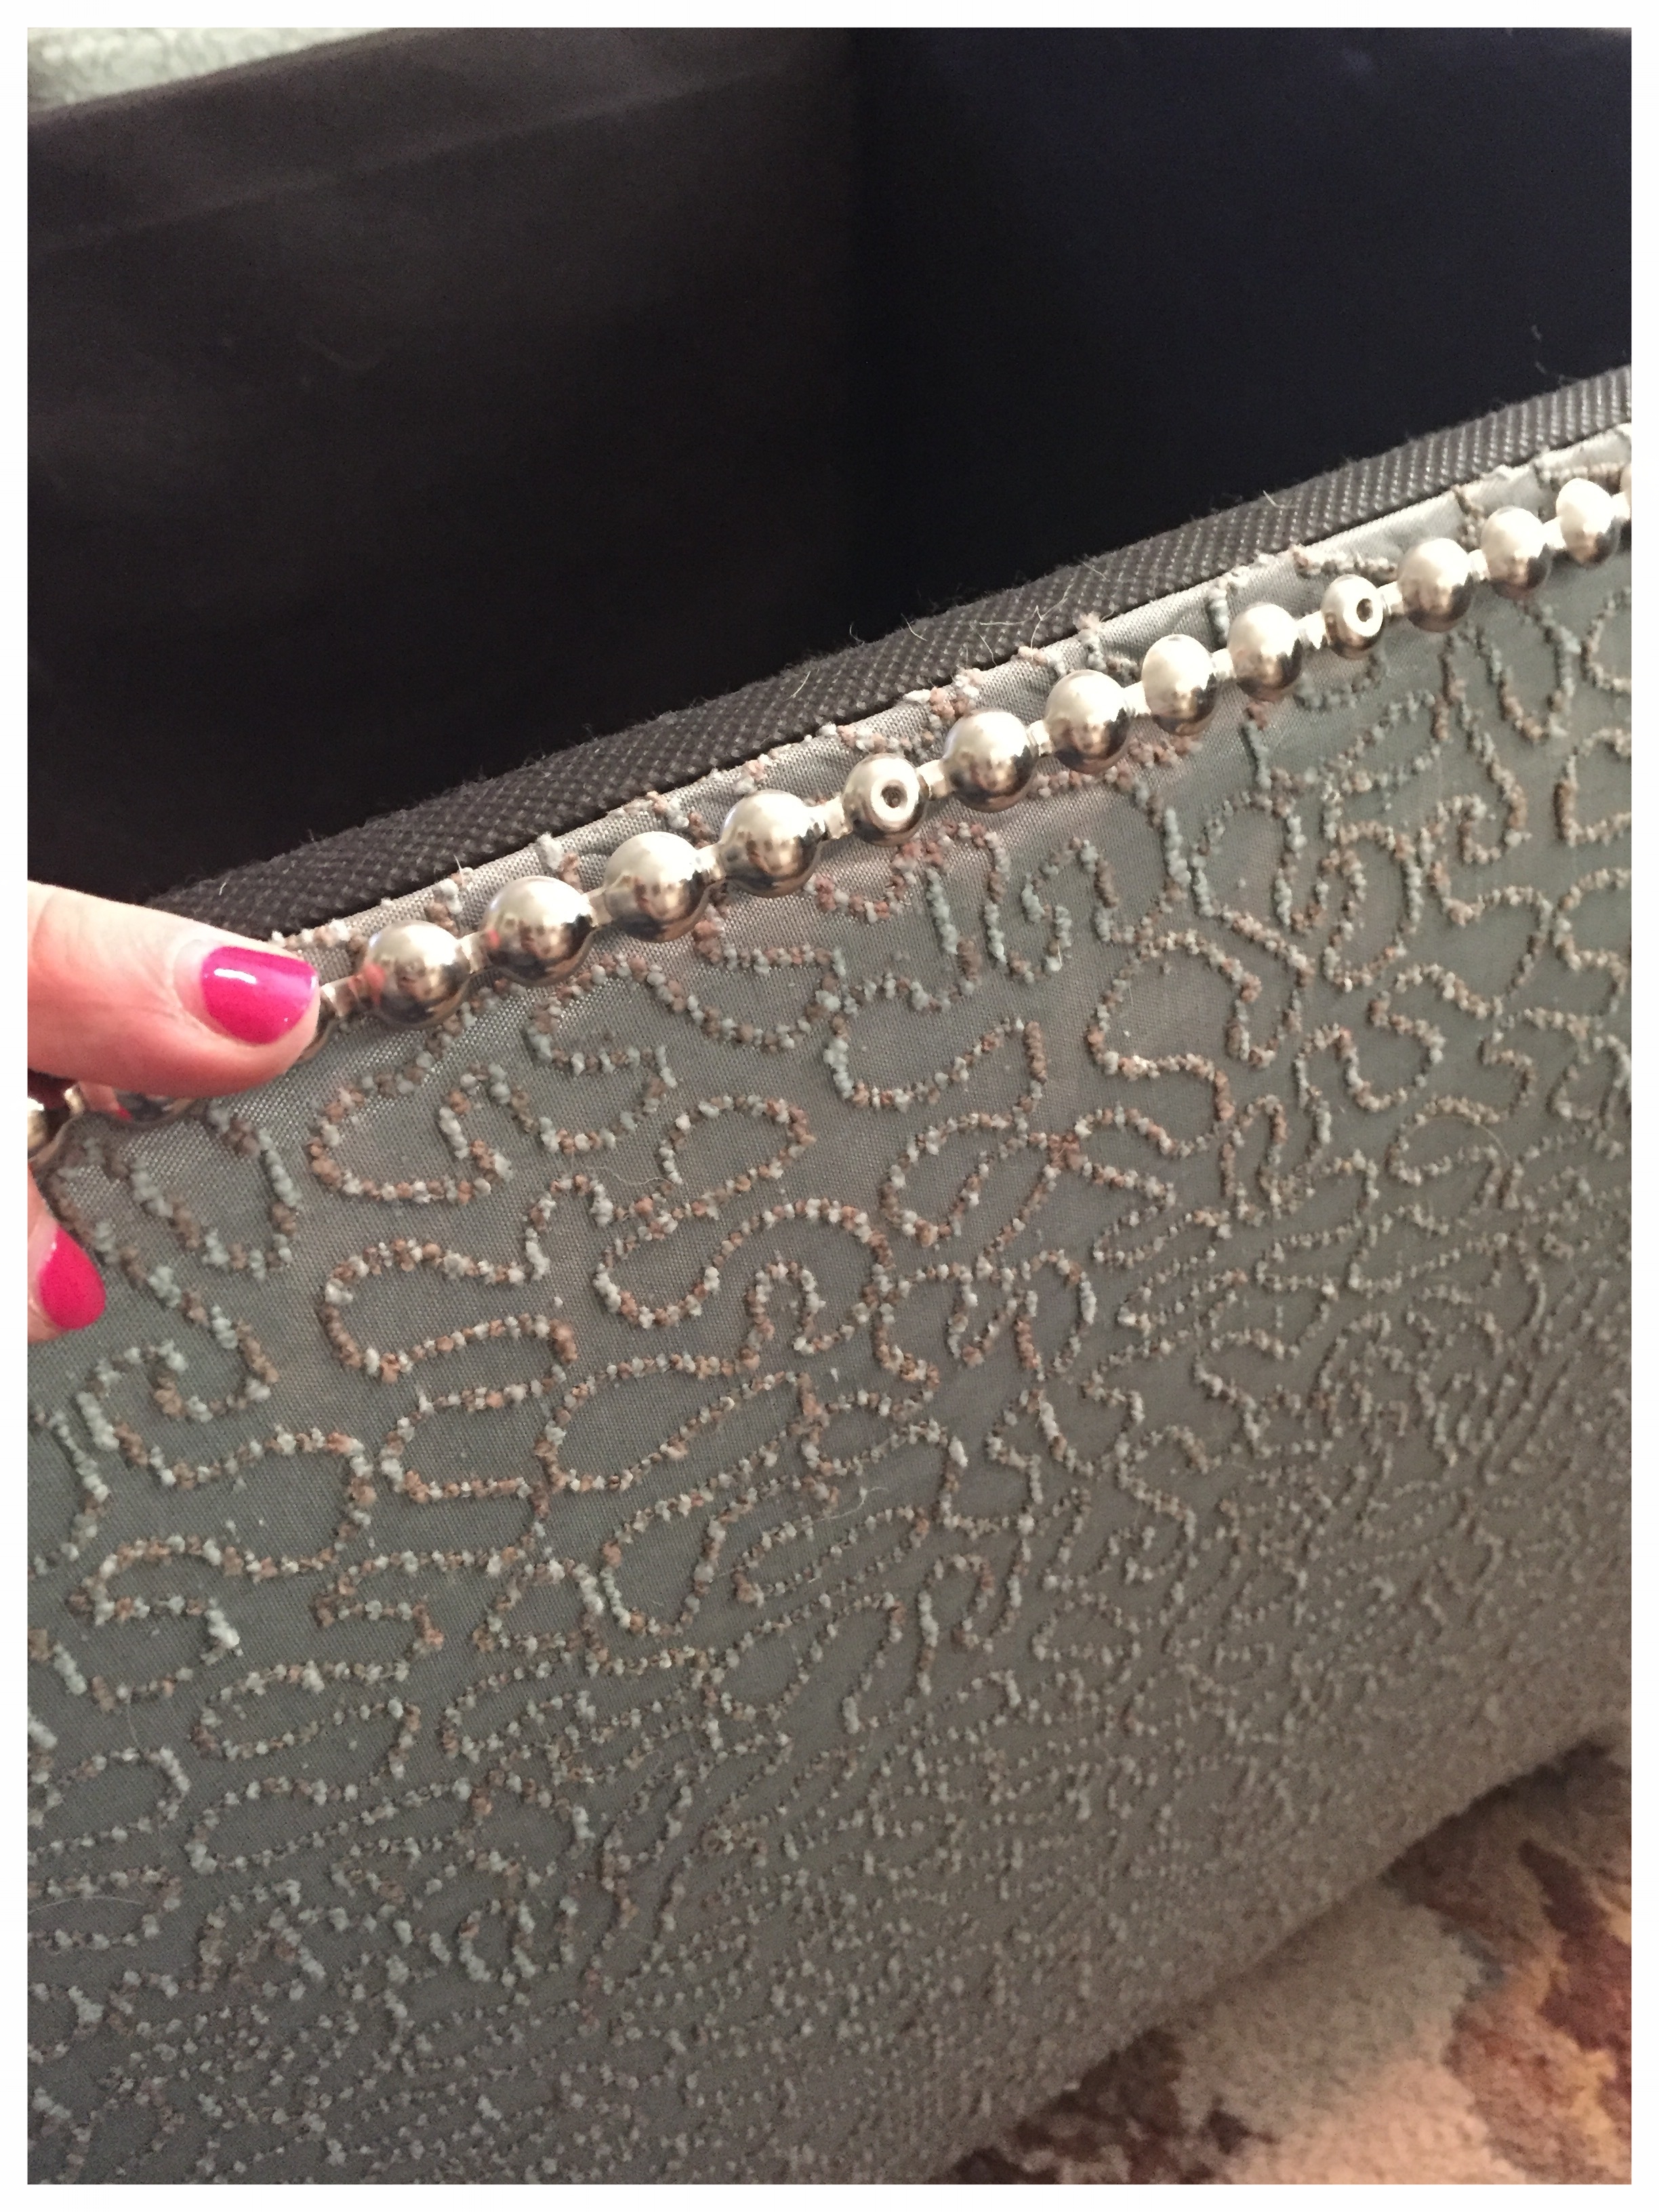
Tip for when you have hinges. Before you cover up the holes with fabric and staple it down, mark your holes. You can do this by using a pen or like I did use the screws. This will save you time when you go to put hardware back on.
Finishing the stool's body

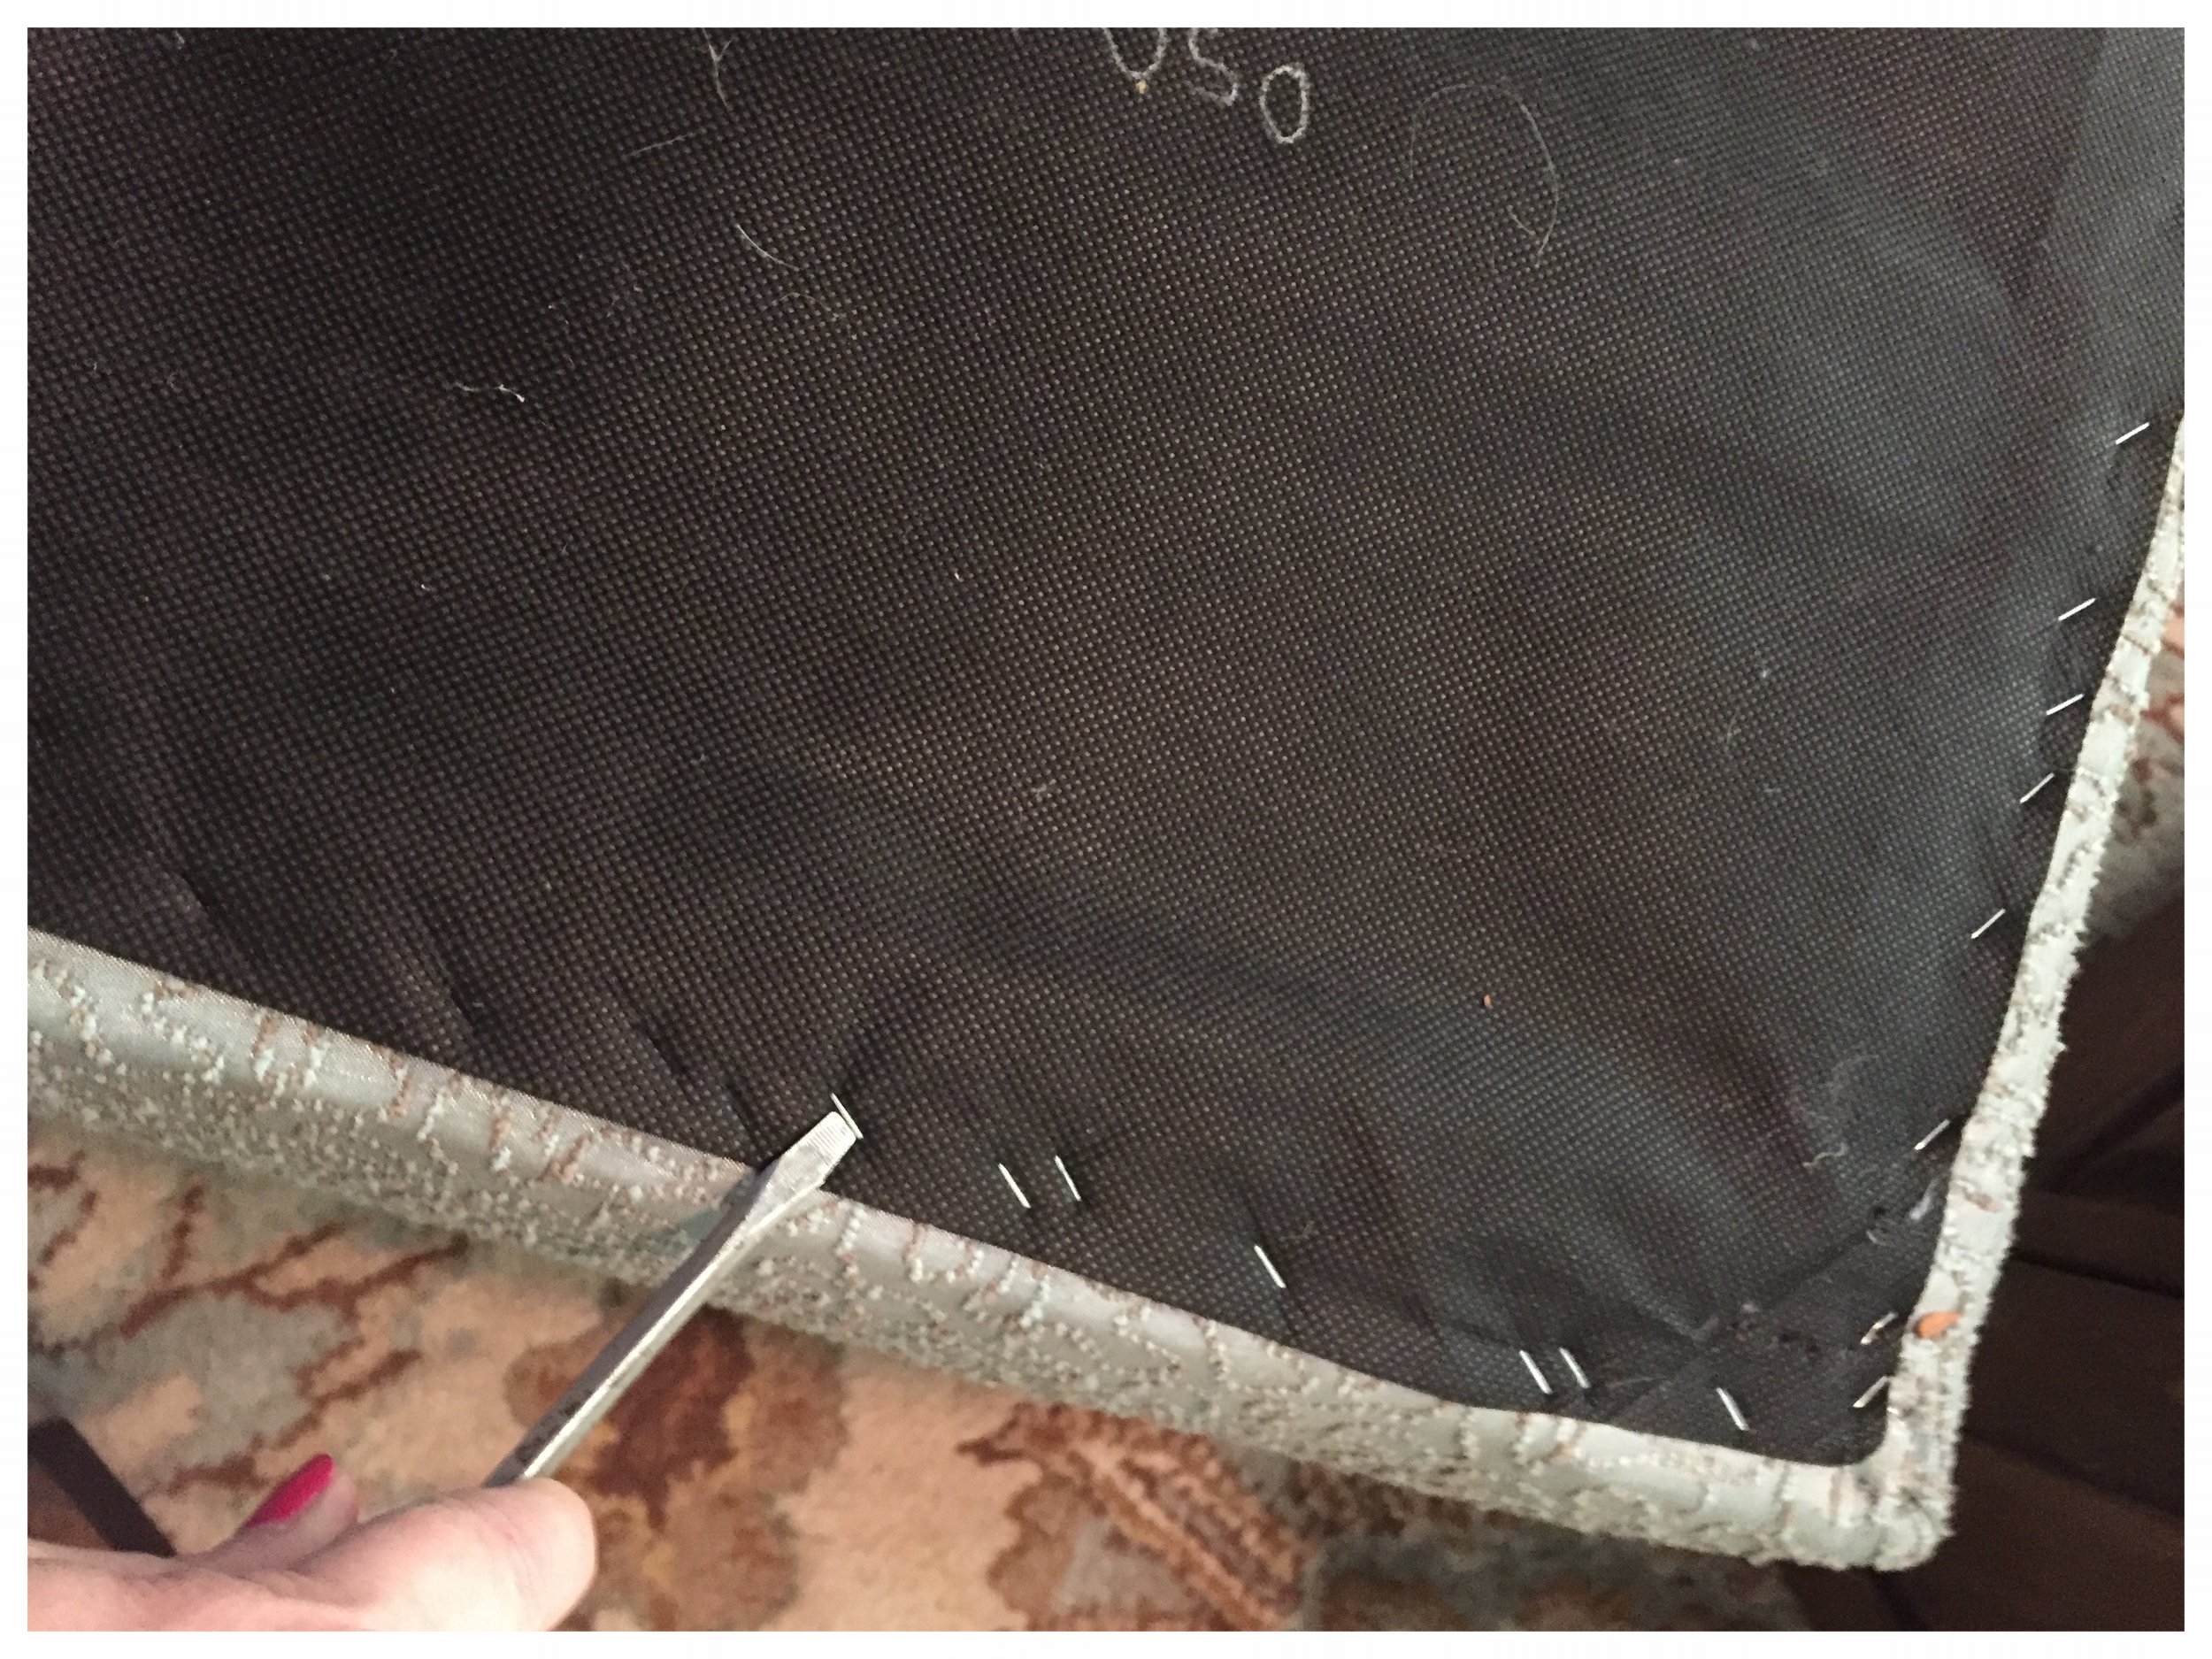
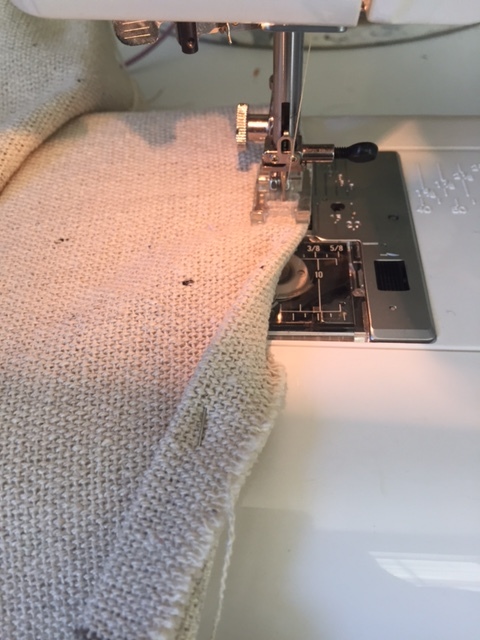
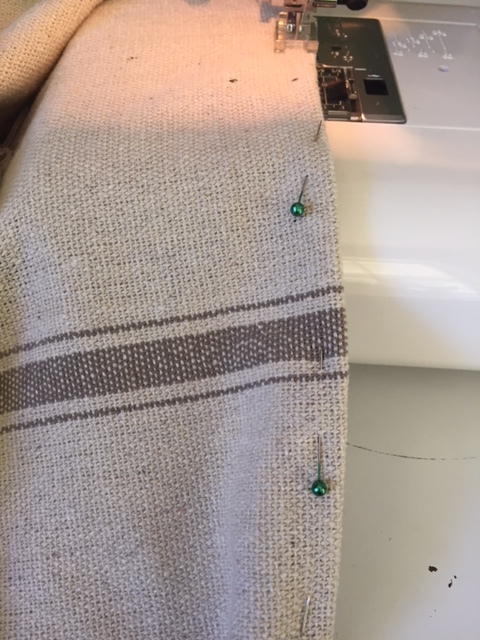
Fitting the fabric to the stool is a must before you start sewing. I didn't realize that the container was actually not a square but it angles out more towards the top. So I'm glad I did a fitting before just sewing the pieces together. You can see in the picture that it gets tighter towards the tops. When I go to sew this I'll slowly sew it at an angle to match the shape. It's best to sew along the pins where you pinned it. Think of when you go in to get your dress fitted to your body you're doing the same thing here.
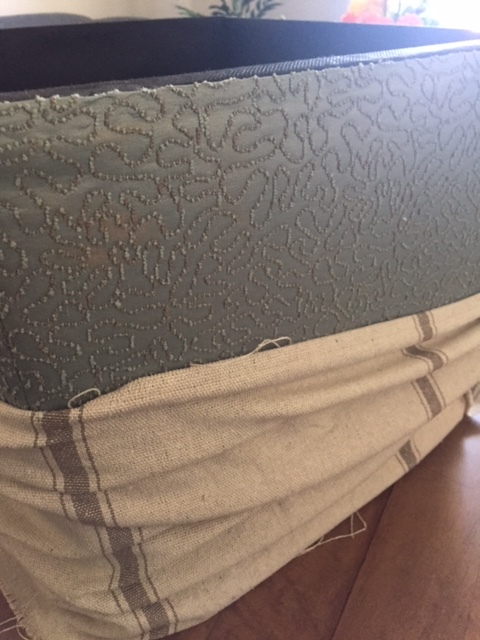

Once you've sewn the fabric together, now it's time to staple it to the container. This is where I forgot to take pictures. ugh! So let me explain; I stapled the fabric like I did the lid. At the bottom of the container I didn't worry about the edges of the fabric because it was going to be covered by the cover I took off at the beginning. Inside the container's edge I did turn the fabric in for a finalized clean edge since I wouldn't be covering. (See picture above)


Last, I went to Lowes and bought some swivel casters and added it to the bottom of my containers. The most expensive part to redoing these containers/stools were these casters. I think it was worth it because now guests can just roll up the stools to sit within the living room without having to pick them up and place it. Also my floors are saved from scratches! I love the final look that these ended up having.


