
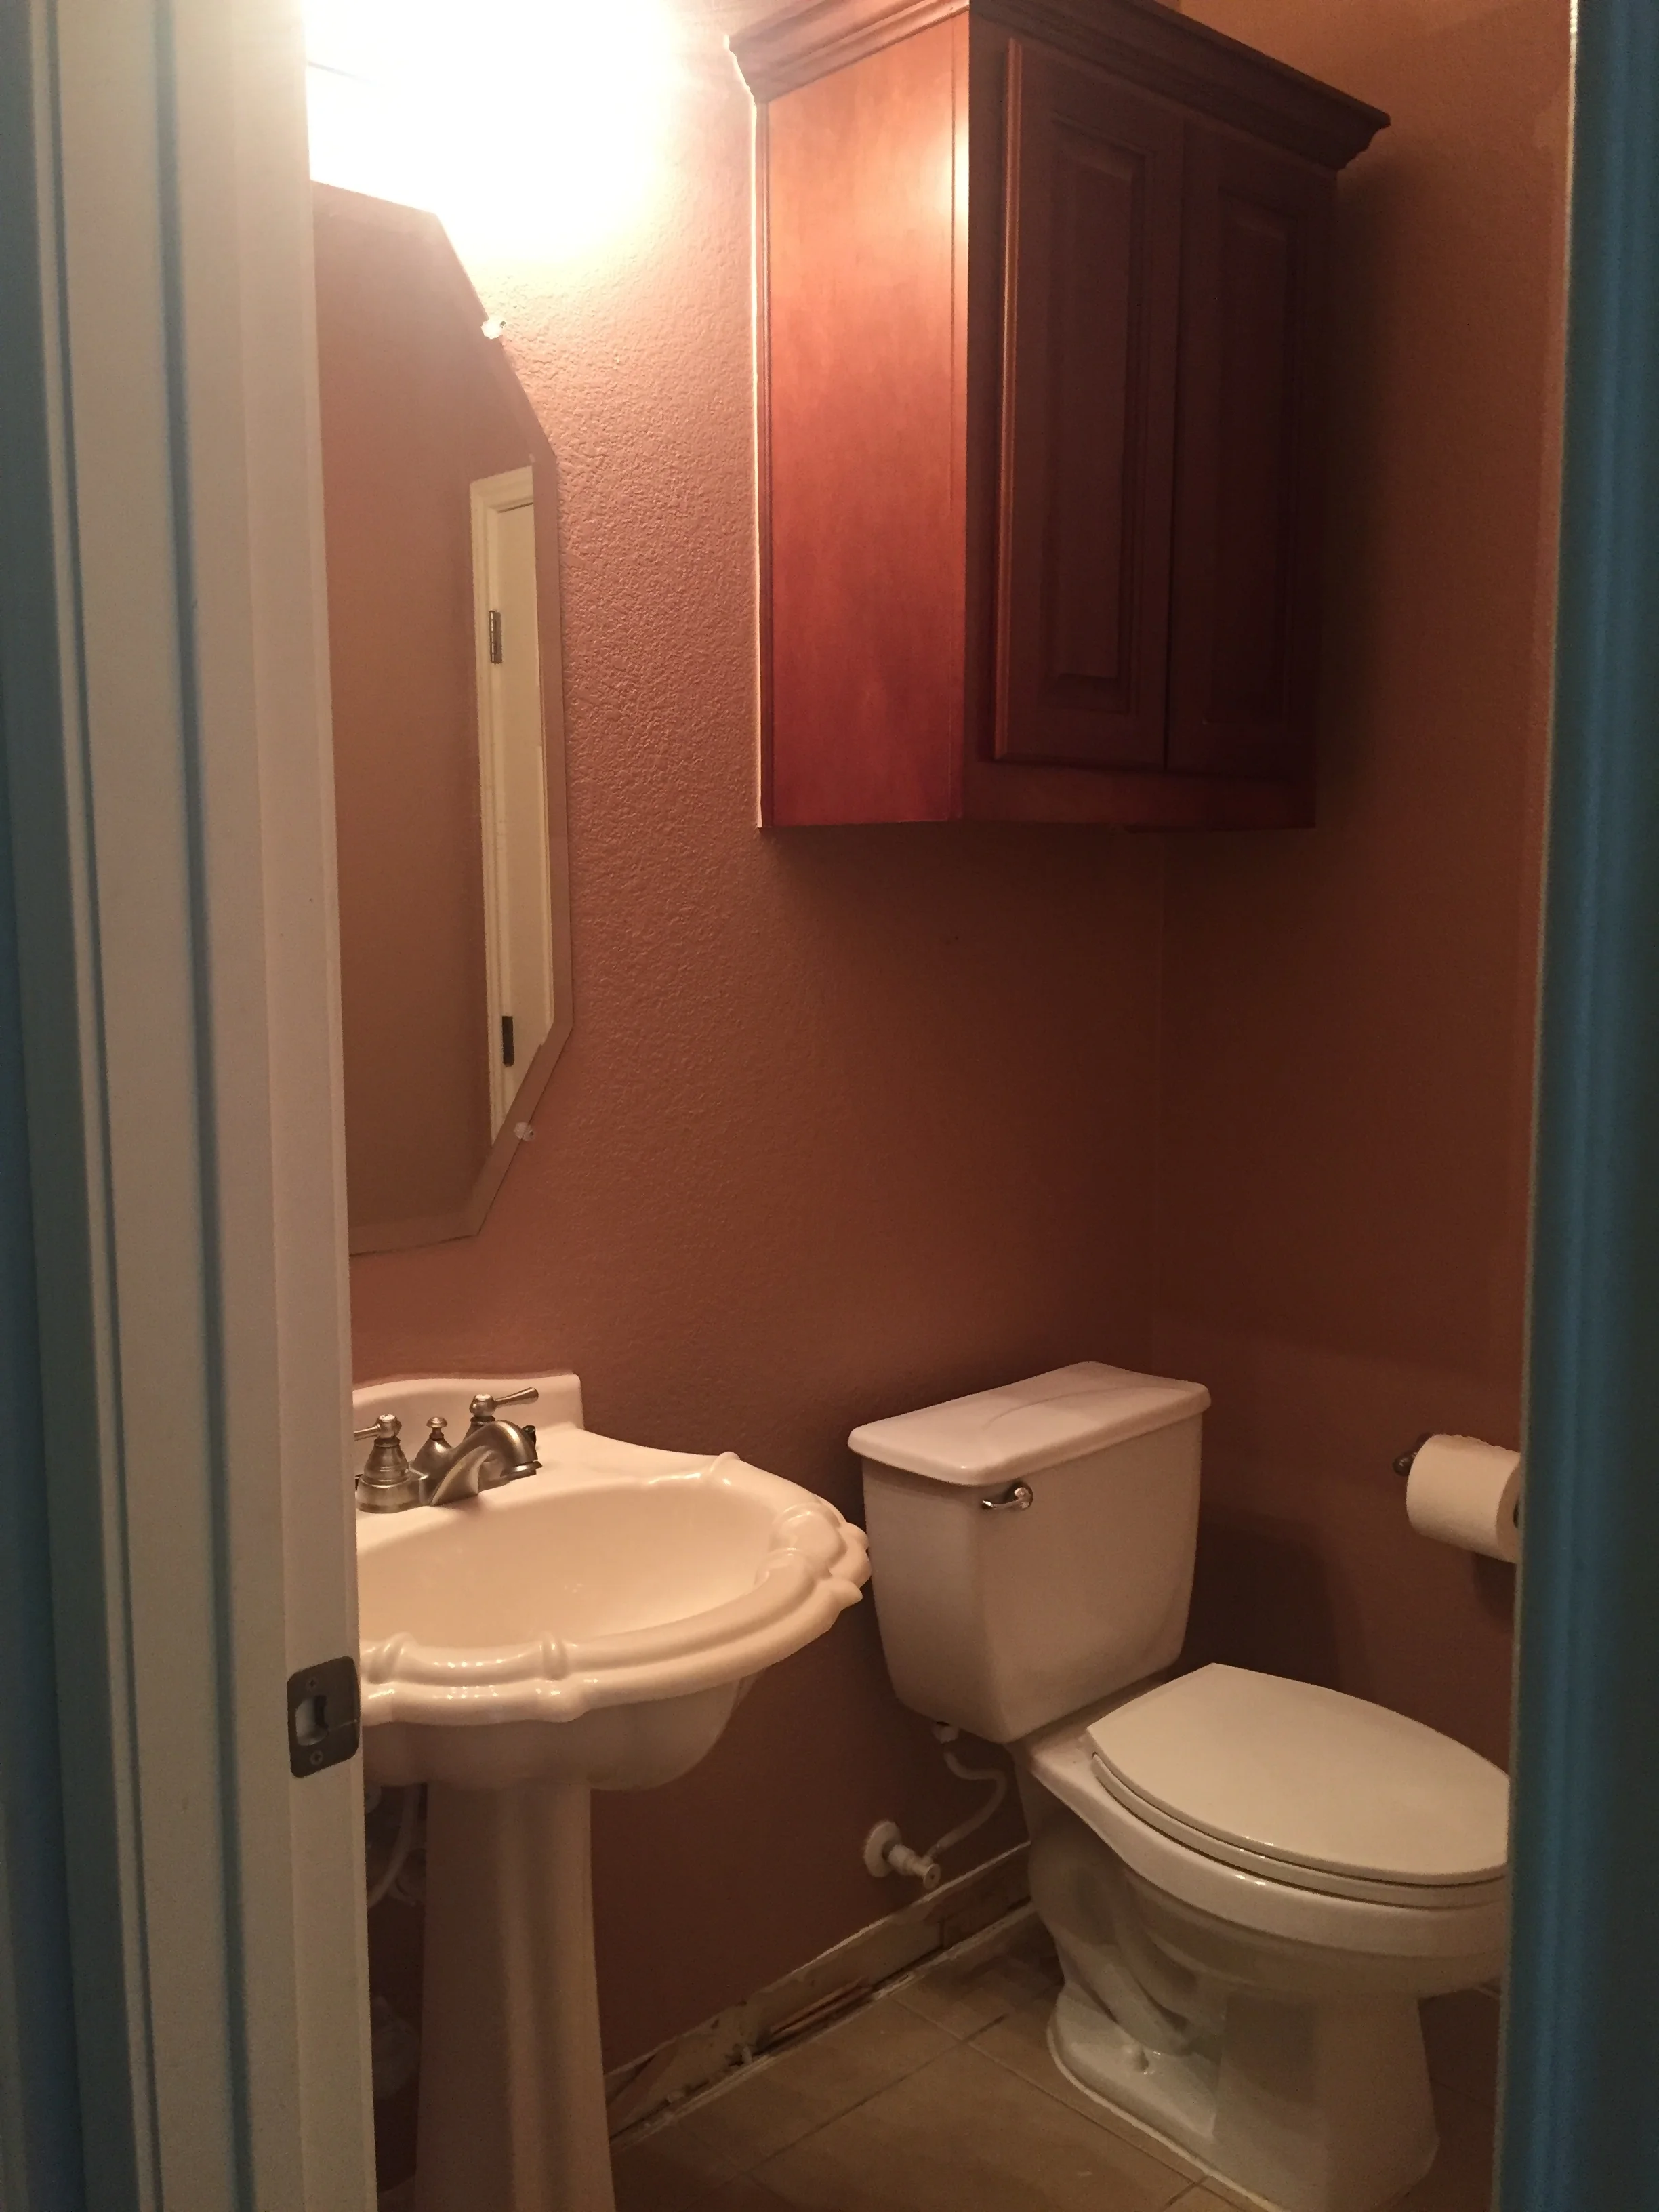
Bathrooms can be beautiful and some can be just well, unbearable. Now if you have boys in your home, yours might always be unbearable despite the decor. That would be mine. However, in addition to the smell being off, the mauve color is screaming 90's, the only thing missing is the Tuscany border up on top. So come along with me as I share with you the before and after of transforming my guest bathroom.
How Am I Going To Revive the Guest Bathroom Into this Century
So glad you asked. Let's start with the plan. The bathroom has 2 sections to it. One is for all guests to use the bathroom, it's mainly a half bath. The other section has a sink and bathtub for the guests who are staying.
To Do List:
- Take the baseboards off and add a thicker one that's around 4"
- Construct a wainscot chair rail to the wall to give the room the allusion of height
- Bring in wallpaper above the railing
- Install new mirrors
- New lights for both parts
- Paint above the chair rail in the other section of bath
- Add floating shelves above toilet
- Paint doors (3 total)
- Add new rugs
- Extras that will come later: Paint tile strip in bath tub, Paint vanity cabinet, Paint floor tile, maybe get a new sink in place of the pedestal
Here's the before photos. I took a poll on my instagram stories asking if I should keep the wall cabinet or put floating shelves up. 90% agreed to get rid of it and put shelves up in its place. I'll share what I plan to use in my follow up post.
This guest bathroom is right off the guest bedroom you can find my latest update in Guest Bedroom Restyle Part 1 and Part 2.


DEMO Begins on the bathroom

Removing baseboards

Mirror is removed

The wall cabinet is gone

At Home Depot picking out the supplies for the wainscot.
Anytime you decide to do a project give yourself at least one full day to get all of your supplies. It never fails that you go back and forth picking up what you need on the first day. This was our 3rd trip and probably not the last. Here's what we got for the wainscot, it was a kit with the chair rail and baseboard from Home Depot. For the wainscot we found these pine grooved planks that were real inexpensive and easy to use from Lowes. Make sure you pick up some caulking to finish off your edges along the top, sides and bottom. This is what I used DAP Alex Plus
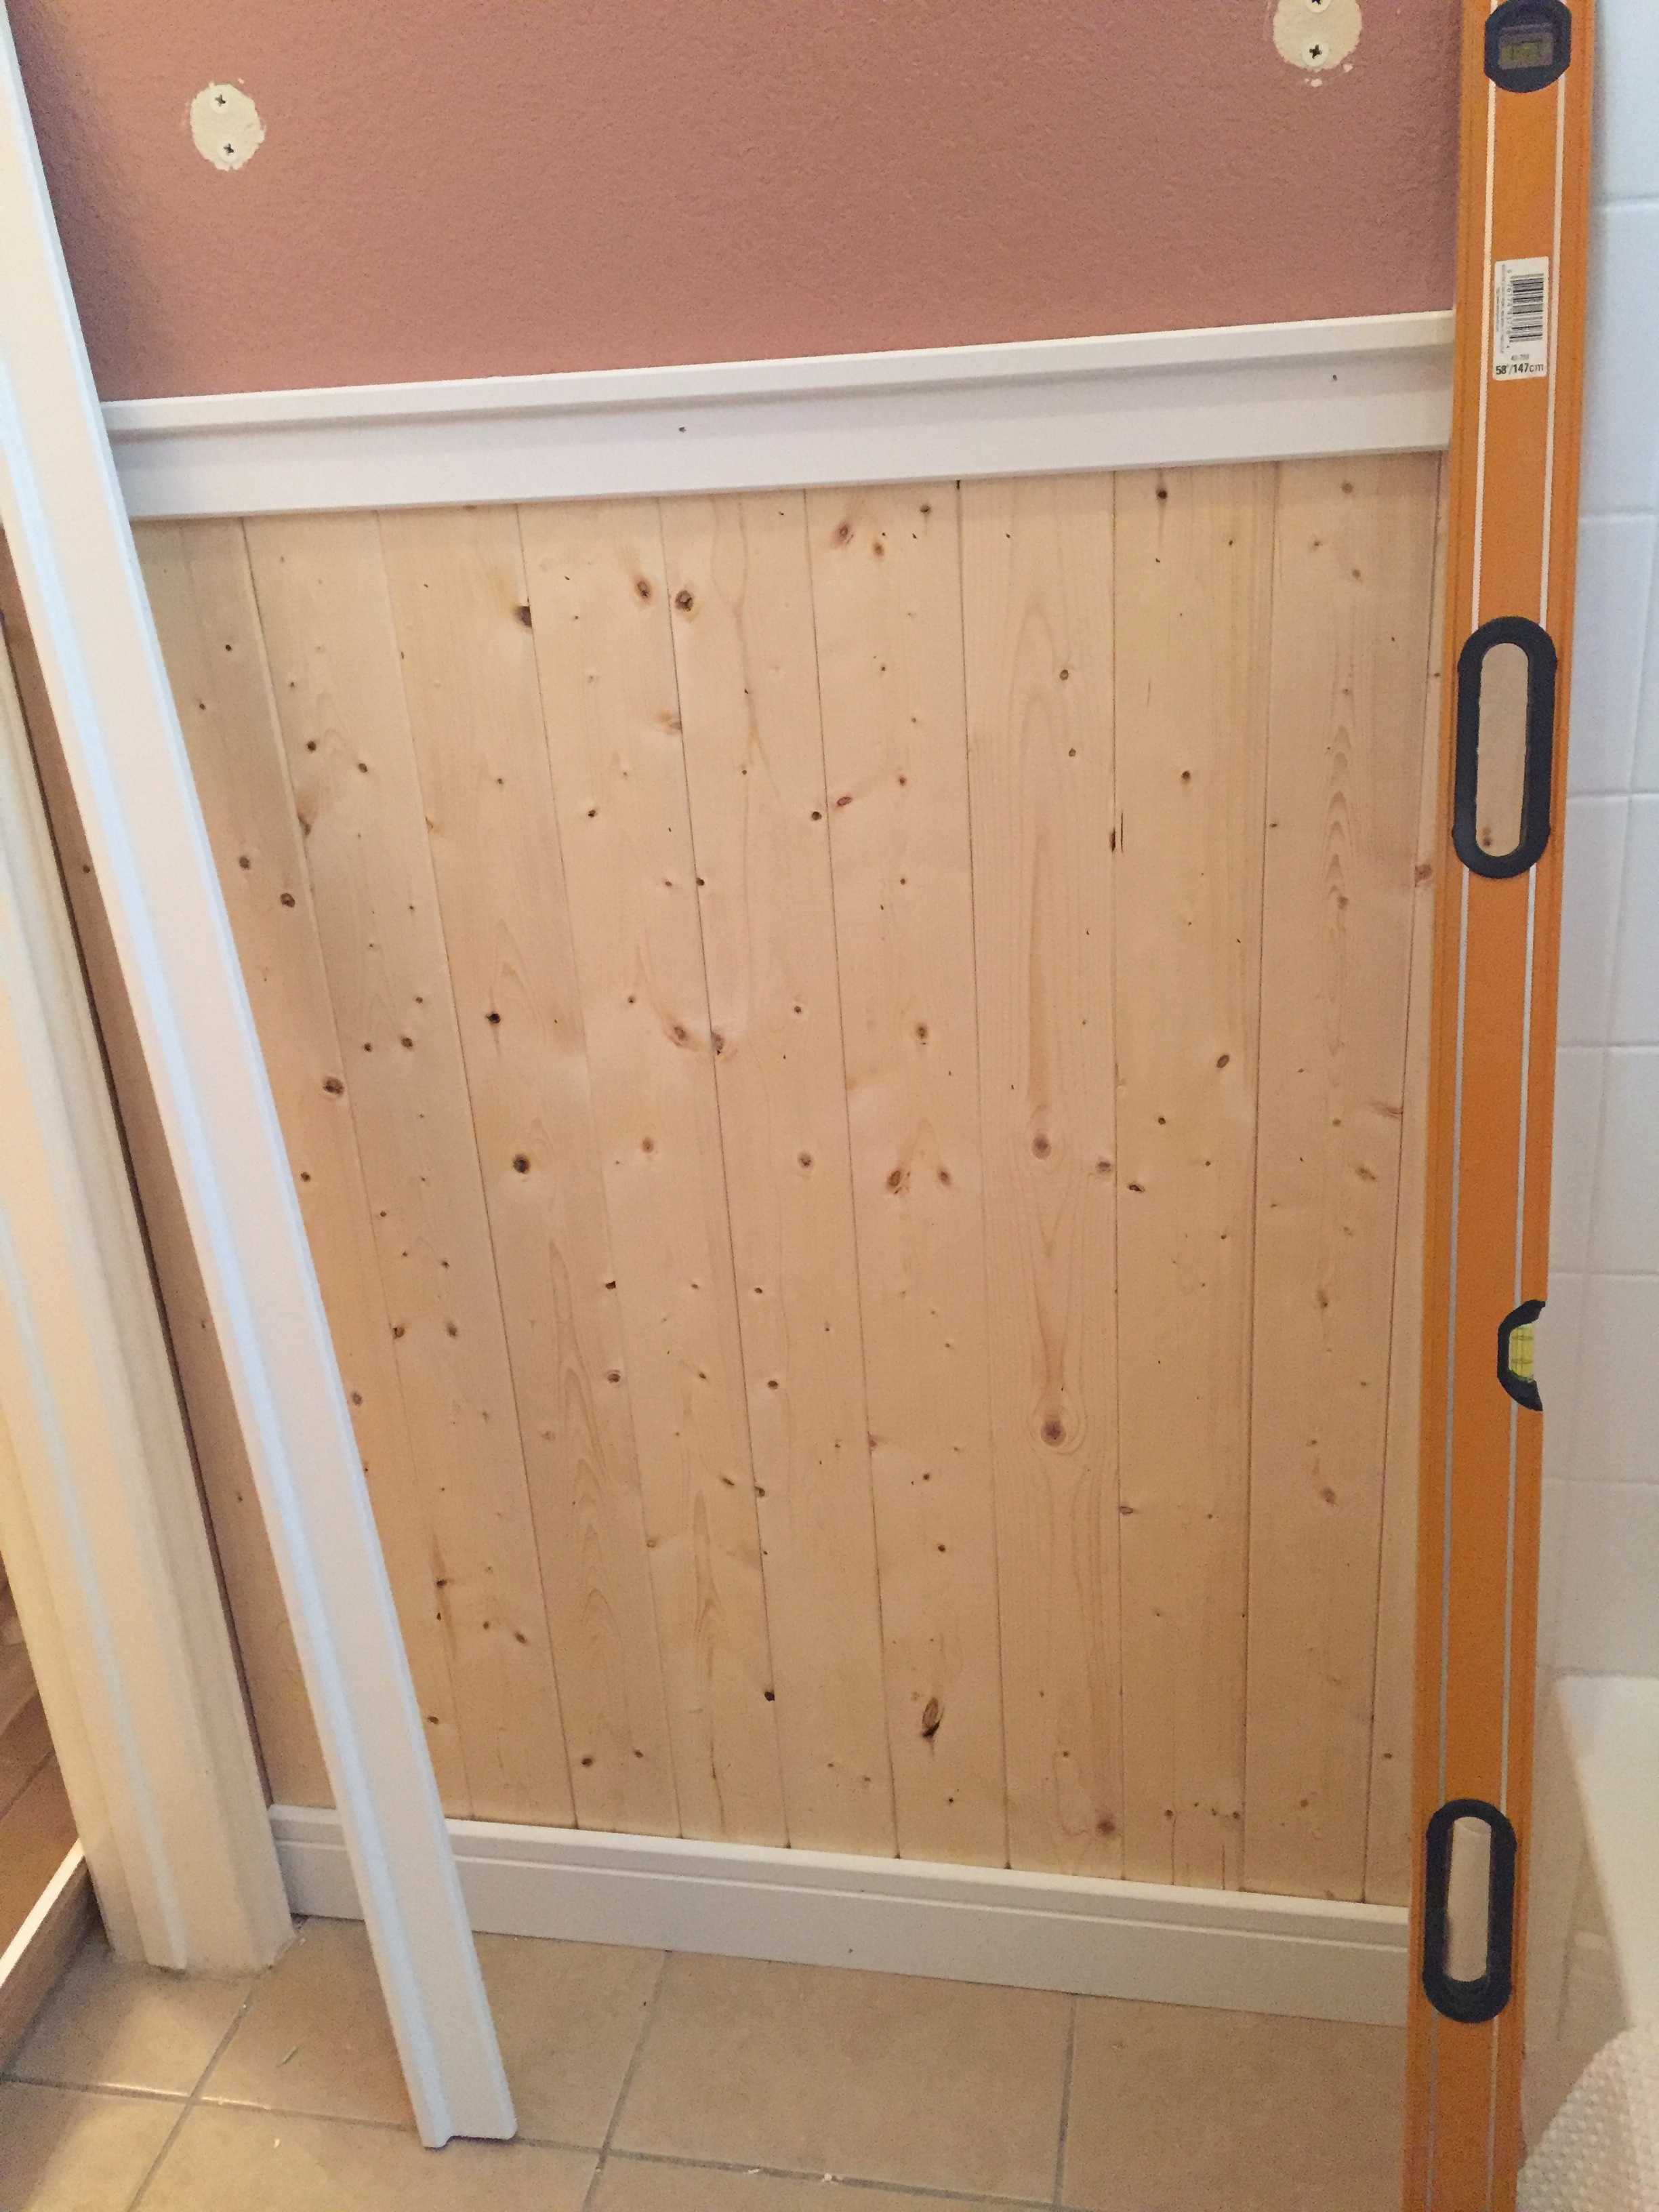
First wall complete with wainscot

Eric is cutting the wainscot boards


We finally finished the wainscot addition to the wall. To attach the boards to the wall we used 2in nail gun.
What's left, to finish caulking around the baseboards, plumbing and top of railing. That was my job, by the way, not my favorite. Caulking guns I think are made for those with really strong hands, like men's. I always joke I should invent something for women.
Next on the list paint the wainscot. I decided to just use a plain semi-gloss white paint from BEHR. But first before I used it I did use a primer and sealer even though the paint has a primer in it, this helped the paint go on smoother.


2 coats of white paint
Just a tip: Make sure when you're painting your wainscot to use a door and cabinet roller. It makes it go on so much smoother than a brush or wall roller. Also you'll want to fill in your holes using wood filler before painting.
Here's some links to what I used:
Well friends, that's the first steps to transforming my guest bathroom. Tune in next week as we'll be going over some more of the details that I mentioned were on the list.
Let me know if you have any questions about what we've done so far. As always thank you for stopping by, let me know your here by a quick comment below. If you're looking for daily decor inspo, please find me on Instagram or Facebook.
Here's to making our homes more welcoming,
