

EGGCELENT SPRING CRAFT
Hey Friends, Spring is on it's way! We've been getting lots of rain here in South Texas and the trees are already blooming. I don't know about you but I'm ready to see some green. To help you along while we wait for Springs arrival, I've got a really fun easy craft for you. This craft will be great to do with kids, friends or just by yourself on a rainy day.
A bunch of my crafting buds and I got together for our monthly craft night, where we created these fun decorative eggs.

Here's the steps to completing your very own covered plastic eggs.
Supplies:
Scissors, Tissue Paper or Napkins, Mod Podge Matte, foam brush, bowl or plate, Paper Towels for clean up, plastic eggs.

Step 1
Cut your tissue paper or napkins about 6-7 inches long by 4 inches wide

Step 2
Make sure to have a bowl or plate for your Mod Podge.

Step 3
Spread the glue on one side of the egg

Step 4
Place the side of the egg that has the glue on it down on the middle of the paper edge.

Step 5
Gently press down the paper to the egg. Slowly smooth out the paper to the edges of the egg.

Step 6
Again paint on glue to the other side of the egg. Make sure to get the top and bottom

Step 7
Roll the paper onto the egg. Again smoothing it out gently to not tear the paper. As your smoothing, smooth wrinkles out to the ends.
Step 8
Cut off excess paper and glue it down. Smoothing it out again.

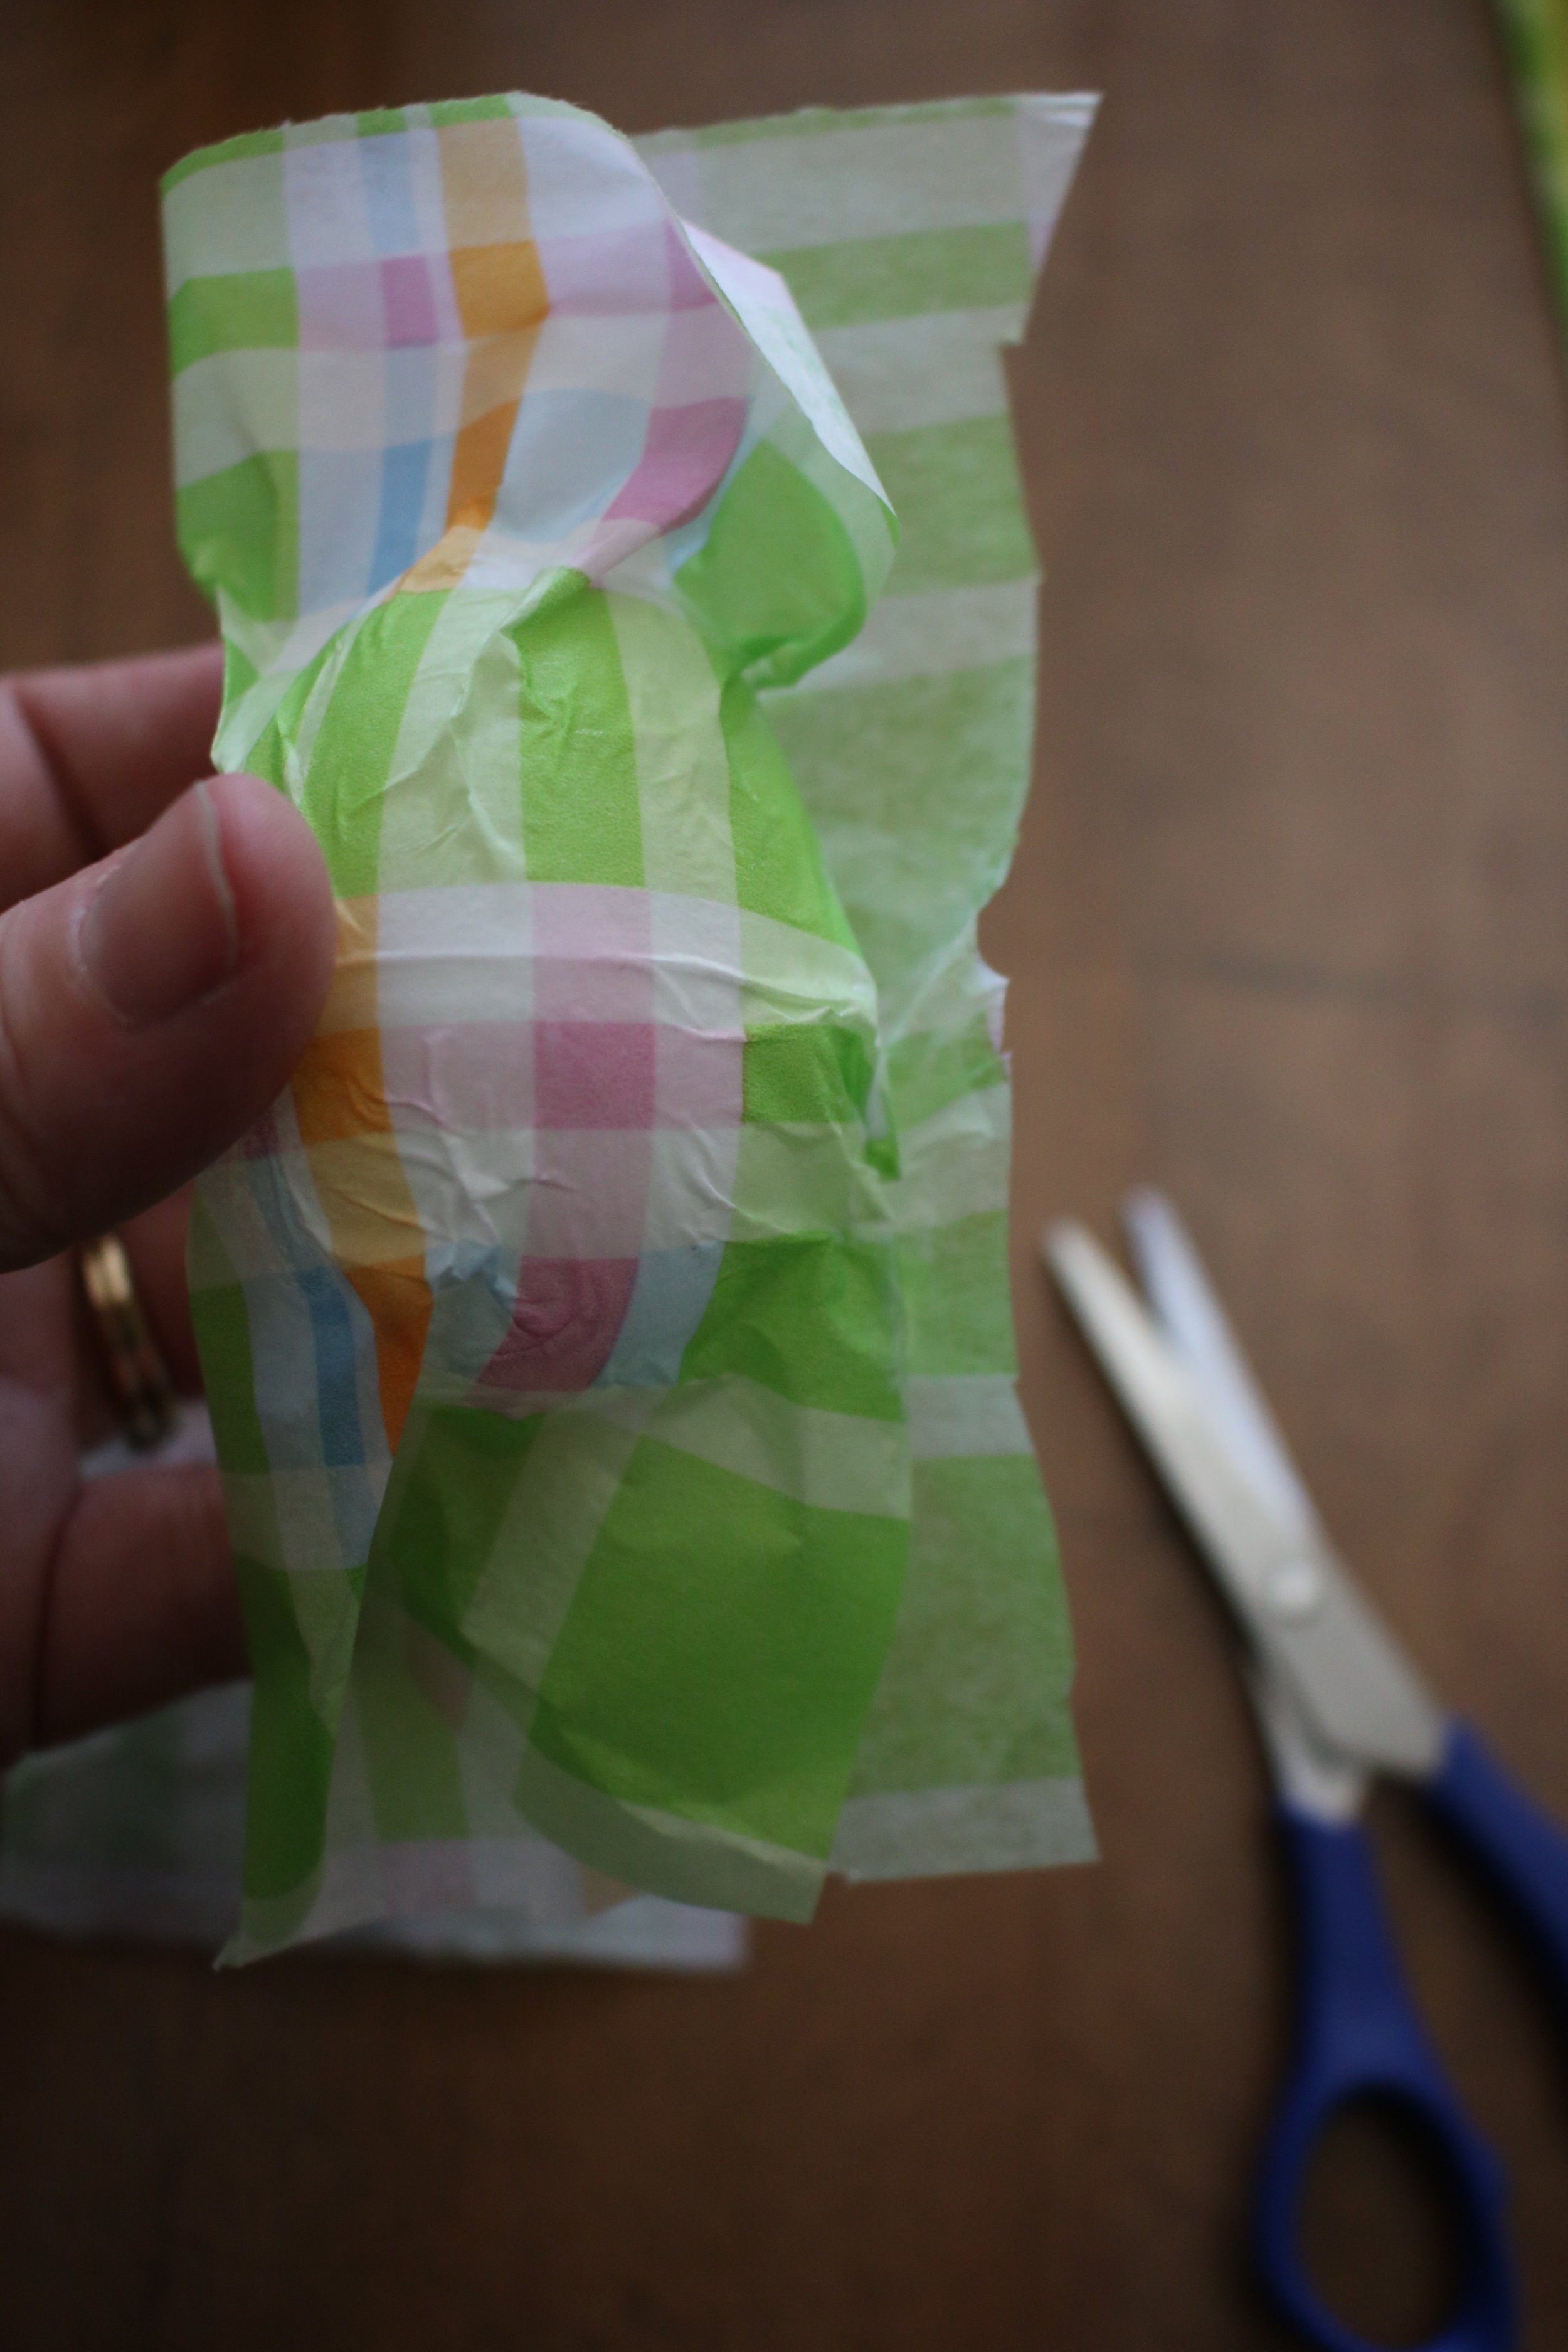
Step 9
Bring both ends in like a candy wrapper

Step 10
Cut the ends off. Leaving a small amount.

Step 11
Glue the ends down and smooth it out. You might want to use your hands to do the smoothing.
You're now done. Place the eggs on a separate plate to air dry. Once they dry you can then decorate with them.

After the ladies left with their eggs, they went home and shared how they decorated with them.

One friend tried to do a egg garland but realized it wouldn't work out. So instead she chose to turn it into a bouquet using skewers.


I placed some of my eggs here on my counter in my egg basket and spoon holder. The flower eggs were made with napkins. My take away on using napkins vs tissue paper is that the napkins wanted to tear and stick more from my fingers. Which made it more difficult to apply and smooth. The texture was nice but I just found the tissue paper to be easier overall.


Thanks friend for stopping by! I hope you find this craft to be quick and fun as much as we did. Please let me know if you end up making them too. I always love to hear what projects you try and how they turned out.
If your looking for some more Spring inspiration, take a min and head on over to the Home Tour I did with 5 other bloggers.


