

Summer nights are great for back porch sit'in, minus the mosquitoes. Here in Texas the days are so hot either nights or early mornings are the best times to enjoy your porch. When we moved into our house about 2 years ago, the first thing I wanted was string lights. There's something about them that sets the mood to relaxation.
This year my sweet hubby gave me the gift of string lights for Mother's day. Well, to be honest it was a double gift. I got the lights for Christmas the first year we were in our house and it was this year I got them up. So I guess like they say my gift was as slow as Christmas. Ha!!
I wanted to share with you the process of getting these up, in case you're interested in having your own lights.
Products Needed to String Your Outdoor Lights


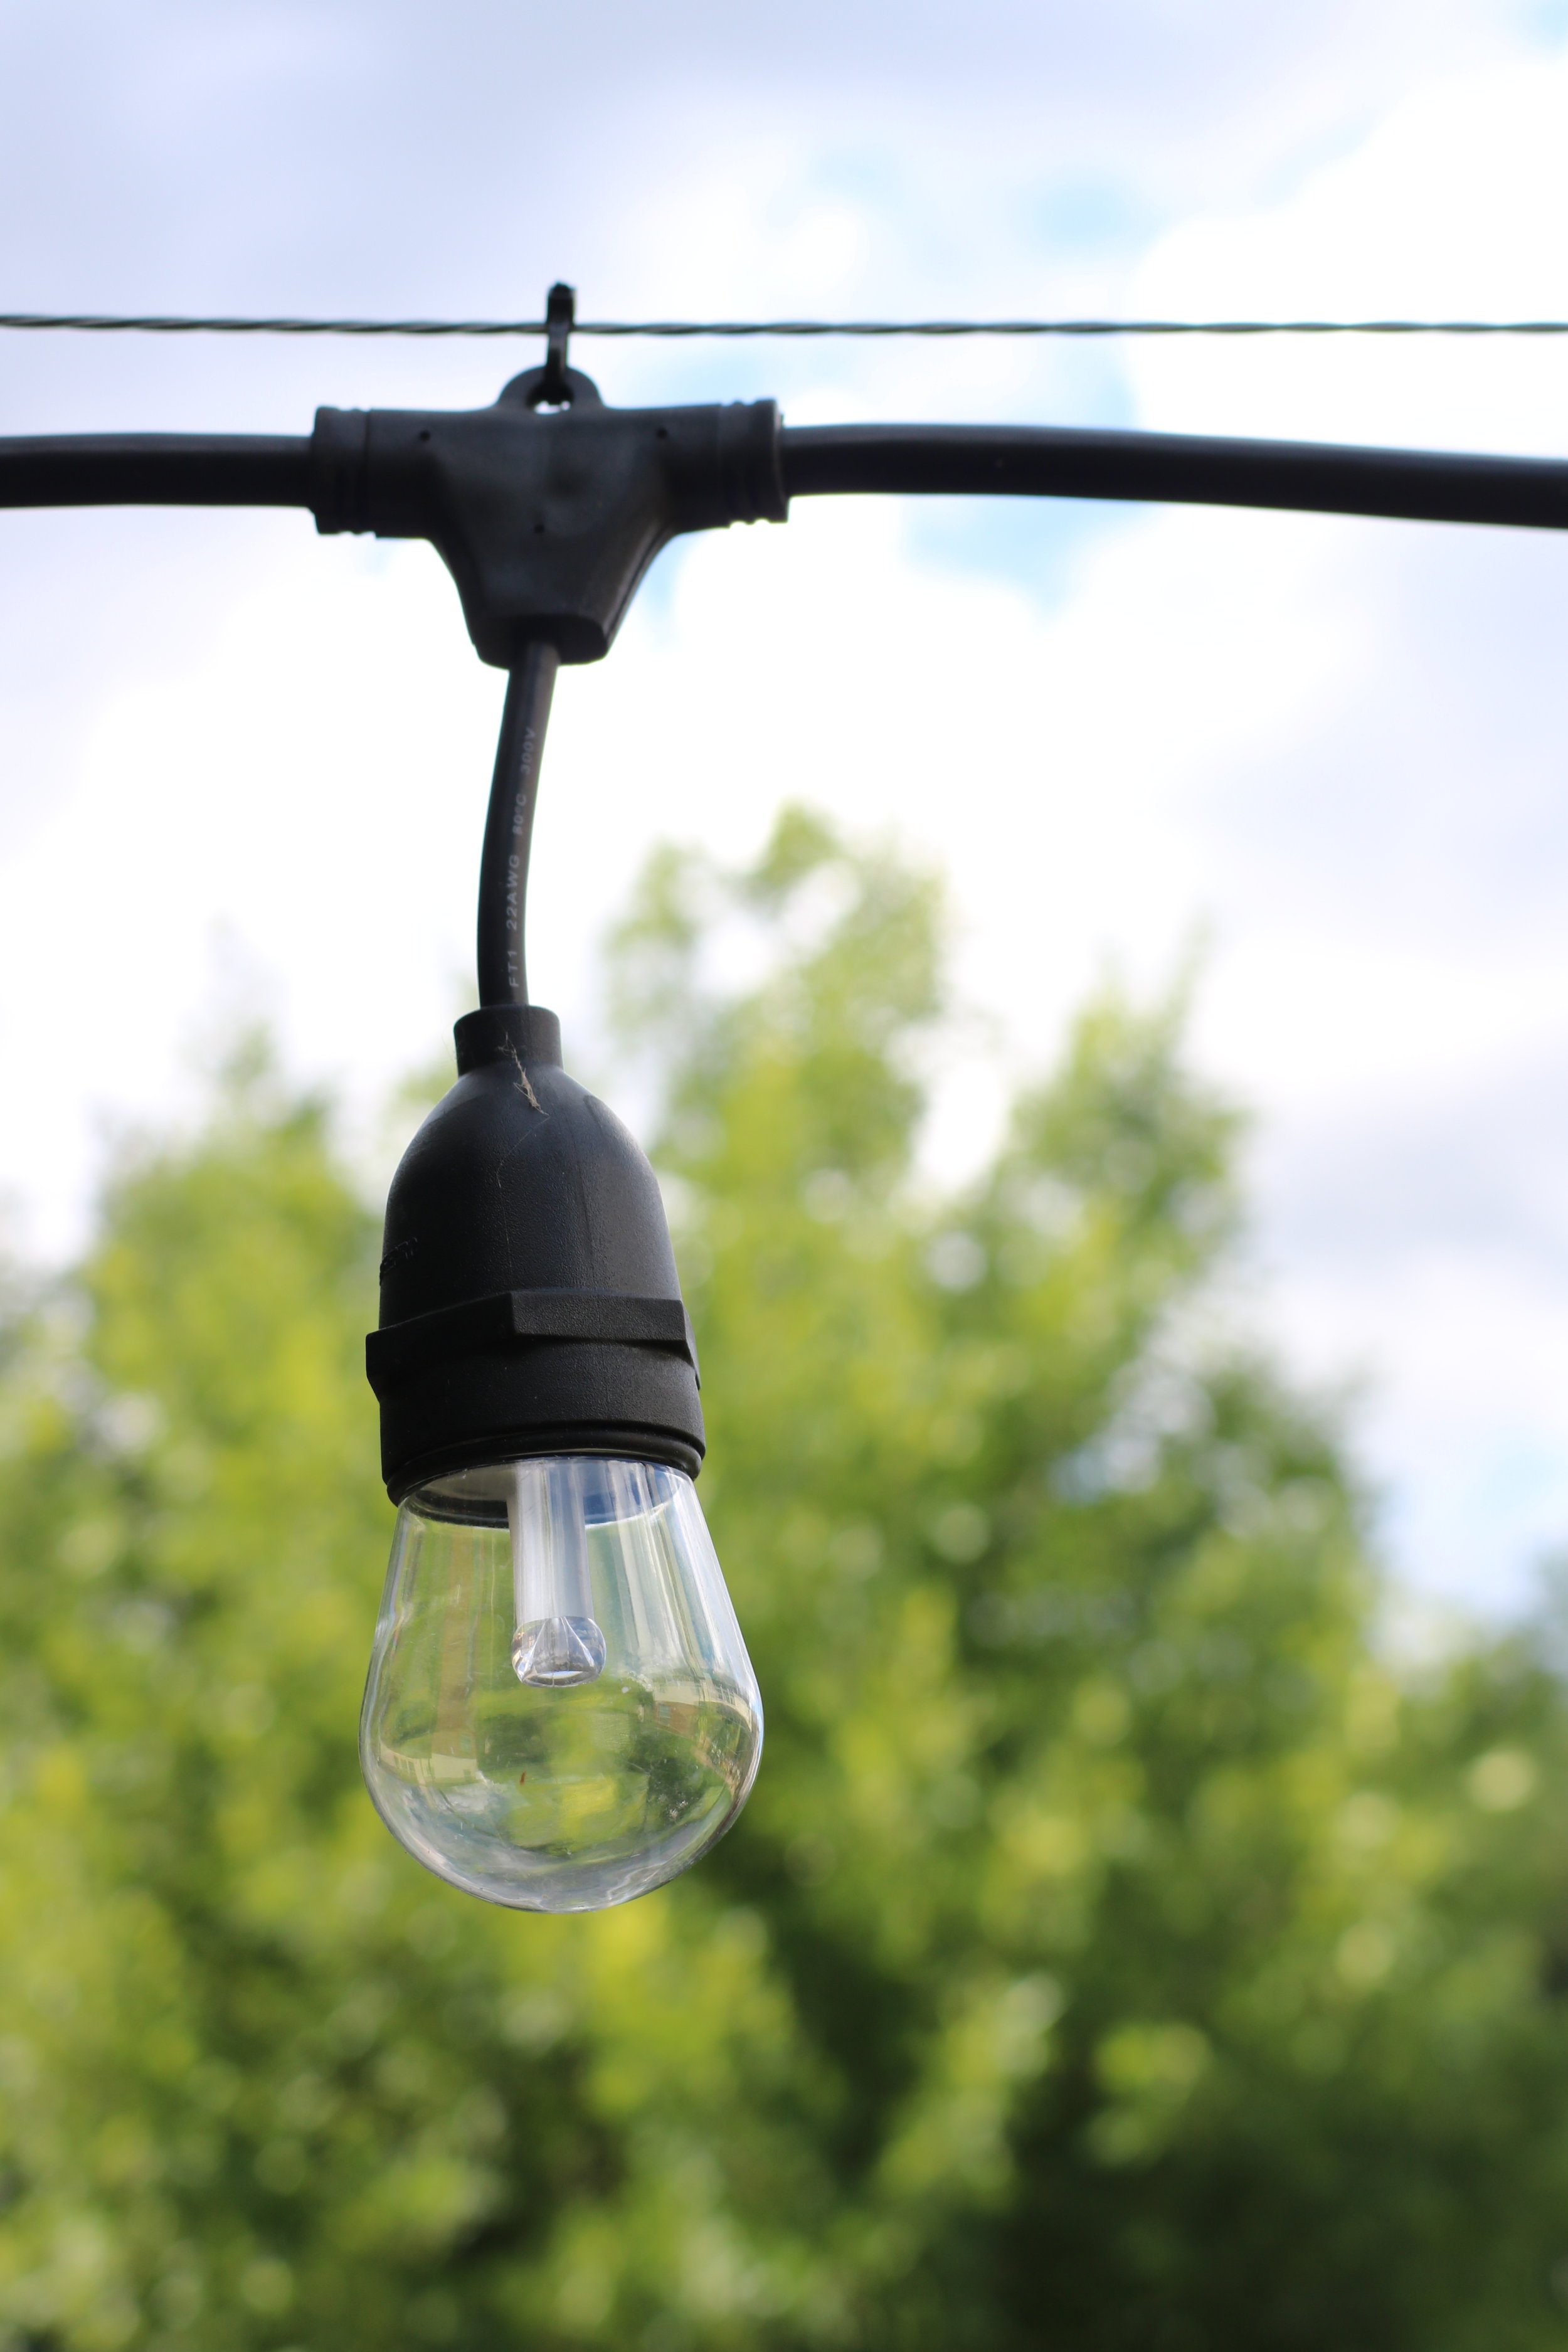
Here's the type of lights we used. We got ours from Costco but if you don't have a Costco you're in luck because my hubby says you can get them on Amazon. I like these because you can change the colors, plus they're dimmable. We ended up using 3 boxes, 48ft x3. There wasn't enough to go all the way to the house on the last strand but it doesn't look bad where it ended, so we chose to not get another box. Plus you're only suppose to have 3 sets connected together.

Go ahead and lay out your pattern so you know how much materials you'll need before getting started. Above you can see Eric connecting the light sets together and planning out his pattern. We went with a W pattern.

As you put up your lights having a good wire to attach them to is very important. This helps them to have something to run off for stability.

If your going to connect your lights into your home's flood light, this adaptor is the way to go. I can't find this exact one online but here's one at Lowes. We got the one above from Lowes if you want to show them the picture.
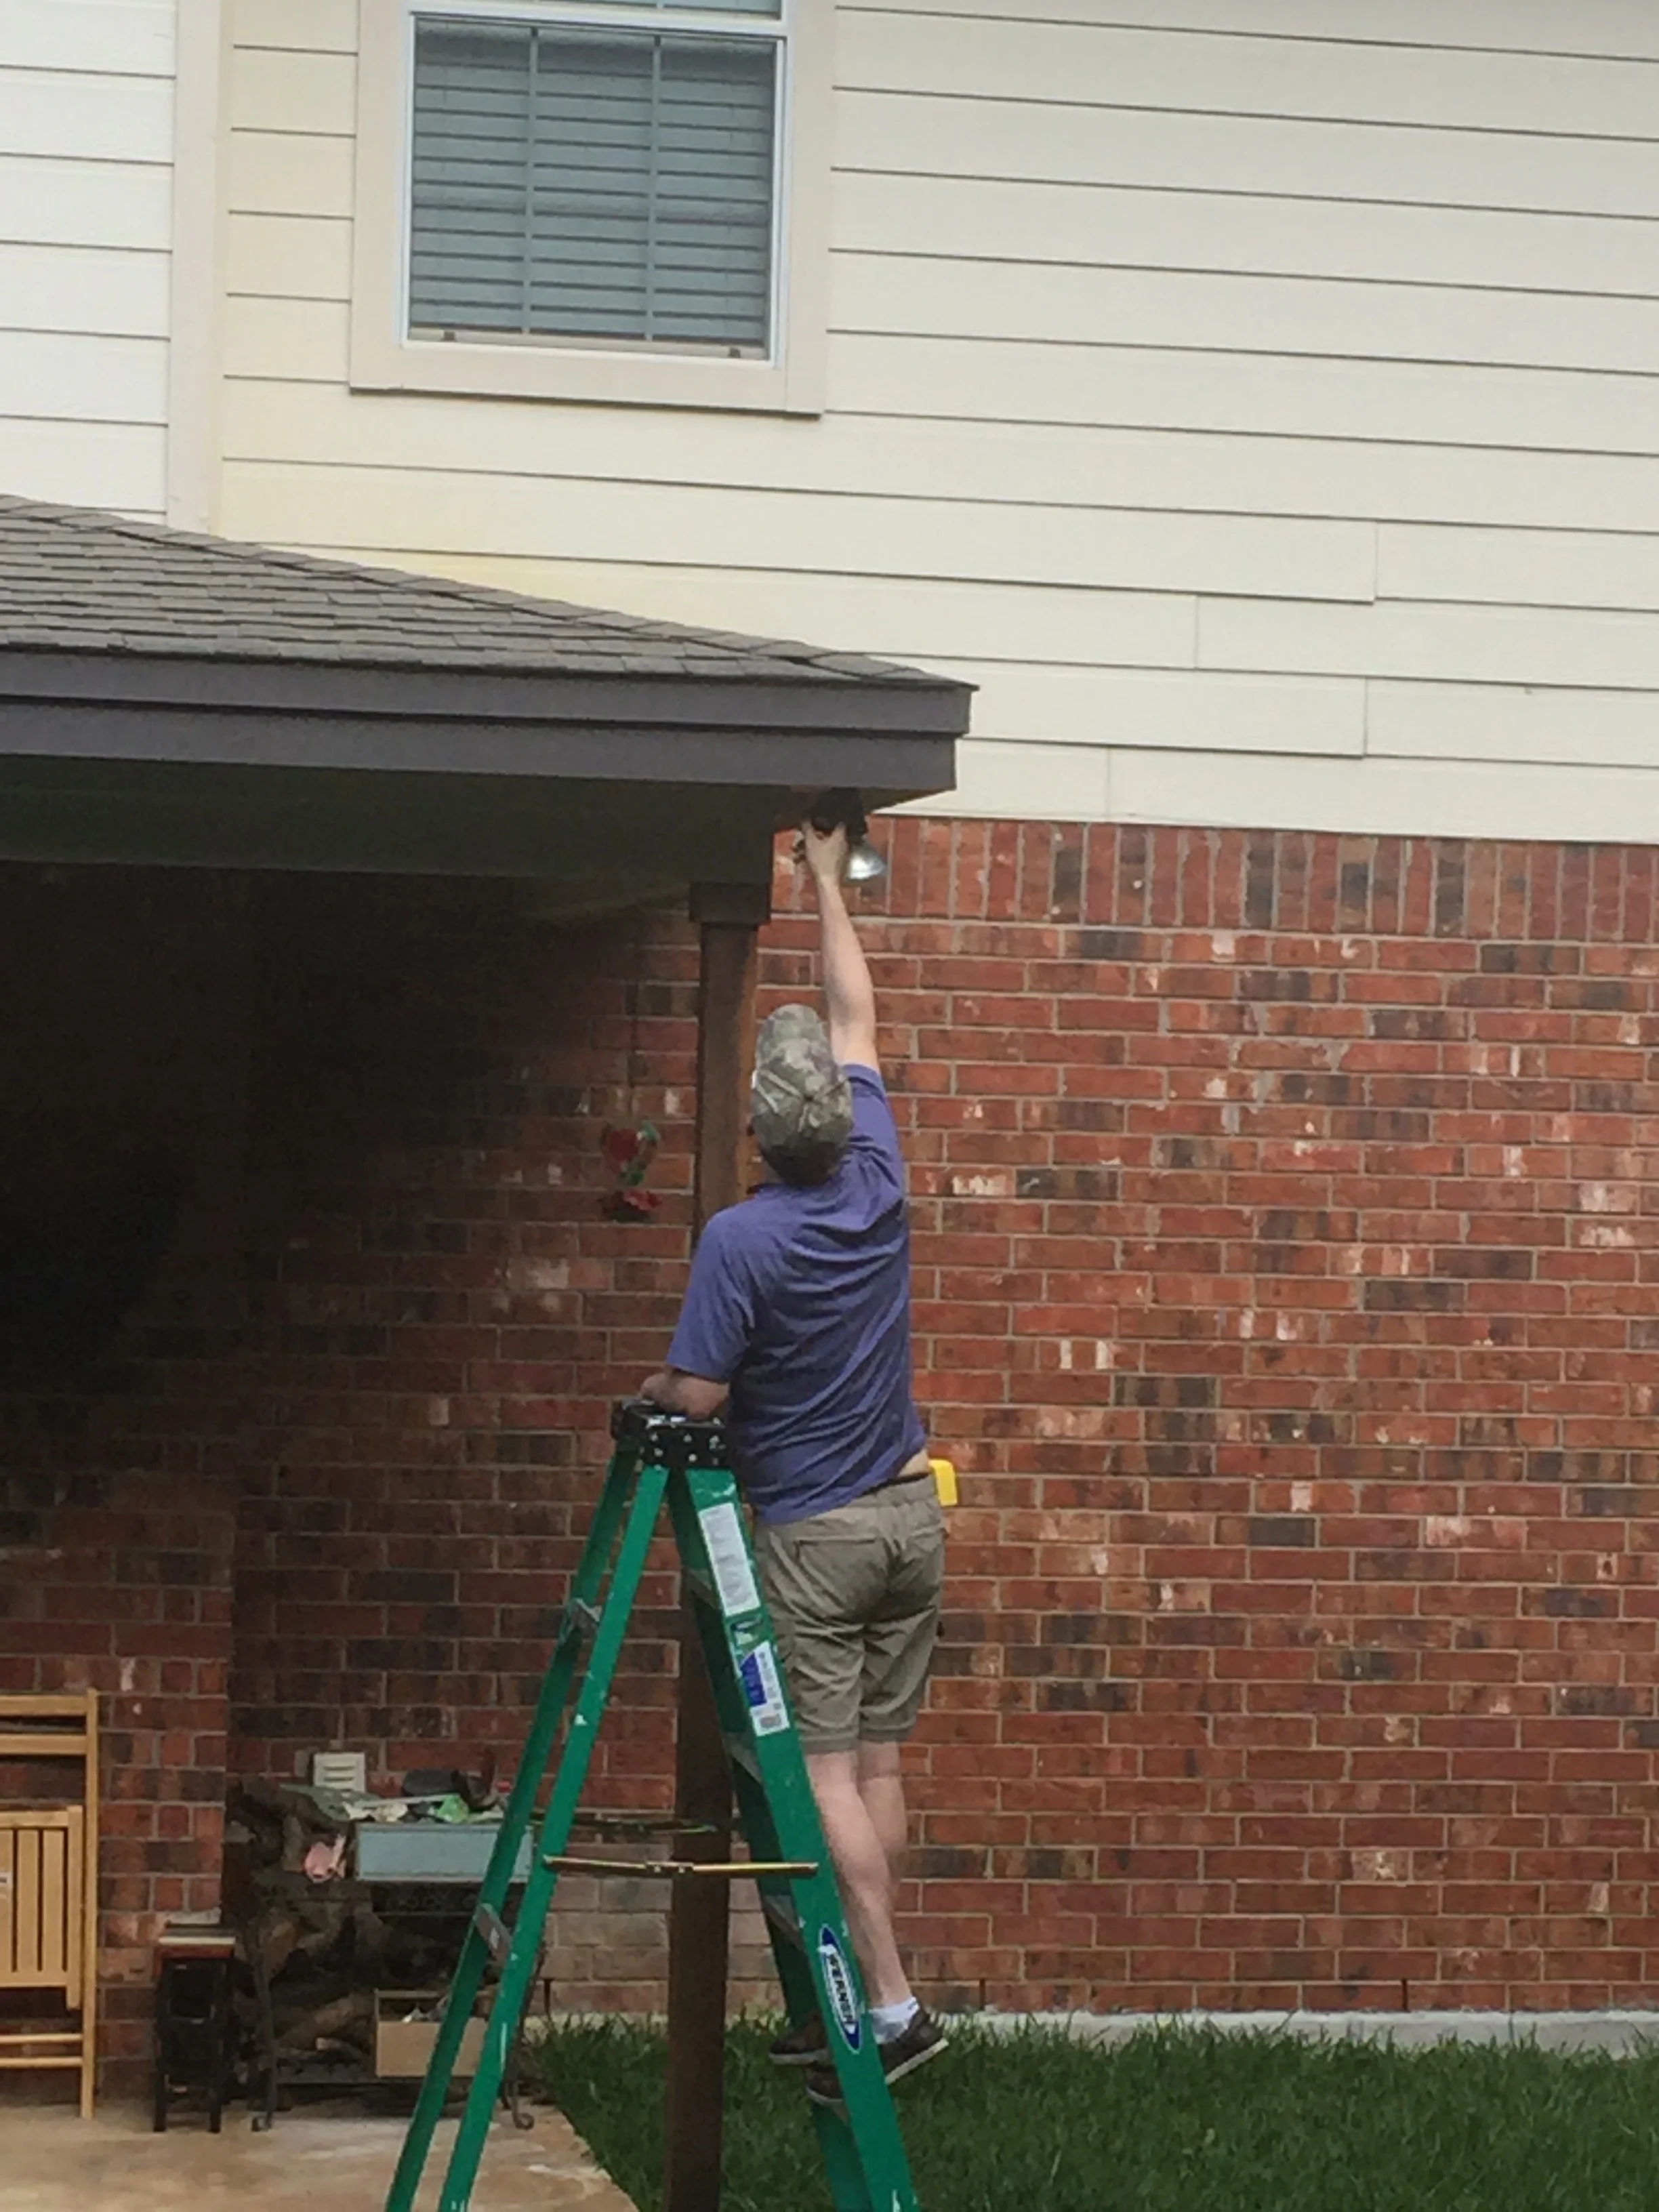

As you can see in the pictures above Eric my husband connected the lights to the flood lights using the adaptor.

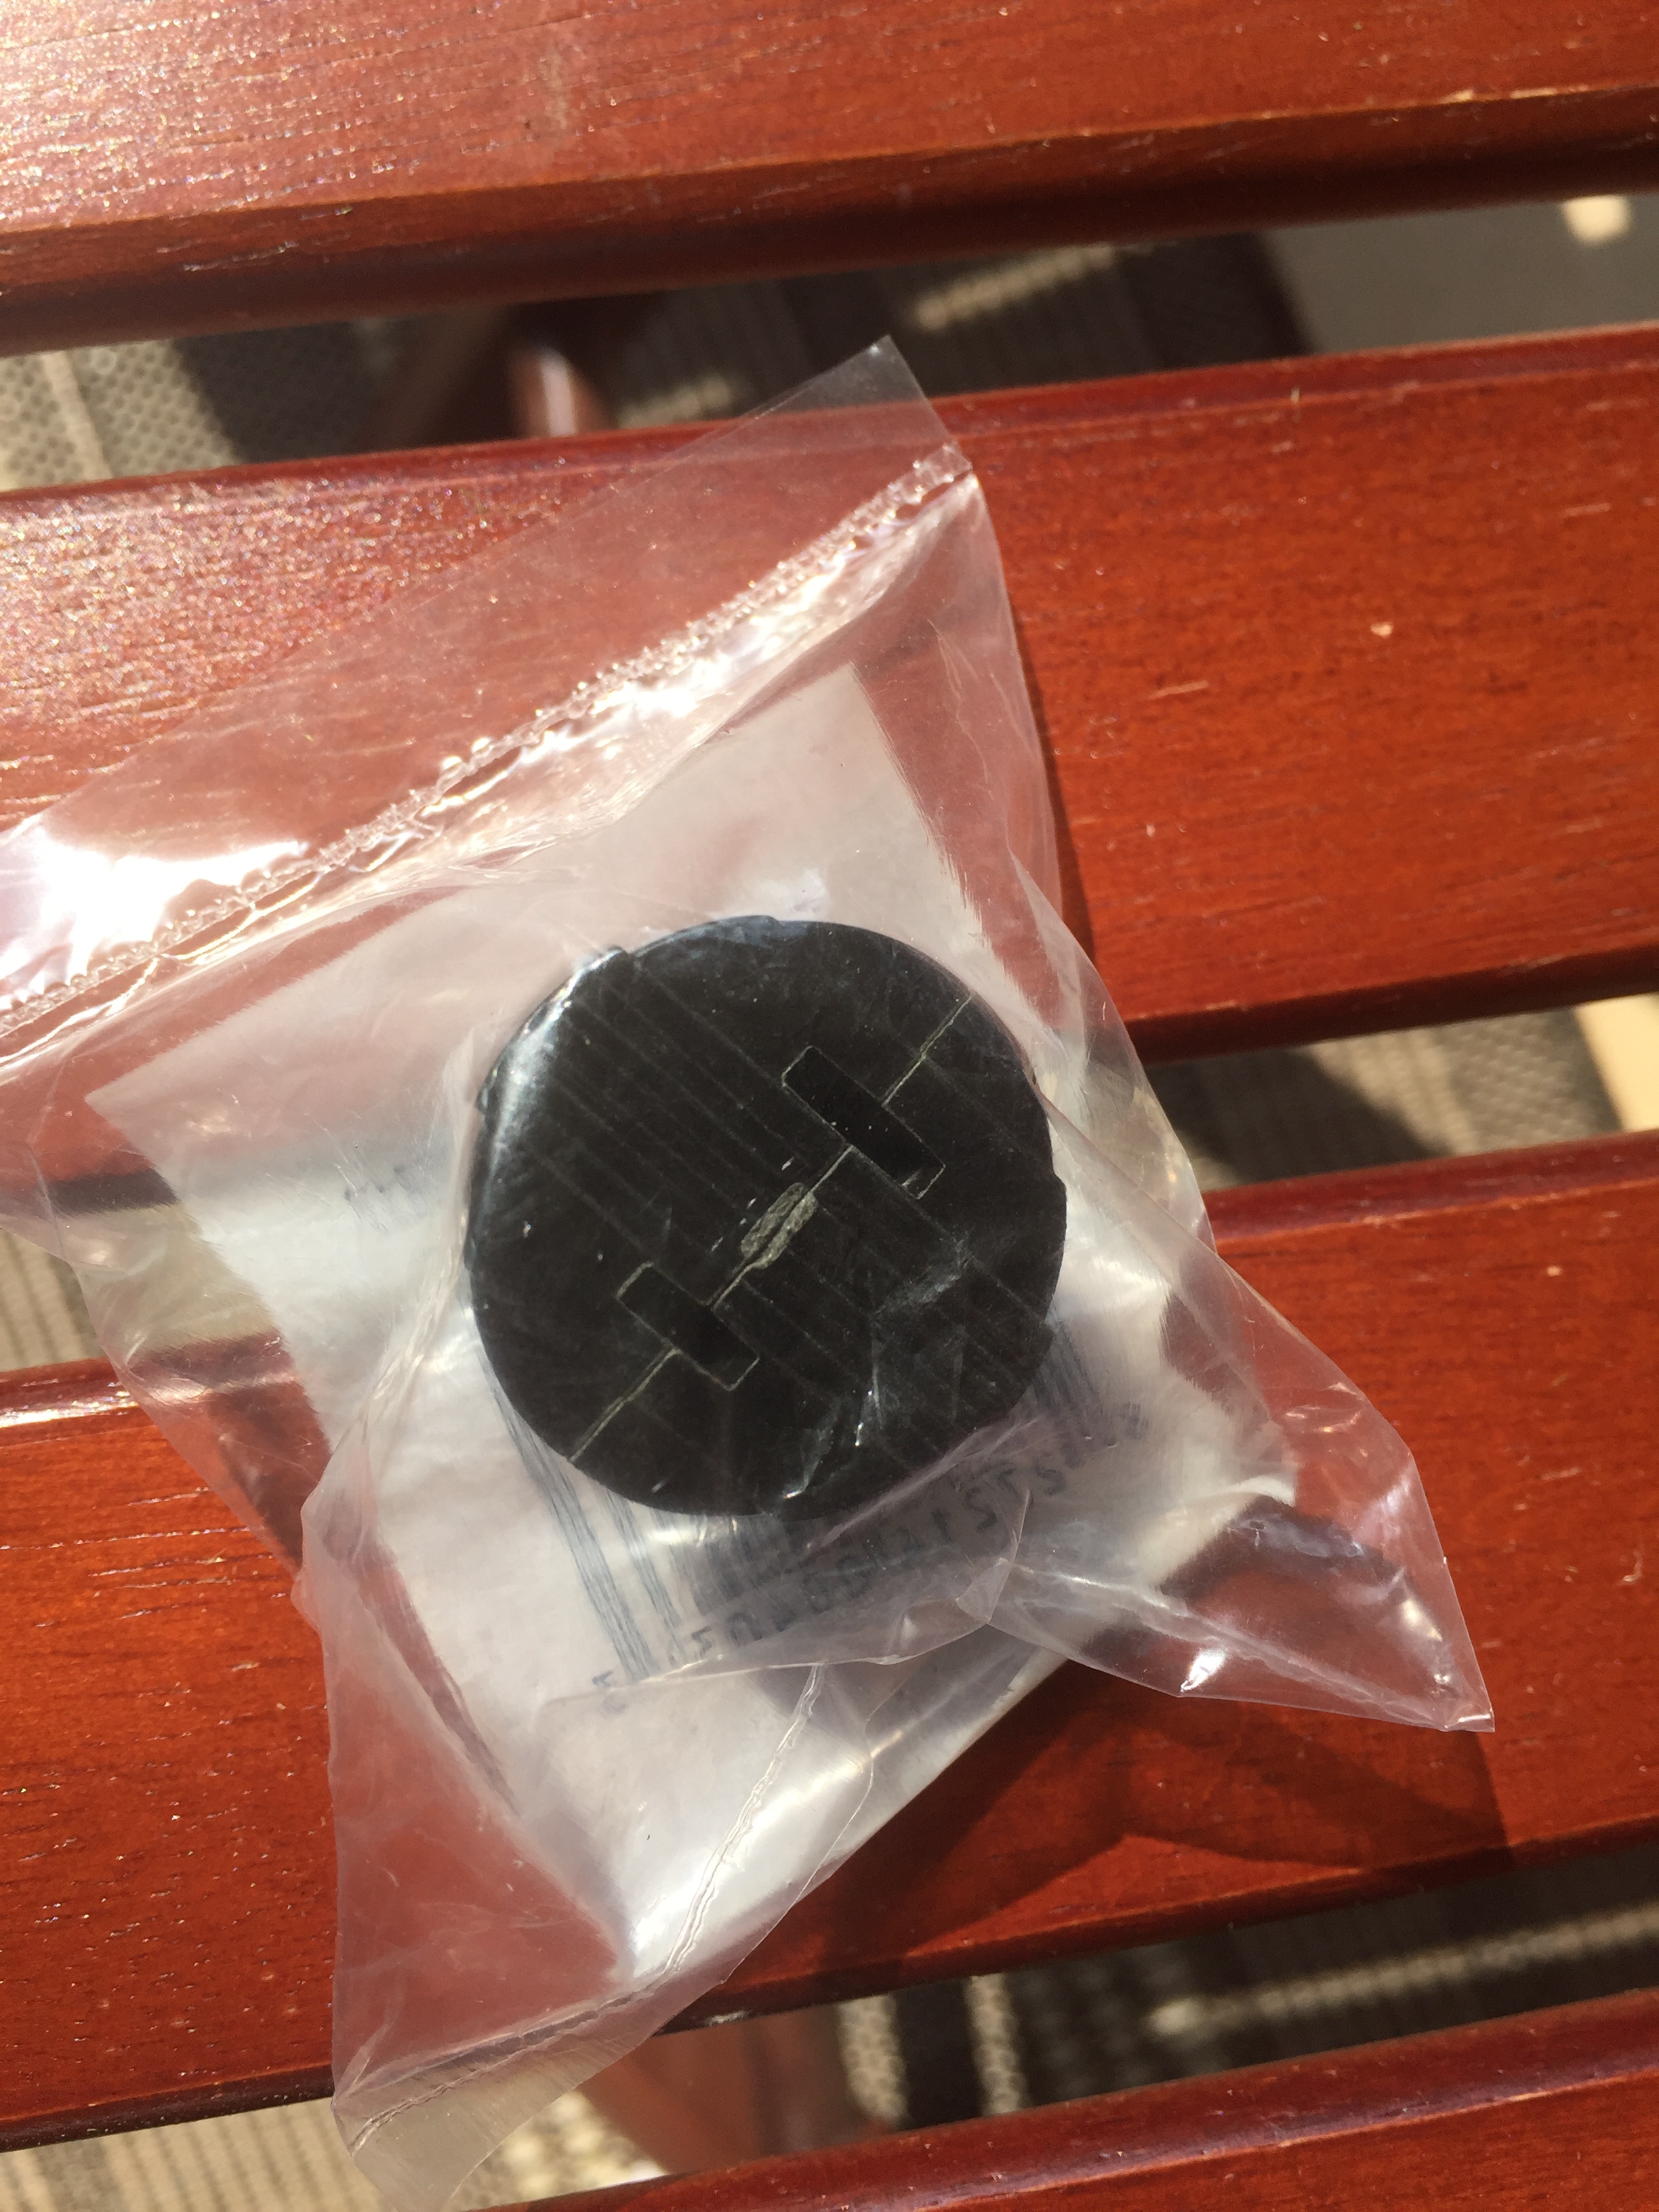
Another item you'll need are wire rope clamps. Again I can't find this exact one online but you can get these at Lowes. It's in a package together as a set.
Other products you'll need are eye needle hooks like these to put into your posts and into the eves of your home. We used 5 total. 3 to go into the porch's eve and 2 to go into the posts.


So with any project, time always gets away on the first day because you spend all your time planning it out and getting supplies. We rushed to go ahead and get the poles into the ground before quitting so we could continue working the next day.

We dug about a 2.5 to 3ft hole for the post.

Used Quikrete because it's quick to set

We added water directly into hole and stirred with a stick.

The next day this is what it looked like all set.

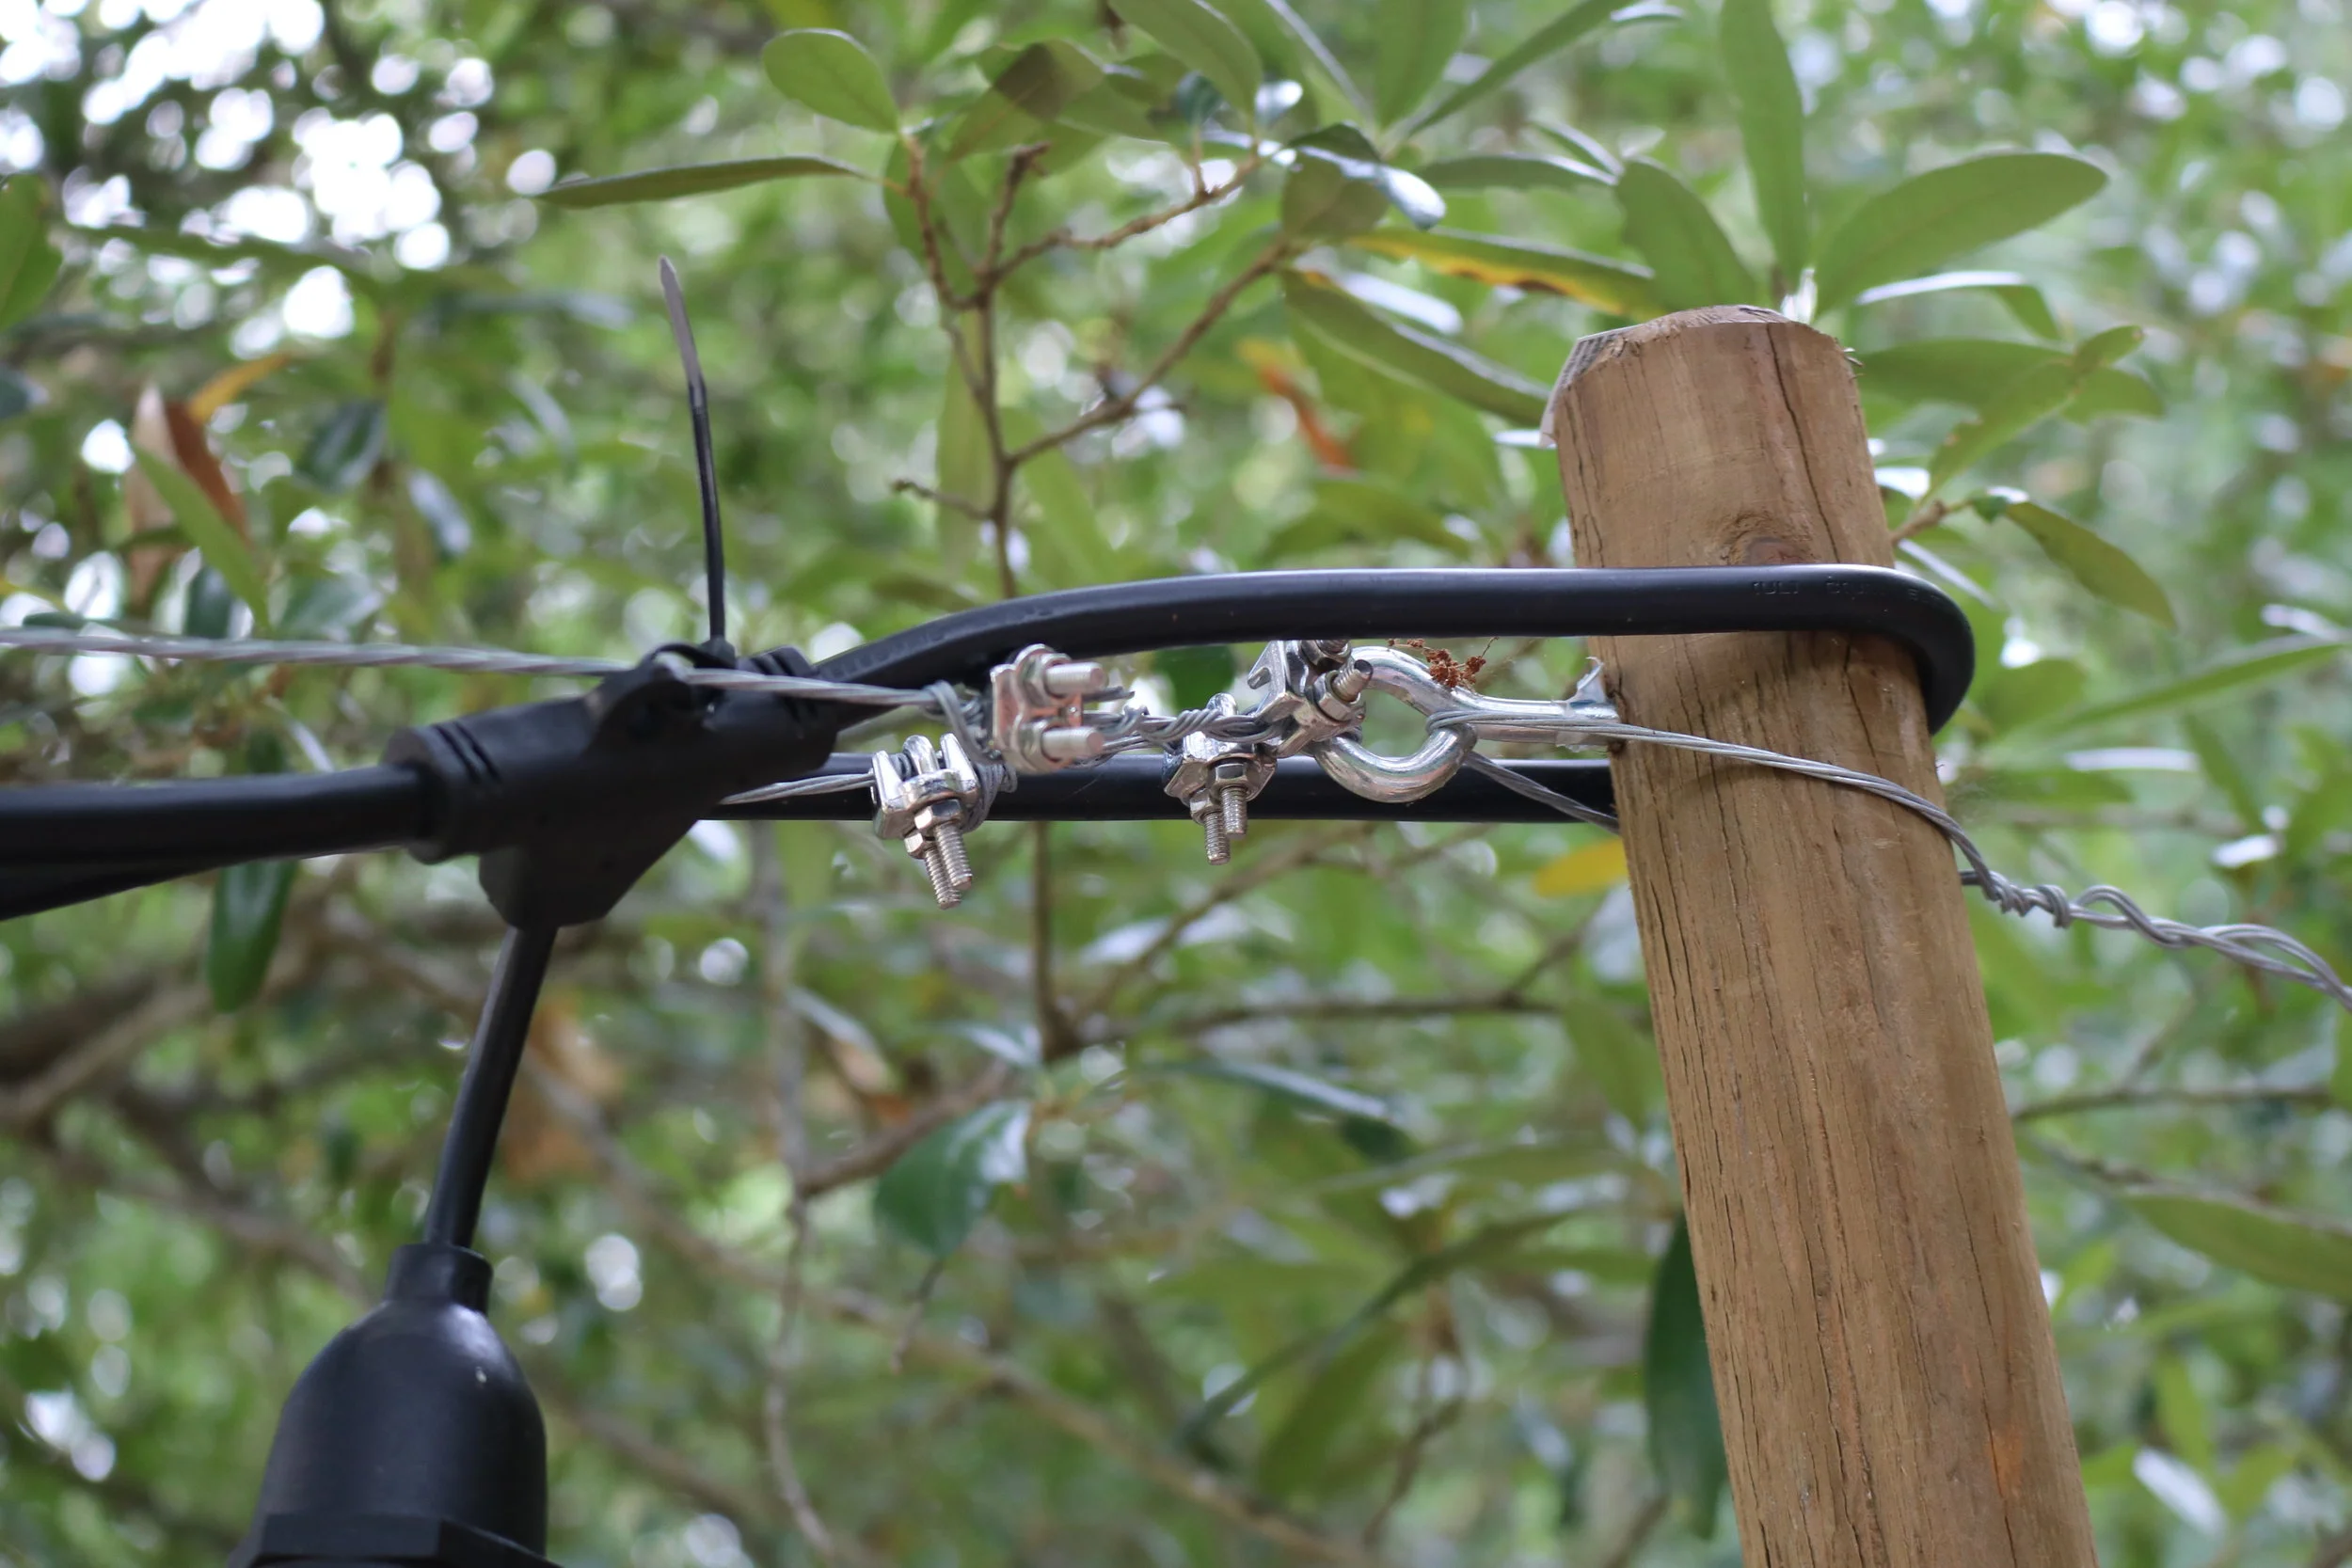
Let me explain something on the posts. Eric and I found these in the garden section at Lowes. Not realizing then that they probably aren't the best choice. I would go with something that's more sturdy and also a better treated wood. As I was doing this blog post, I realized the wood we got was for decorative purposes. OOPS!! Hindsight I'd had chosen a better post to purchase. So who knows what will happen with ours over time. I'll come back and update if it doesn't hold up well. After the wire was attached to the posts, we began to notice the post was bending some. Eric ran a wire from the fence to the post to help support the tension and to keep it from bending forward. Like I mentioned earlier not sure it was the best solution for a post.


To attach your lights to the wire we used zip ties. They worked great and too it's inexpensive.

Do you notice a difference in picture quality? Well, the grainy ones are with my iphone and the other's are with my camera. I'm reminded when I go to do these posts that I always need to stick with the good camera. Sorry guys for the inconsistency in photo quality.

Mickey (Mick) loves to join in on the fun. It's always better when you have your toy to play with.
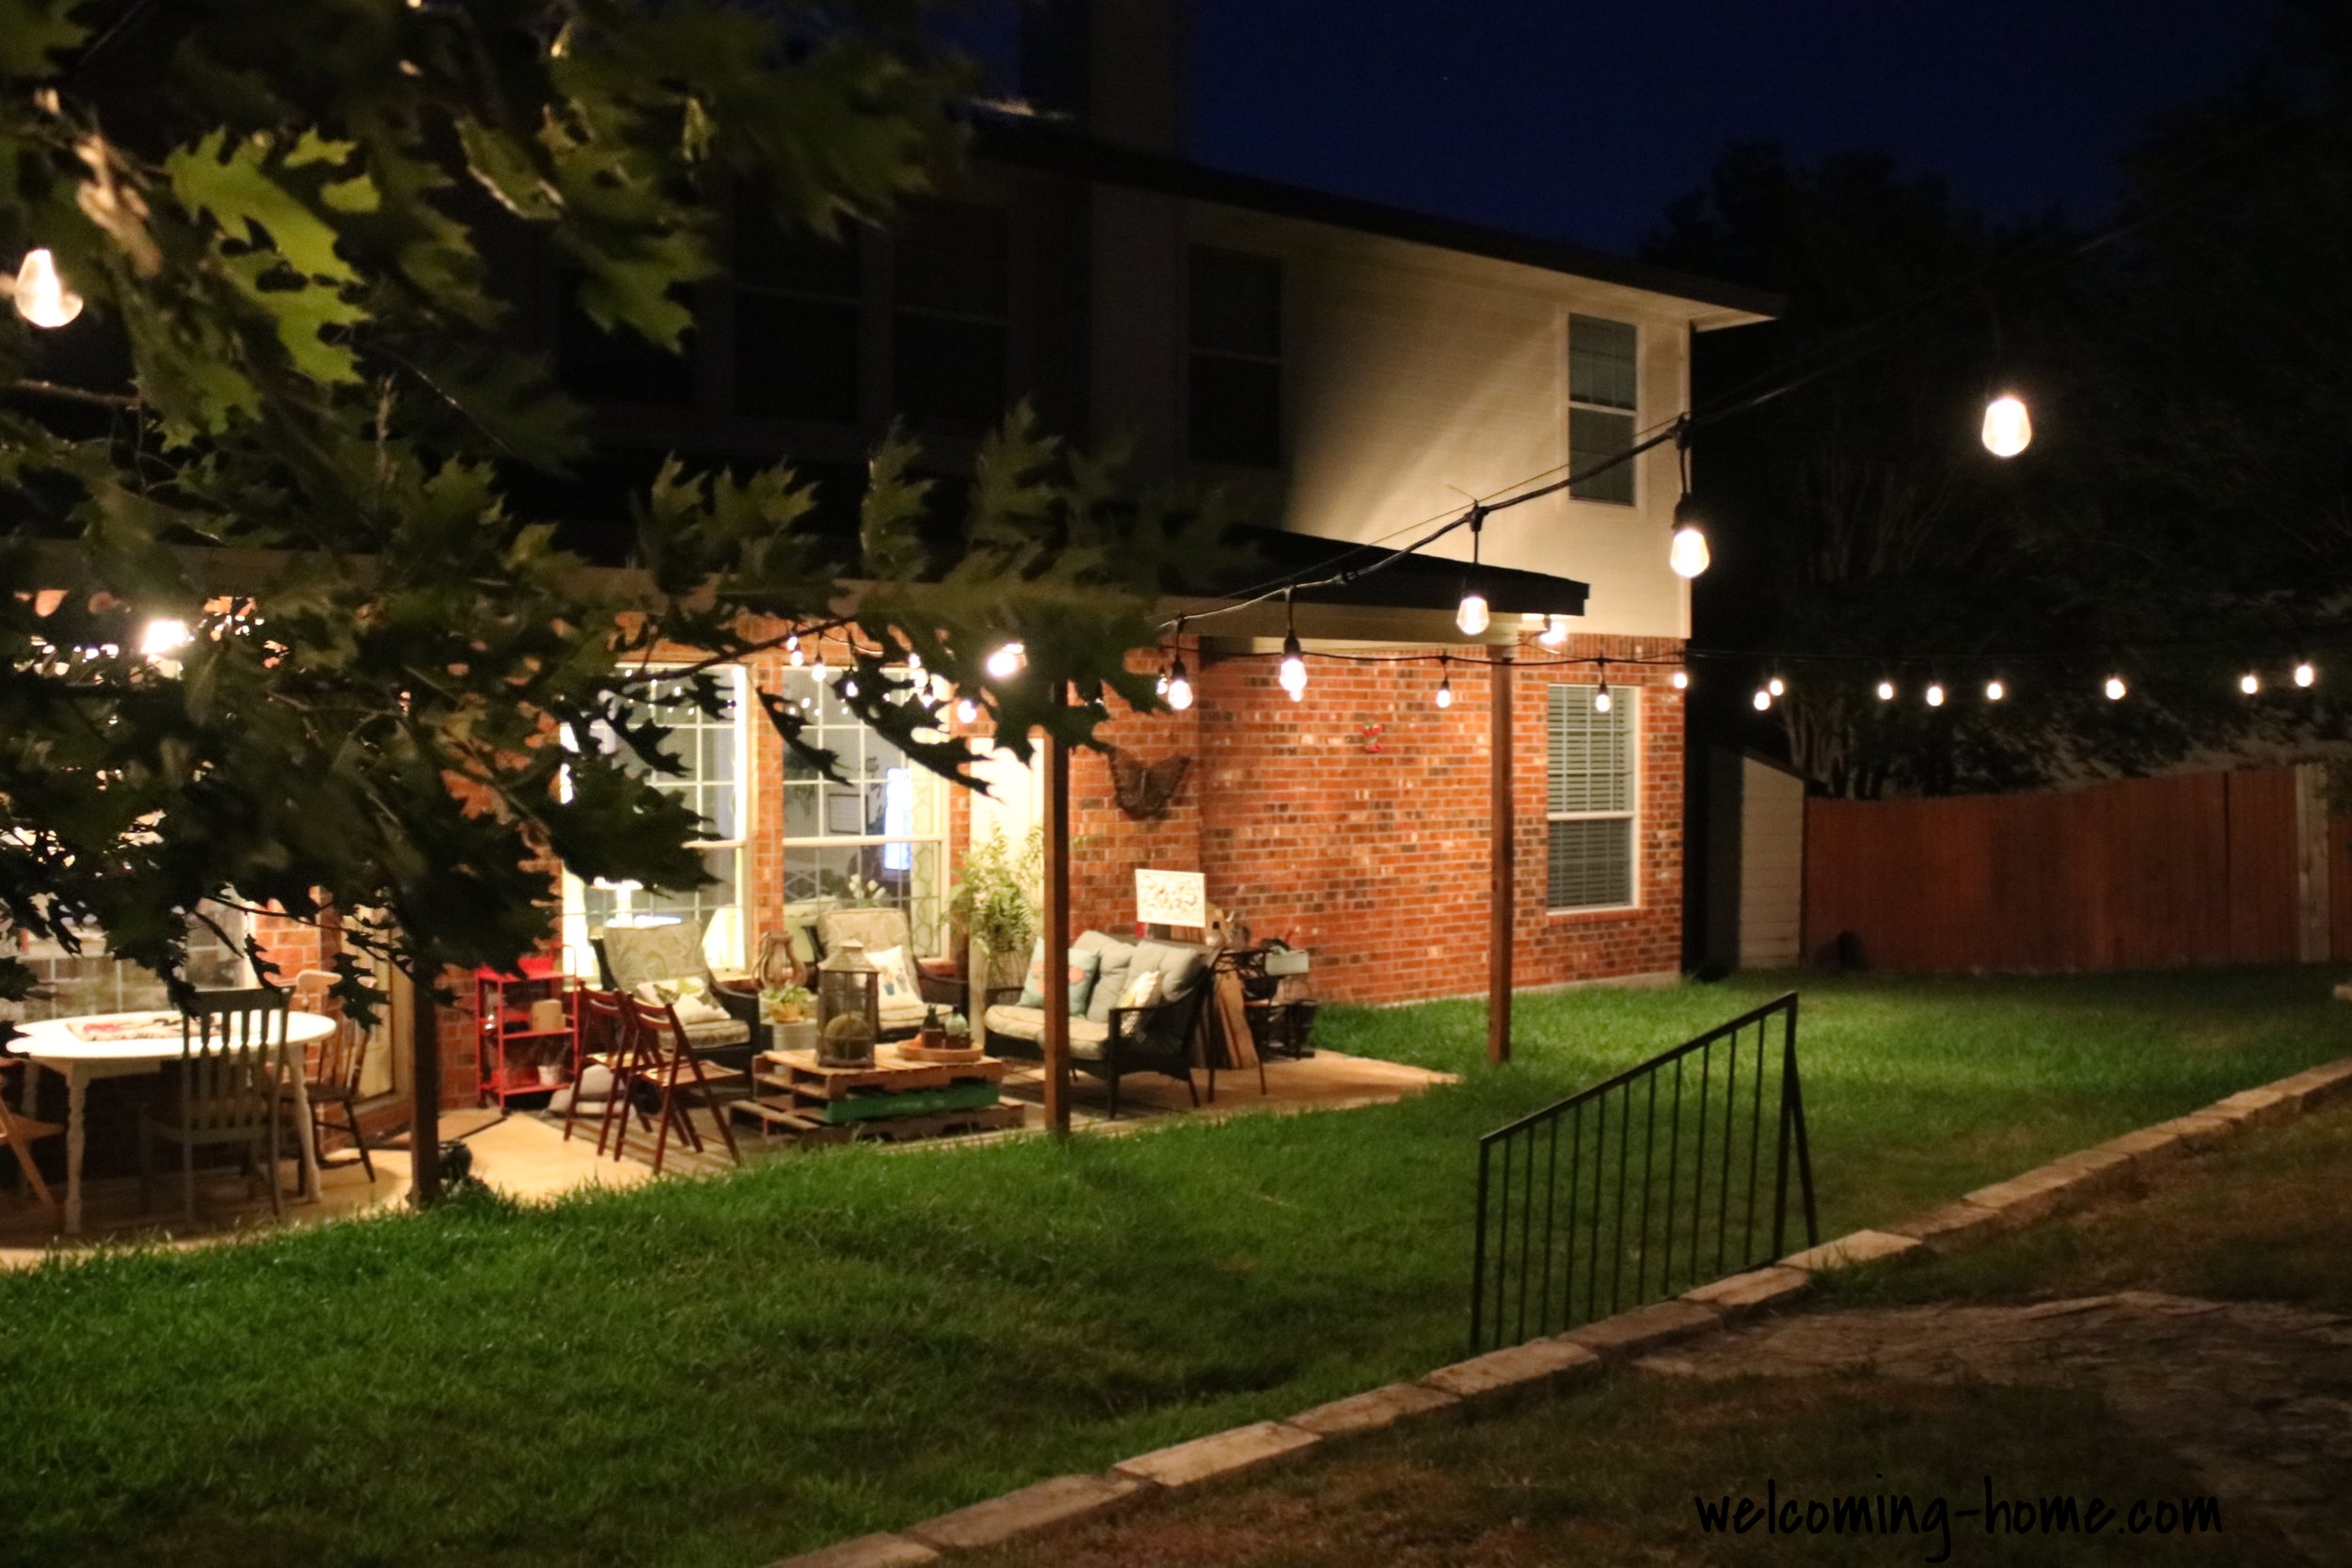
Ok so here's the project completed. What do you think? We had my son's graduation party out here, it was perfect. I'm so happy to have these lights up. Sometimes when no one is even out on the porch I like to just turn them on. It's just so cozy to me. I would highly suggest this project. Overall it was really easy, I do hope that the choices we made helps you with yours. Feel free to comment or email me if you have any questions.
Until next time... one step closer to a Welcoming Home!

