

Have you ever shopped for a topiary? There are so many different styles and sizes. I decided I needed one to help Springify my living room. Join me as I give you 5 easy steps to completing your very own unique topiary.

DIY Faux Topiary
Here's my easy peasy steps to completing your very own topiary
First Step
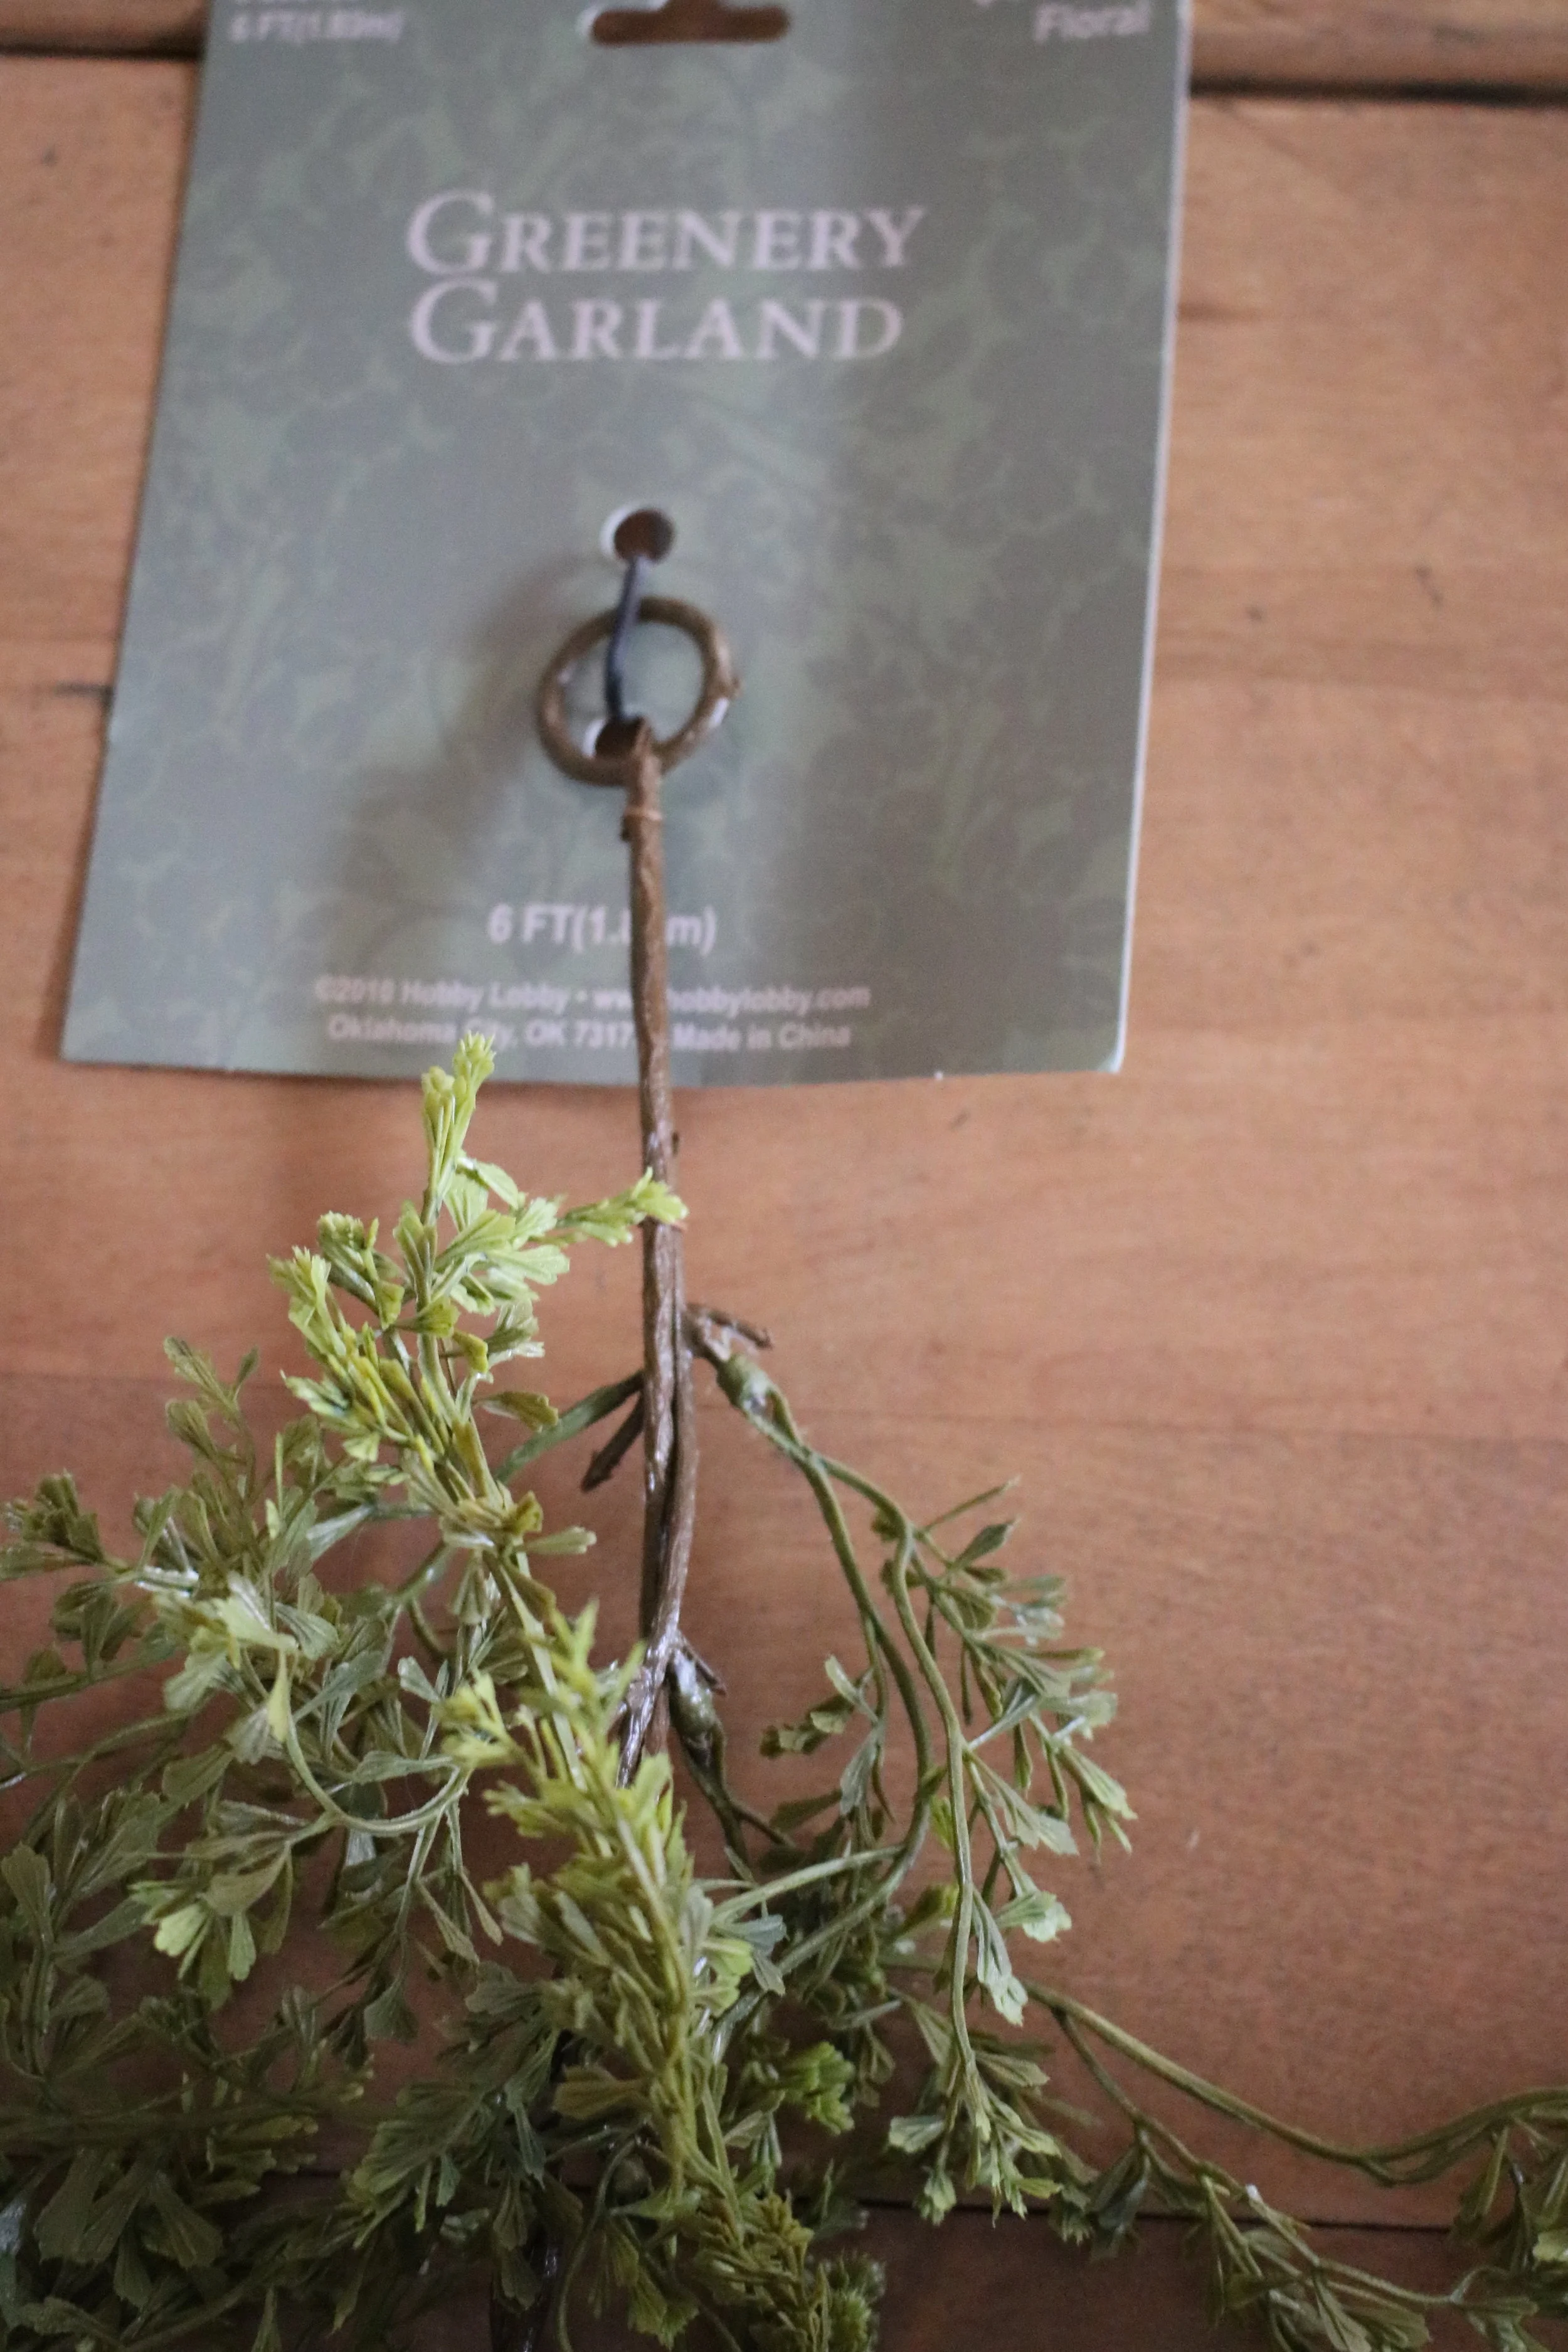
Take a trip to your local hobby lobby, make sure its on a day there's a sale on garland.
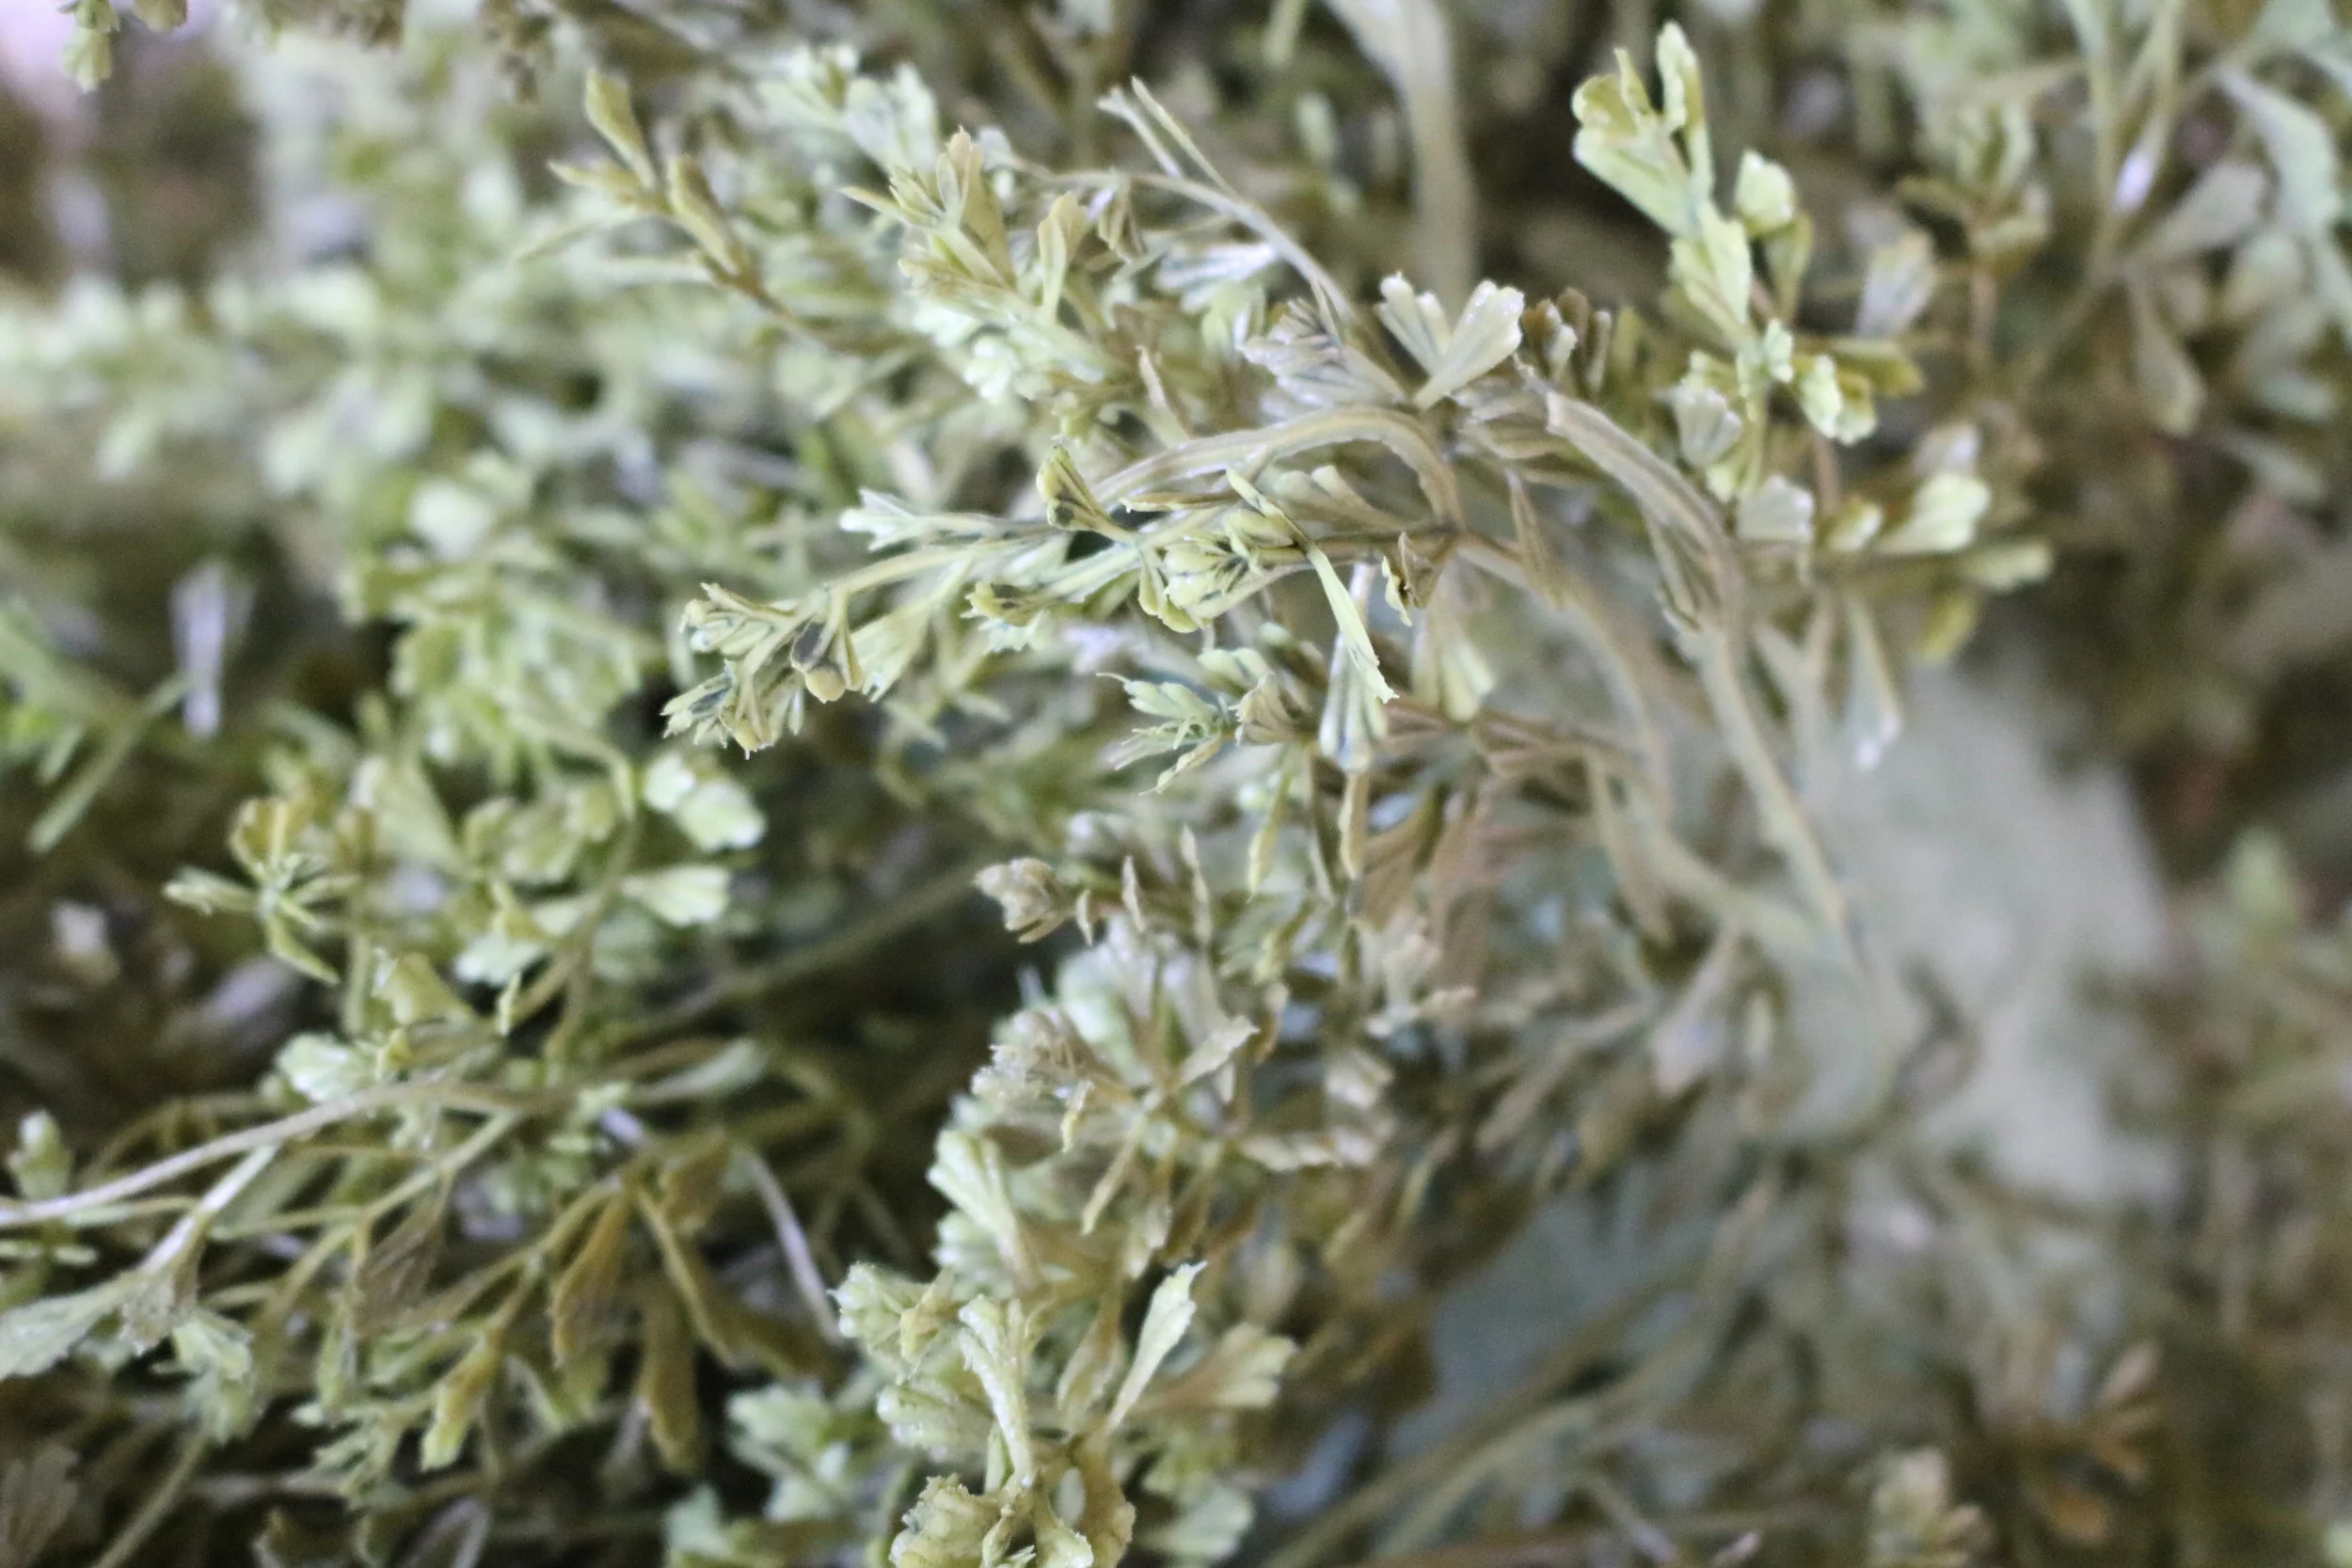
Look for one like this, they didn't have names or I'd tell you which one to get. The main thing is to find one that has a lot of stems to it. This one has really long ones that I can cut into 3rds to make additional stems.
If Hobby Llobby has them, grab a birch stick. I had bought a bundle of these around Christmas time. If you don't want to buy one. Head outside for a nature hunt. I'm sure there's the perfect stick waiting to become art.

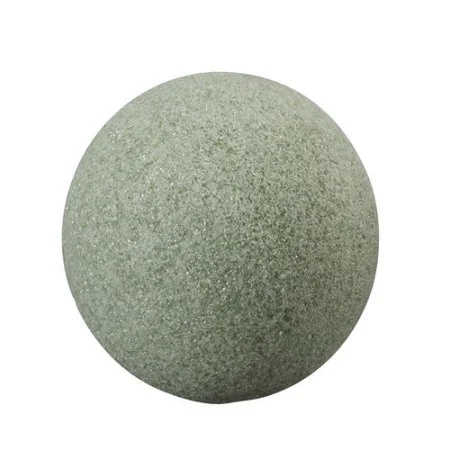
You'll also want to grab a green Styrofoam ball by floracraft from Hobby Lobby that is 6in in diameter. You really don't want to go bigger than that unless you want it really big for a topiary on the porch or something.

DIY Faux Topiary STEP 2
Cut the garland to desired length. As I mentioned with this garland I was able to cut many pieces to the size I needed. I then inserted them into the styrofoam ball. You just need to push them in. Like shown in this picture. Make sure to leave enough room on the bottom of the ball to insert the stick for the topiary trunk.
As your inserting the stems don't feel like you need to place them right up next to each other, leave some space. If you don't you won't have enough garland to complete the project.

Step 3 DIY Topiary
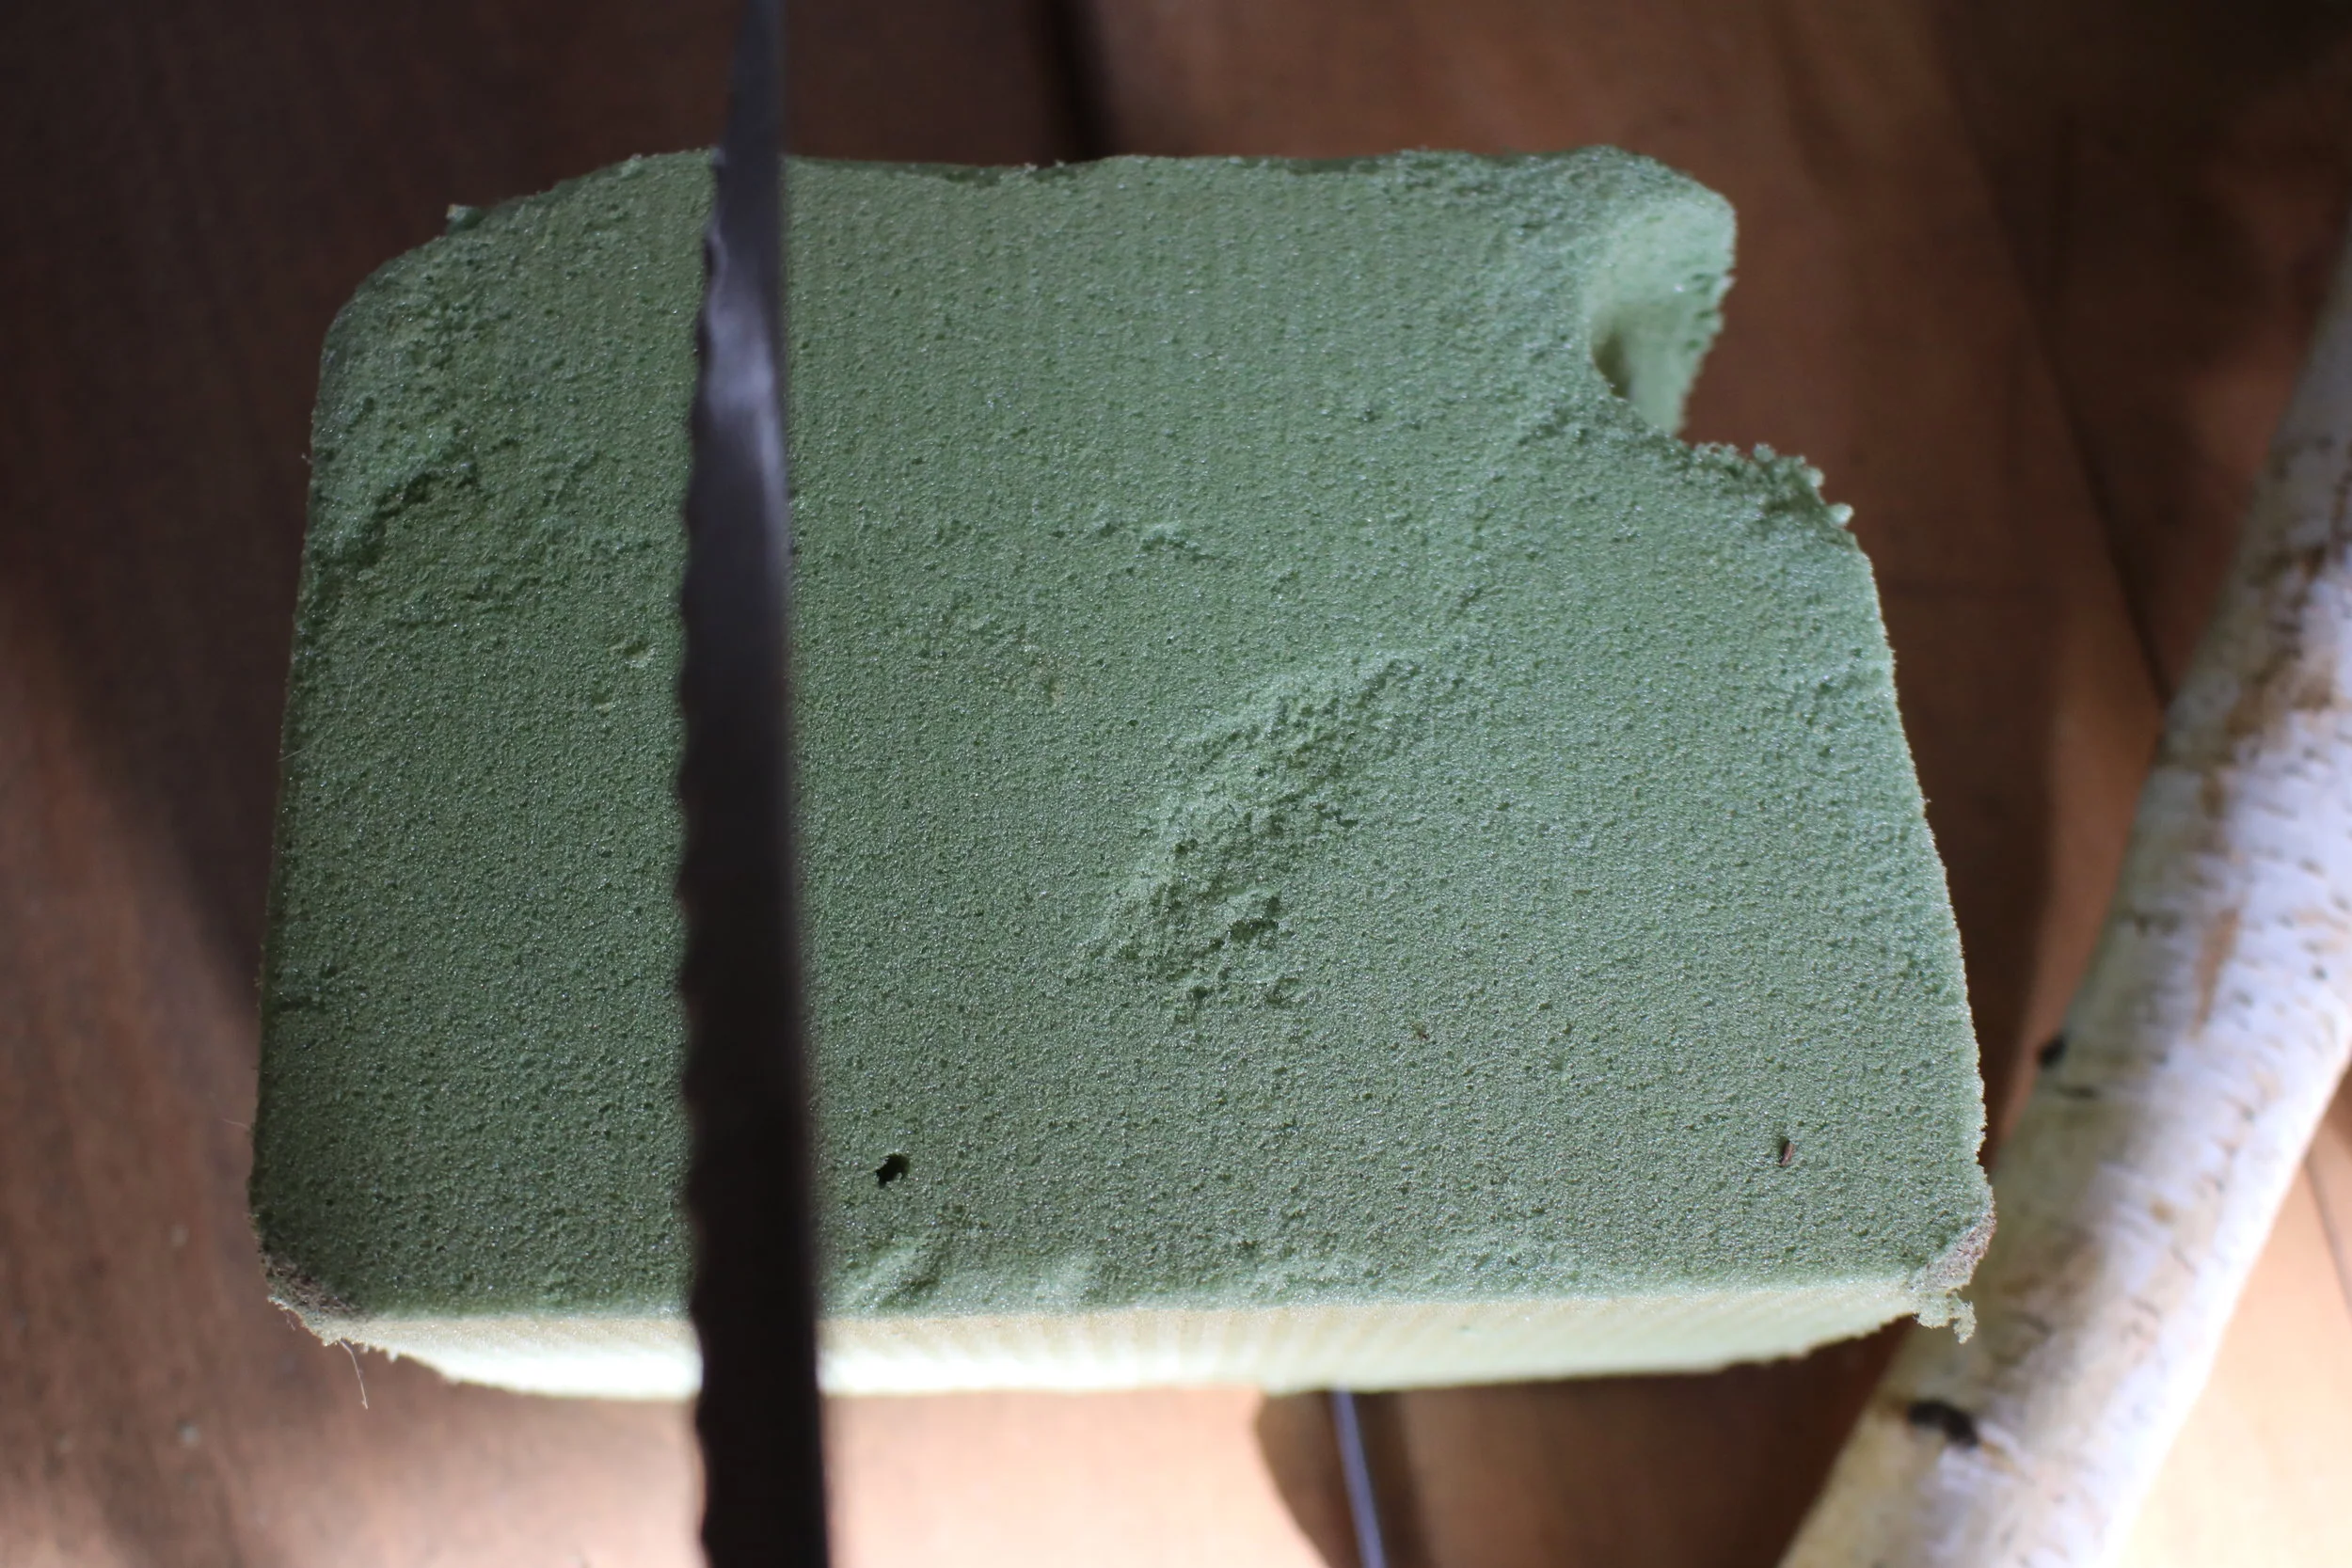
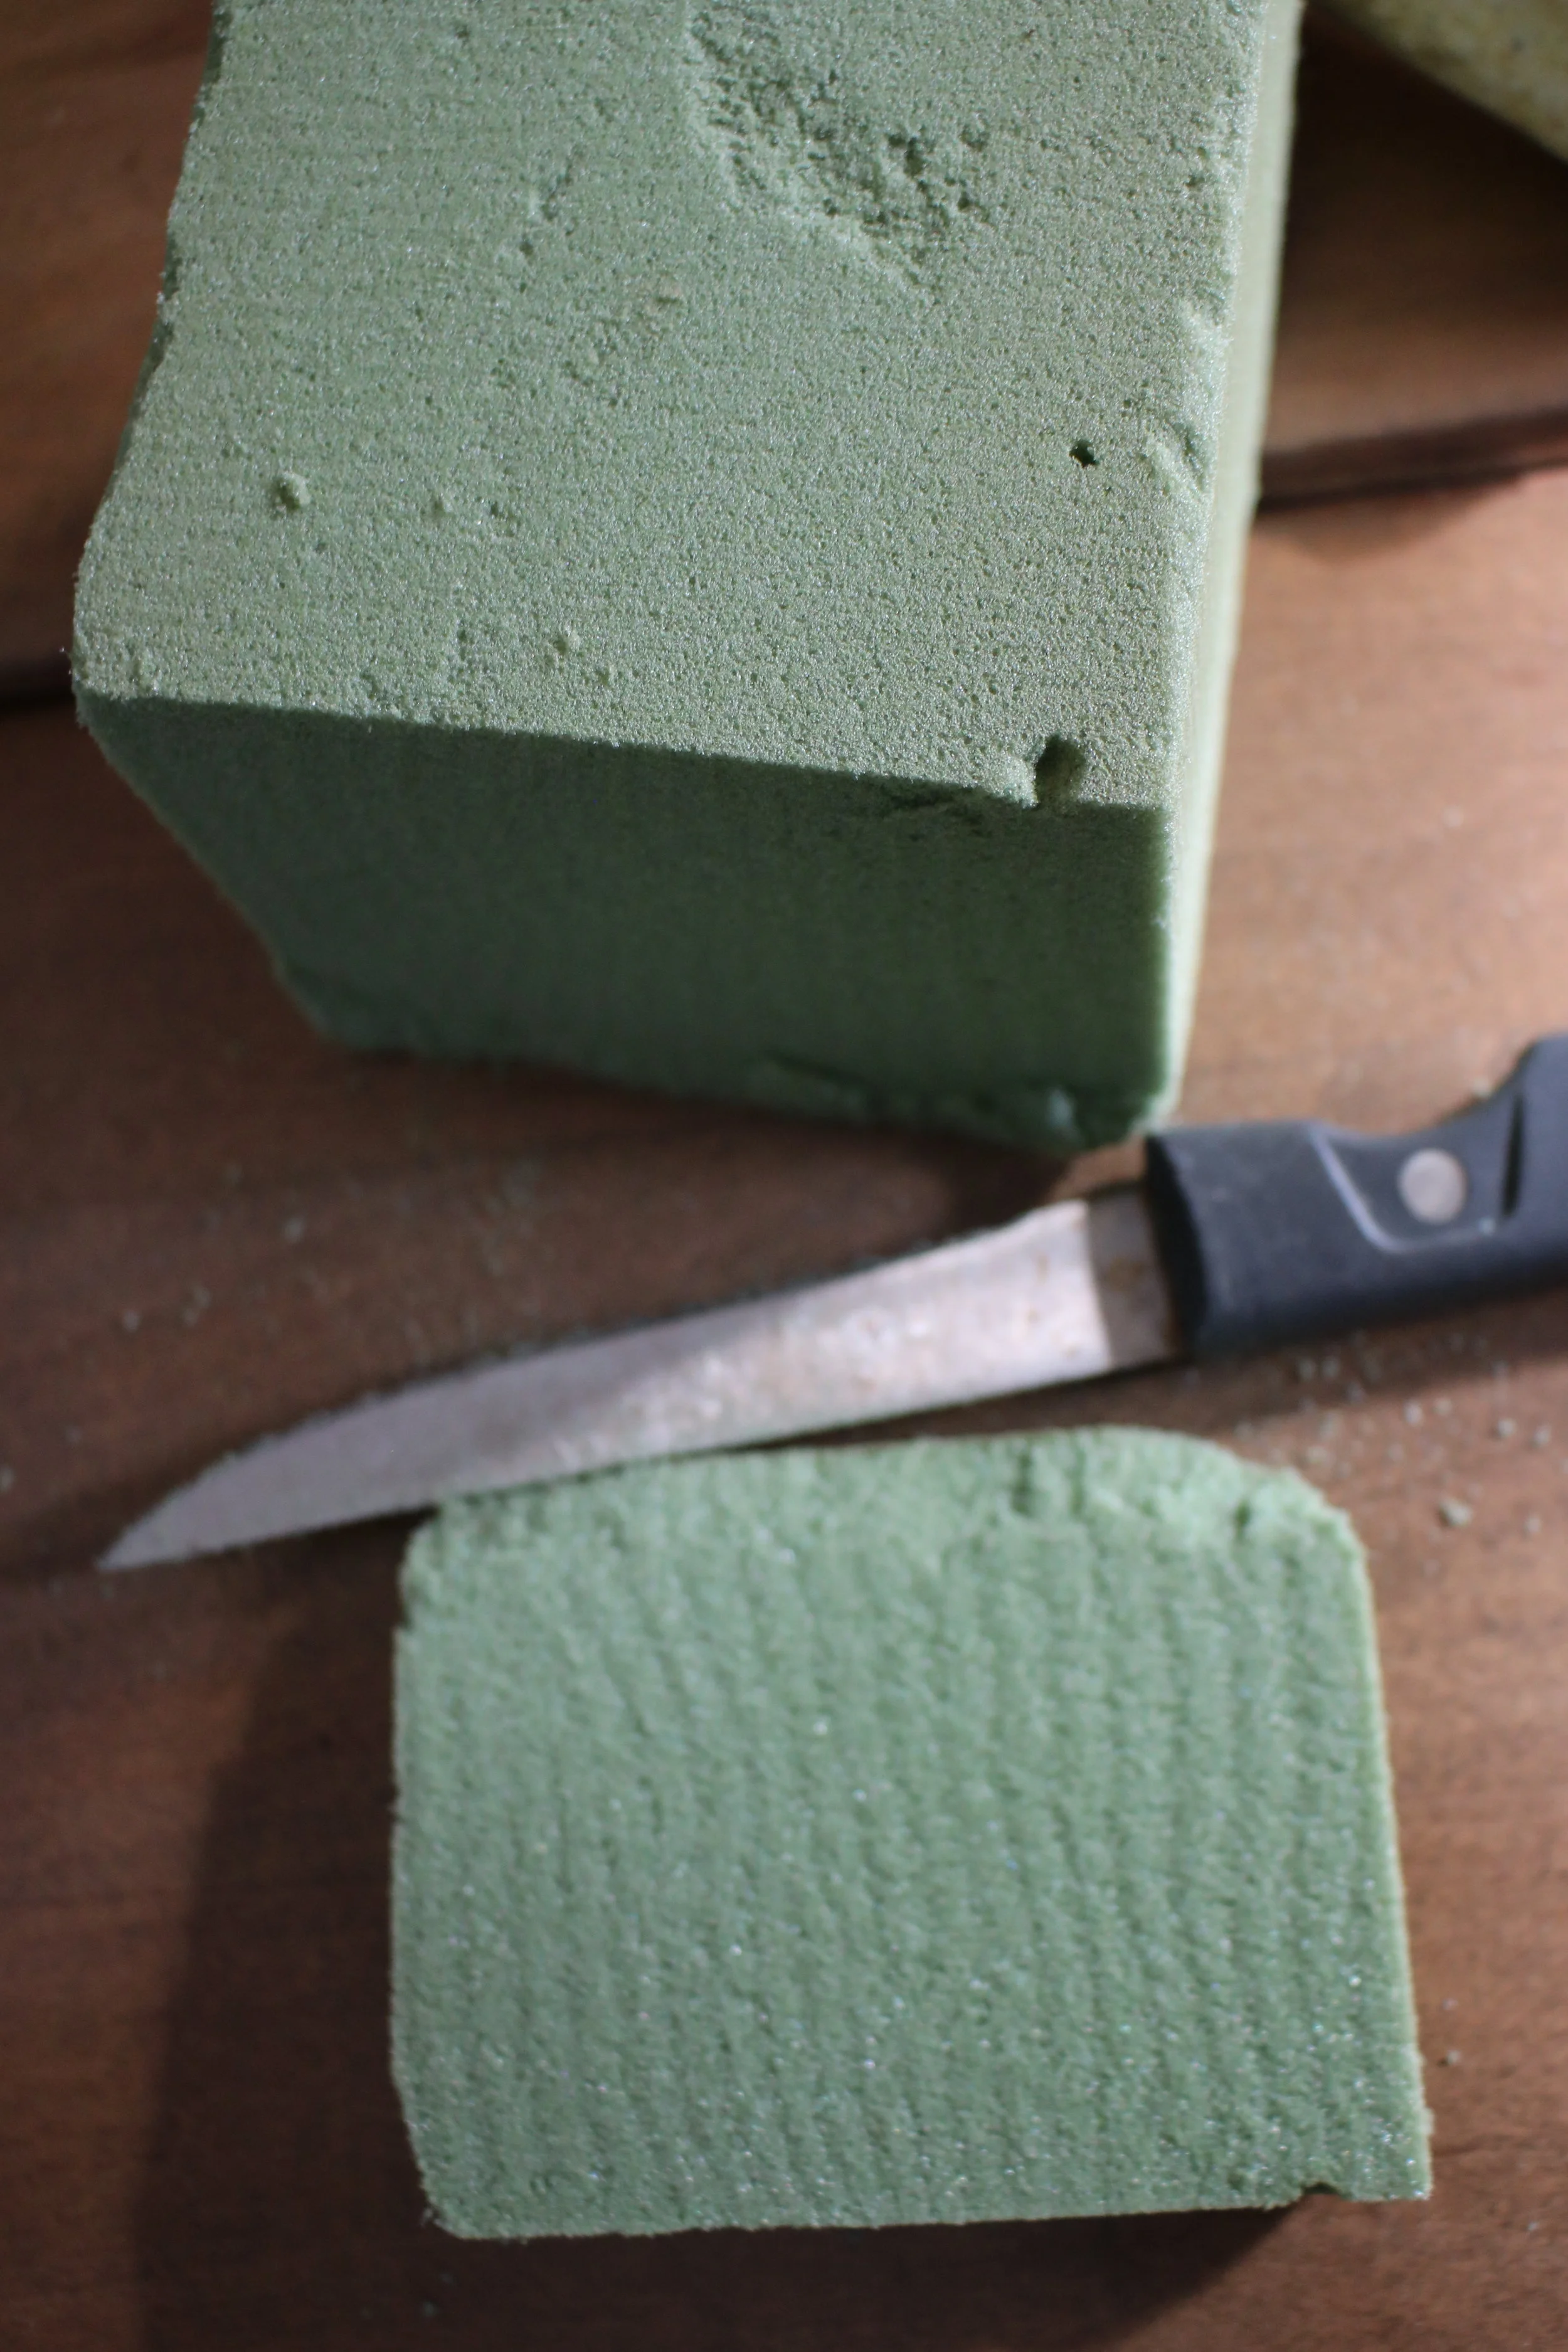
Floral foam will be used in the base of the pot for the topiary to rest in.
I had some of this lying around but if you need some they can be found at any craft store.
You'll want to cut yours to fit your pot. I like to use a steak knife to do it, because of the serrated blade. Makes cutting through it easy. Save your little pieces to fill the edges around the inside to give stability. As seen in the below pictures.
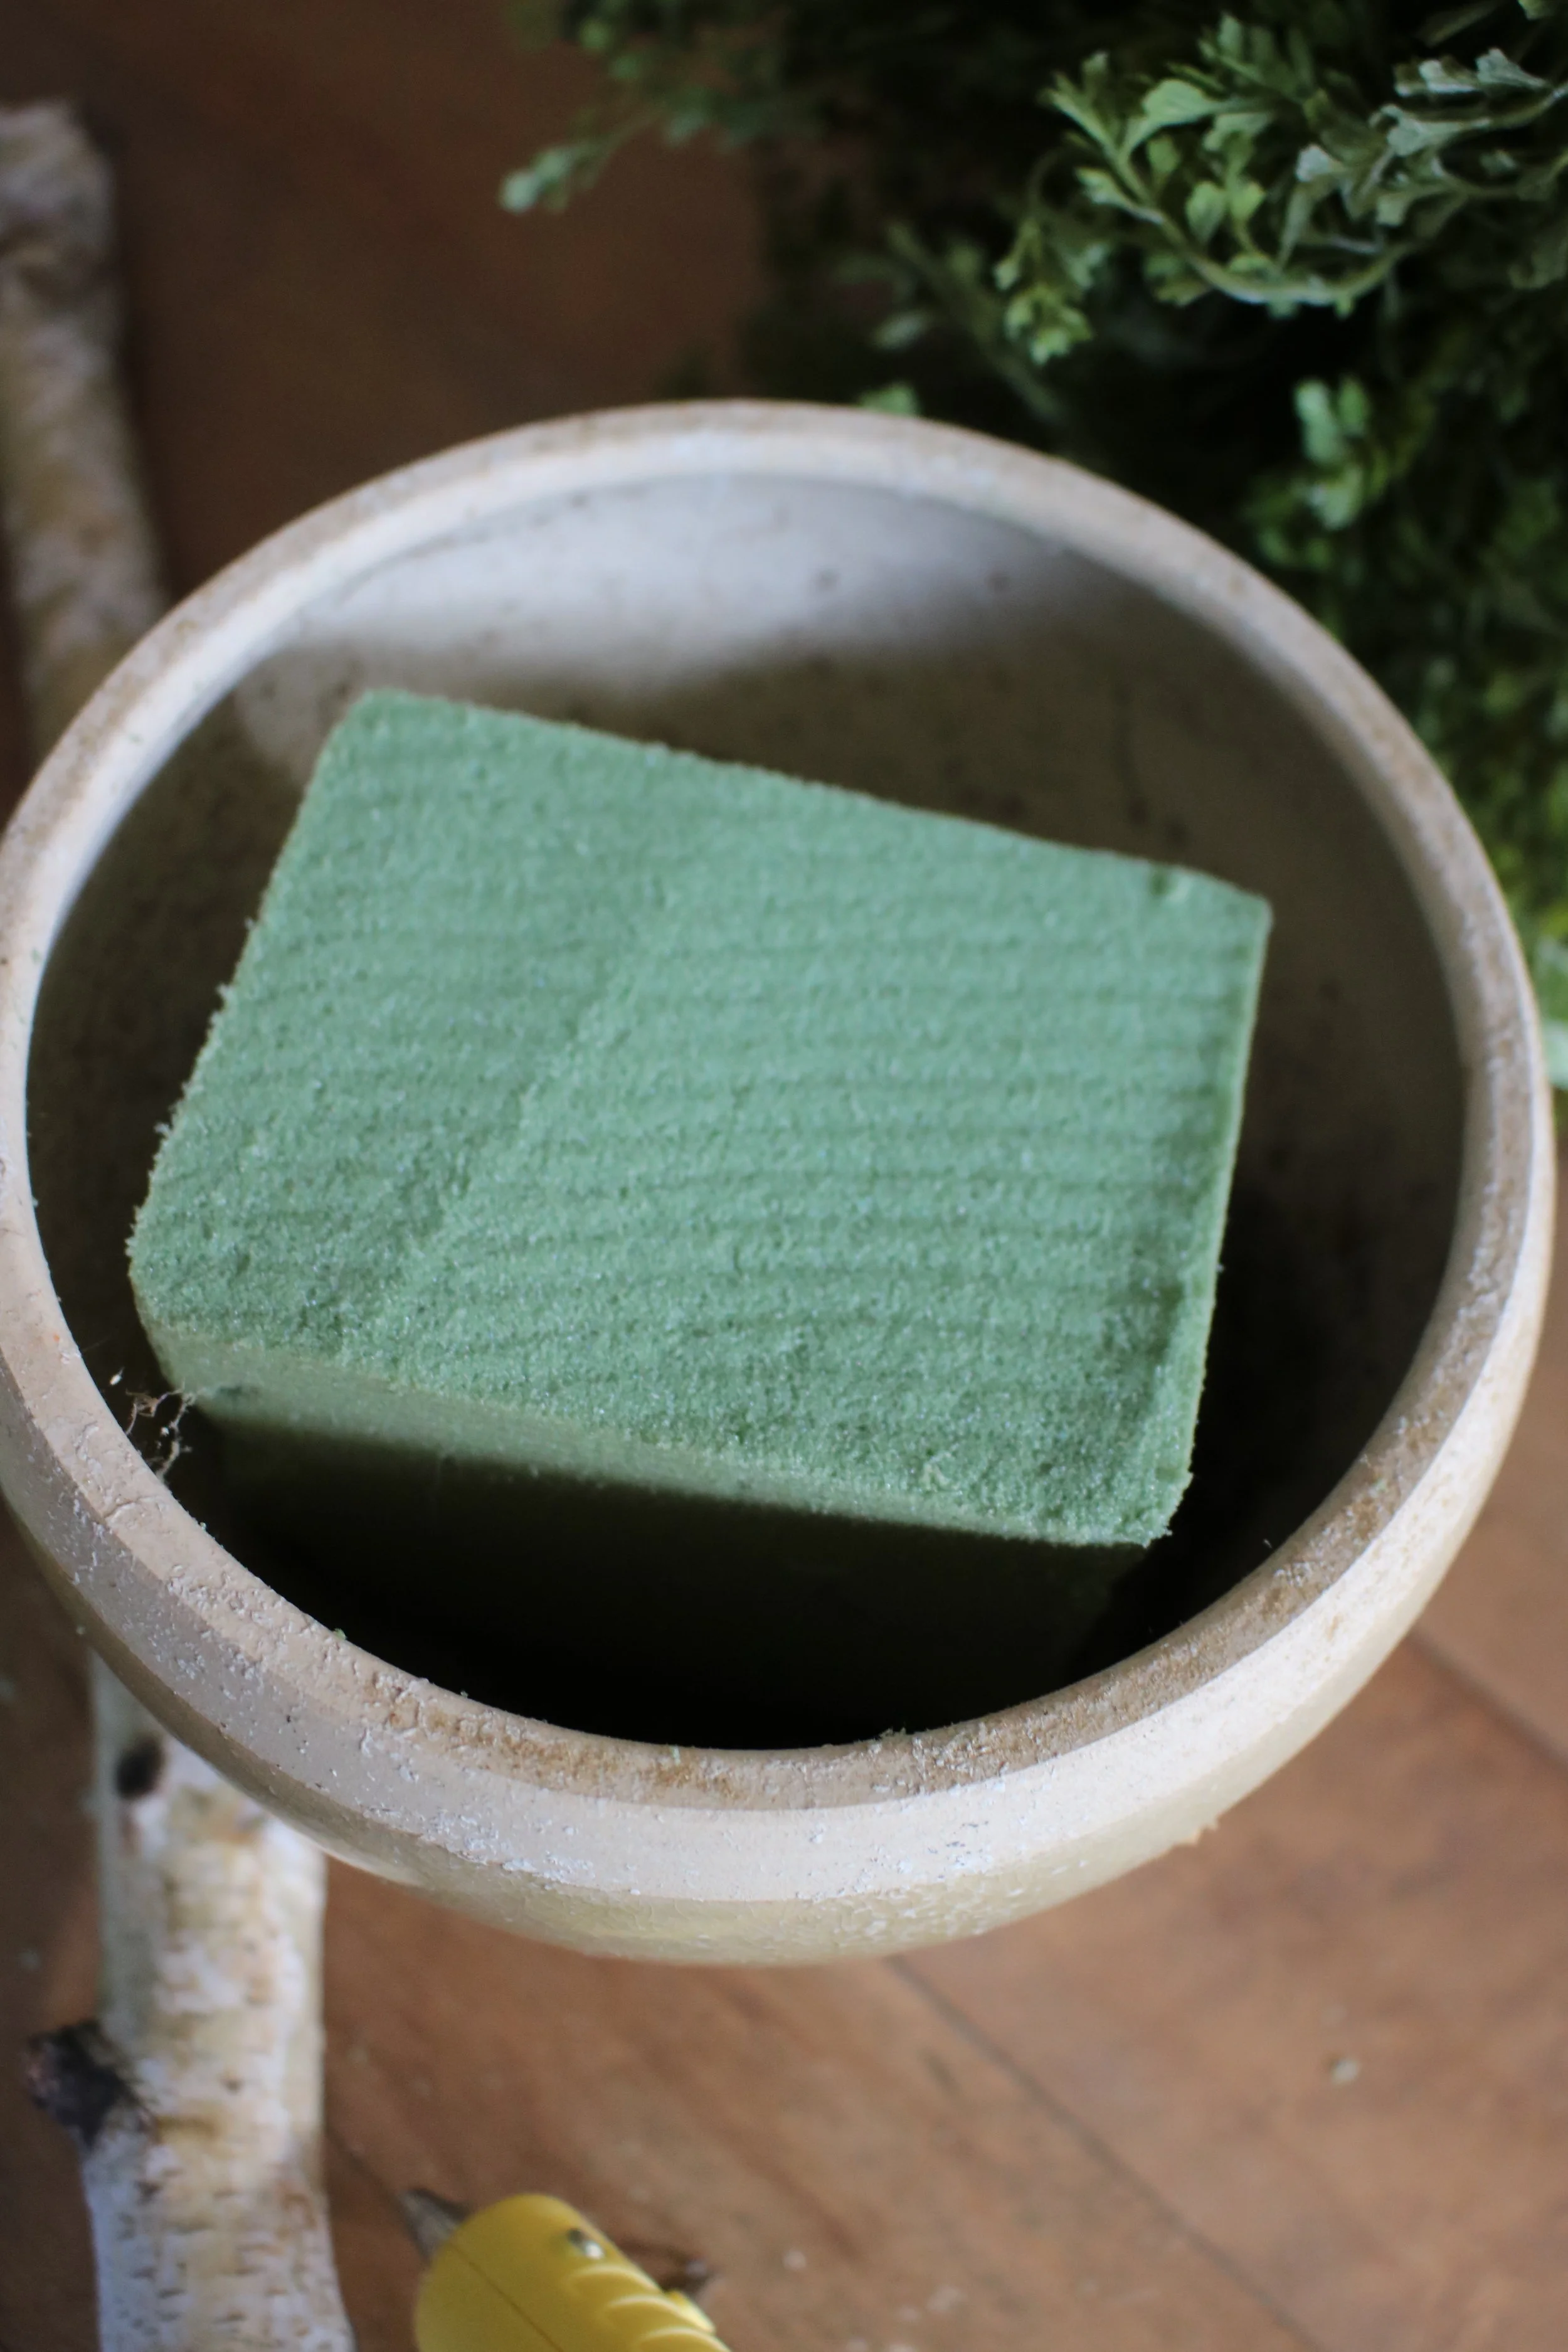
This pot I'm using I already had. Try looking around your home first before you shop. I always forget about what I purchased a long time ago.
Step 4 DIY Topiary
Grab some glue gun and put glue on the end of the stick then insert it into the base of your styrofoam ball.

Add more glue to the other side of the stick and insert it into the floral foam to set the topiary upright. Make sure to place in the center of the foam.


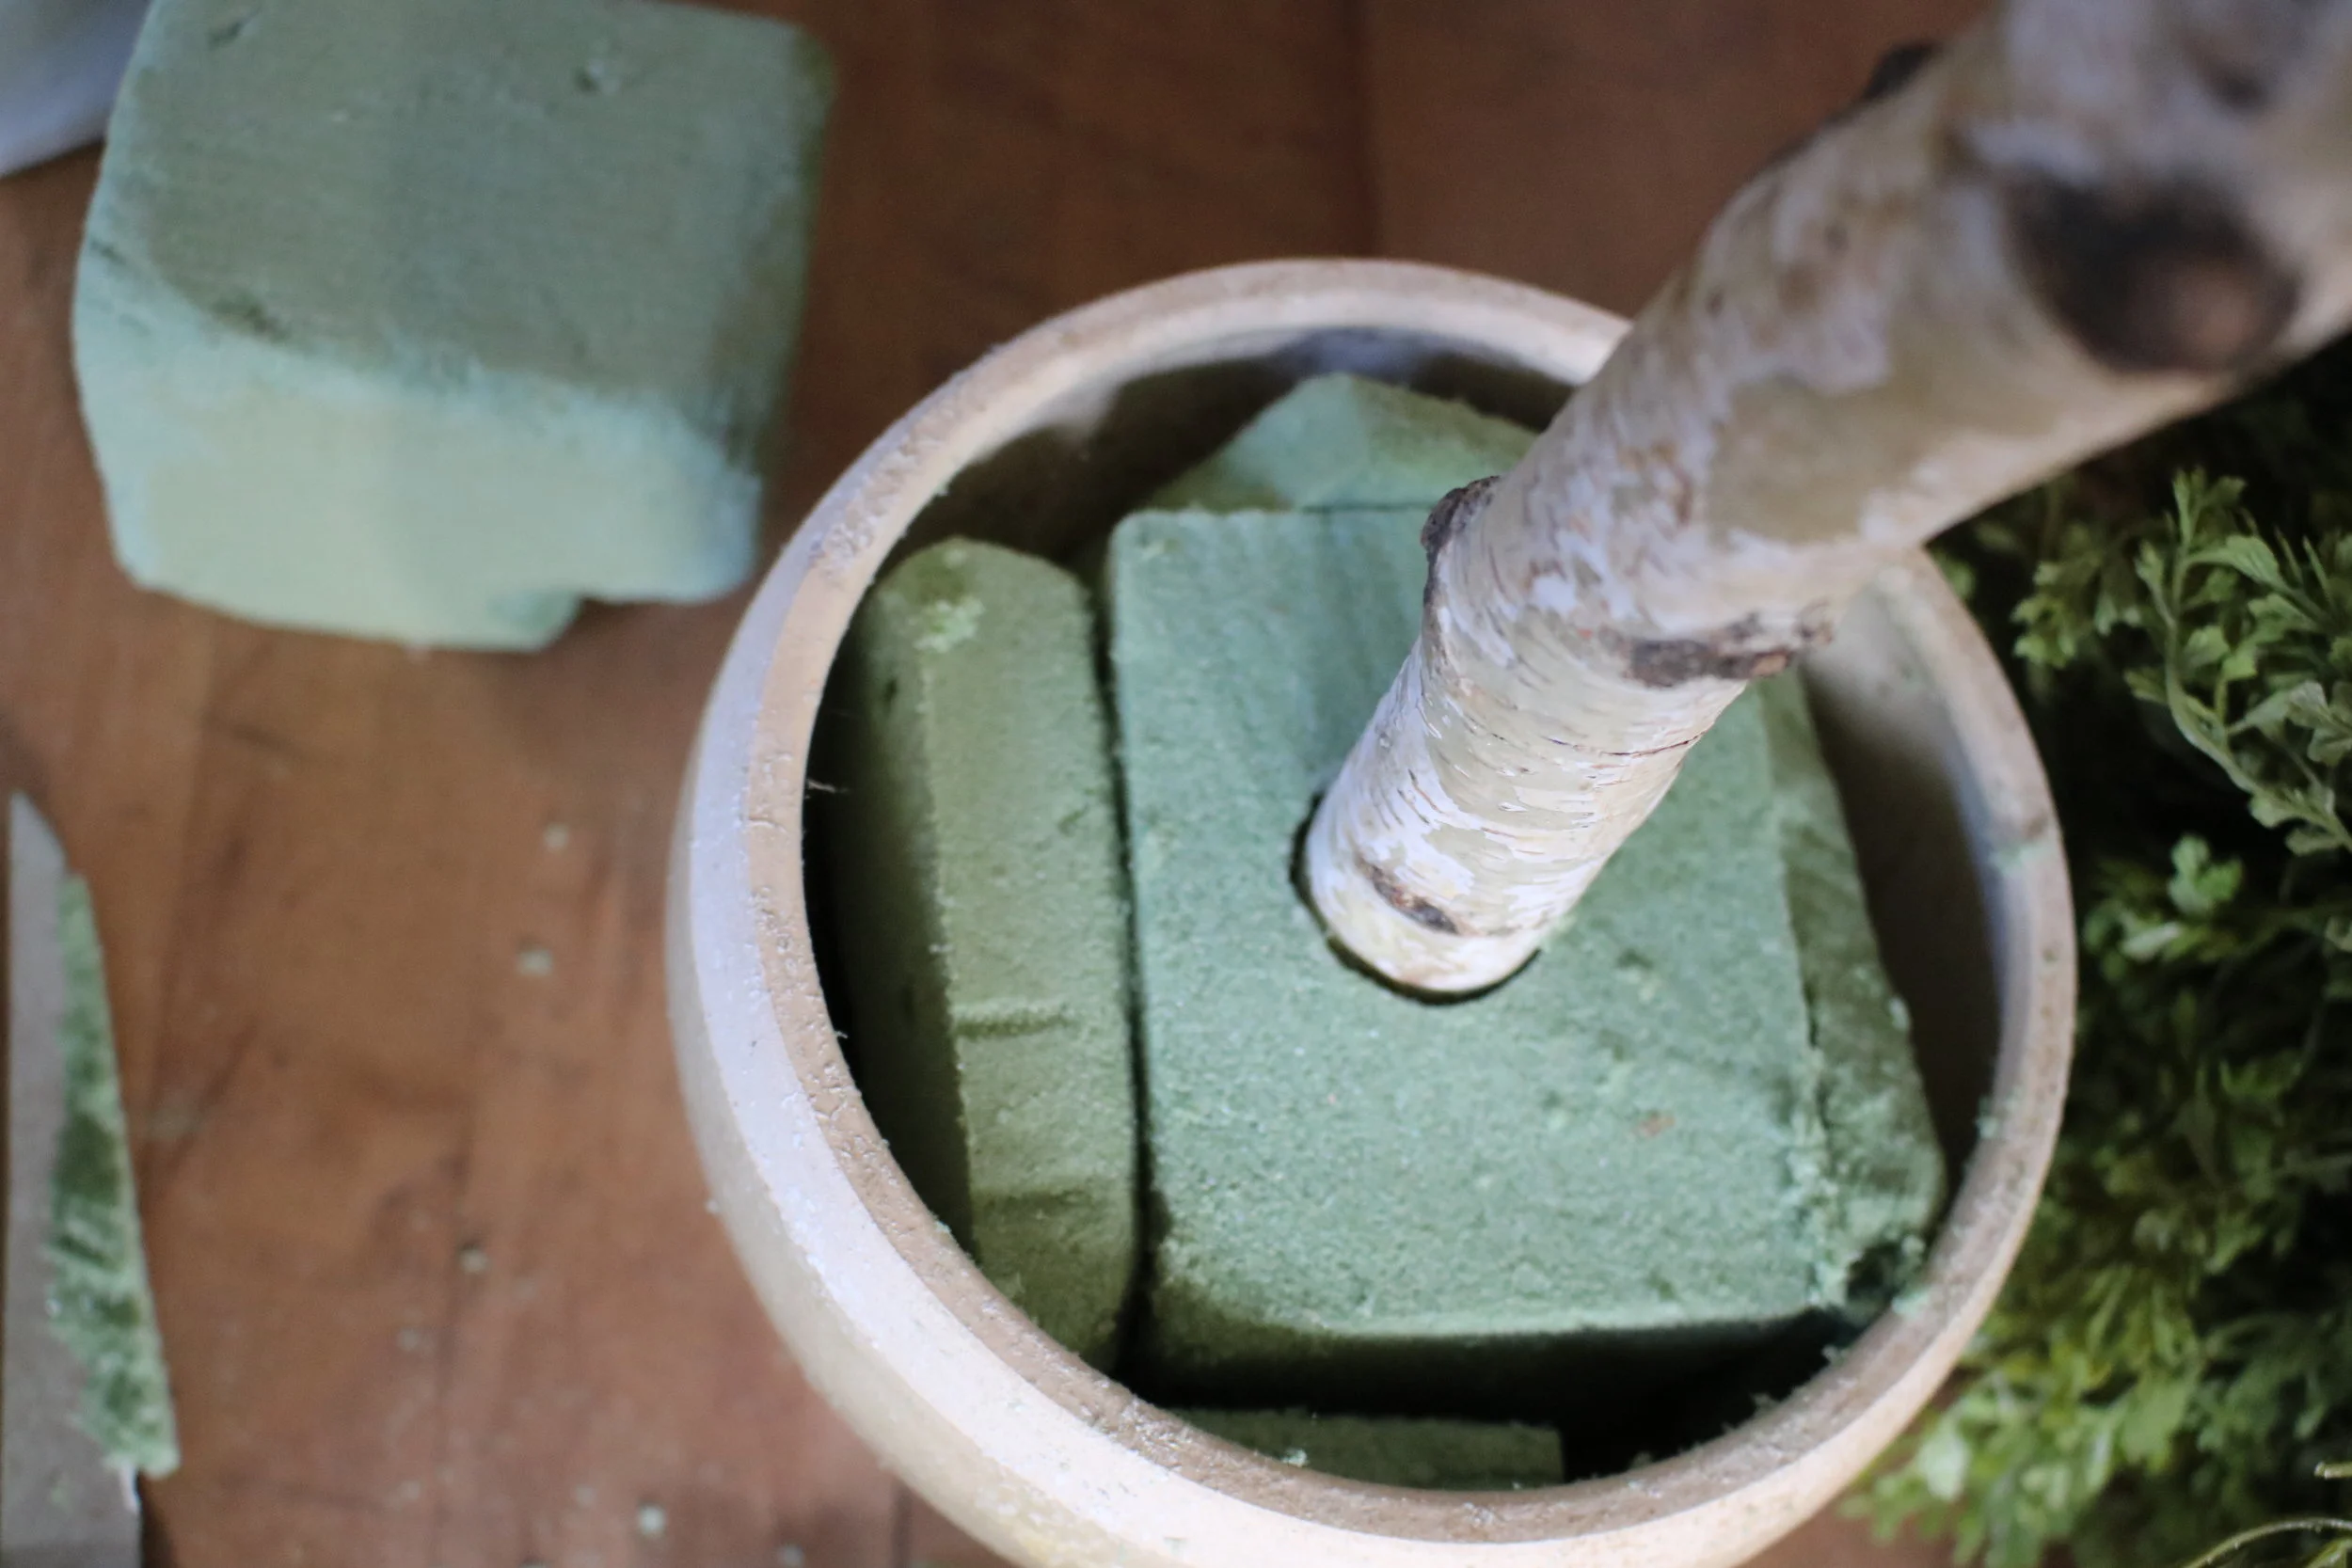
Fill glue all around the top of the foam at the base of the stick. This adds additional support. Finish if you haven't already by adding more styrofoam around the block to add support. It will need to be tight.

Last step for DIY Topiary
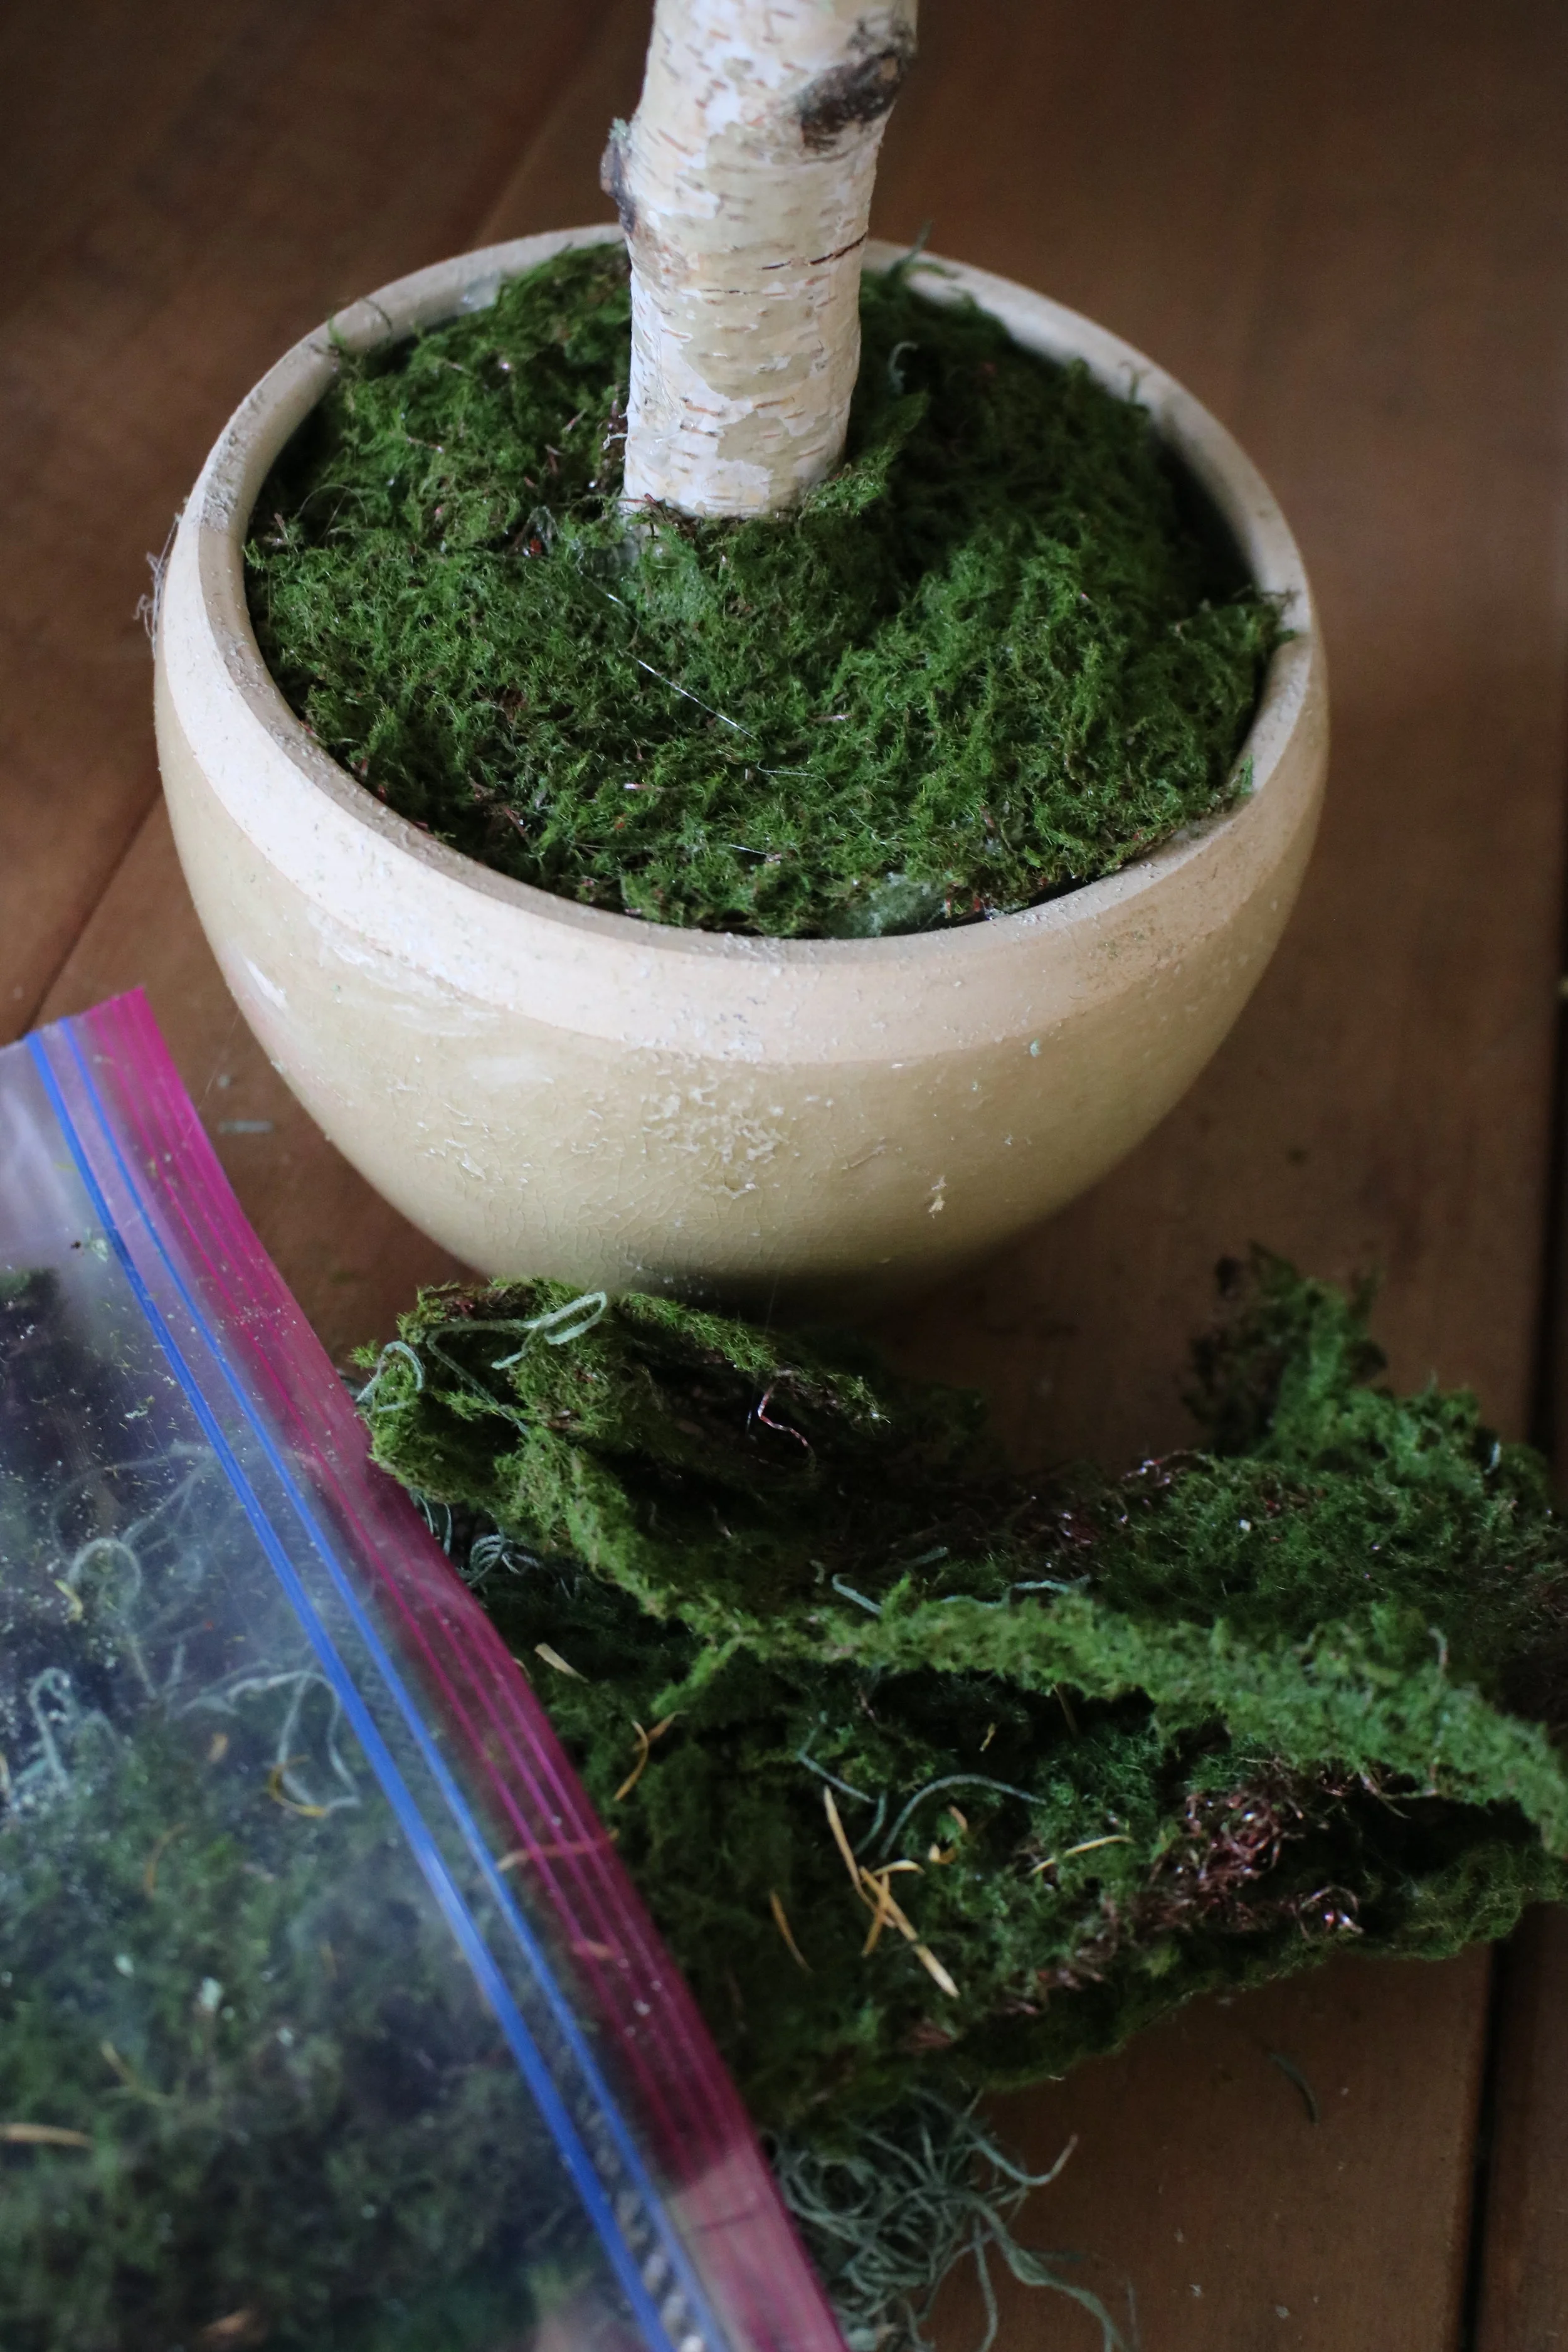
Use moss or like I did this sheet of moss that you can find at craft store. I got mine at Michaels a few years back for decoration. Place around base with glue and you've completed your topiary.
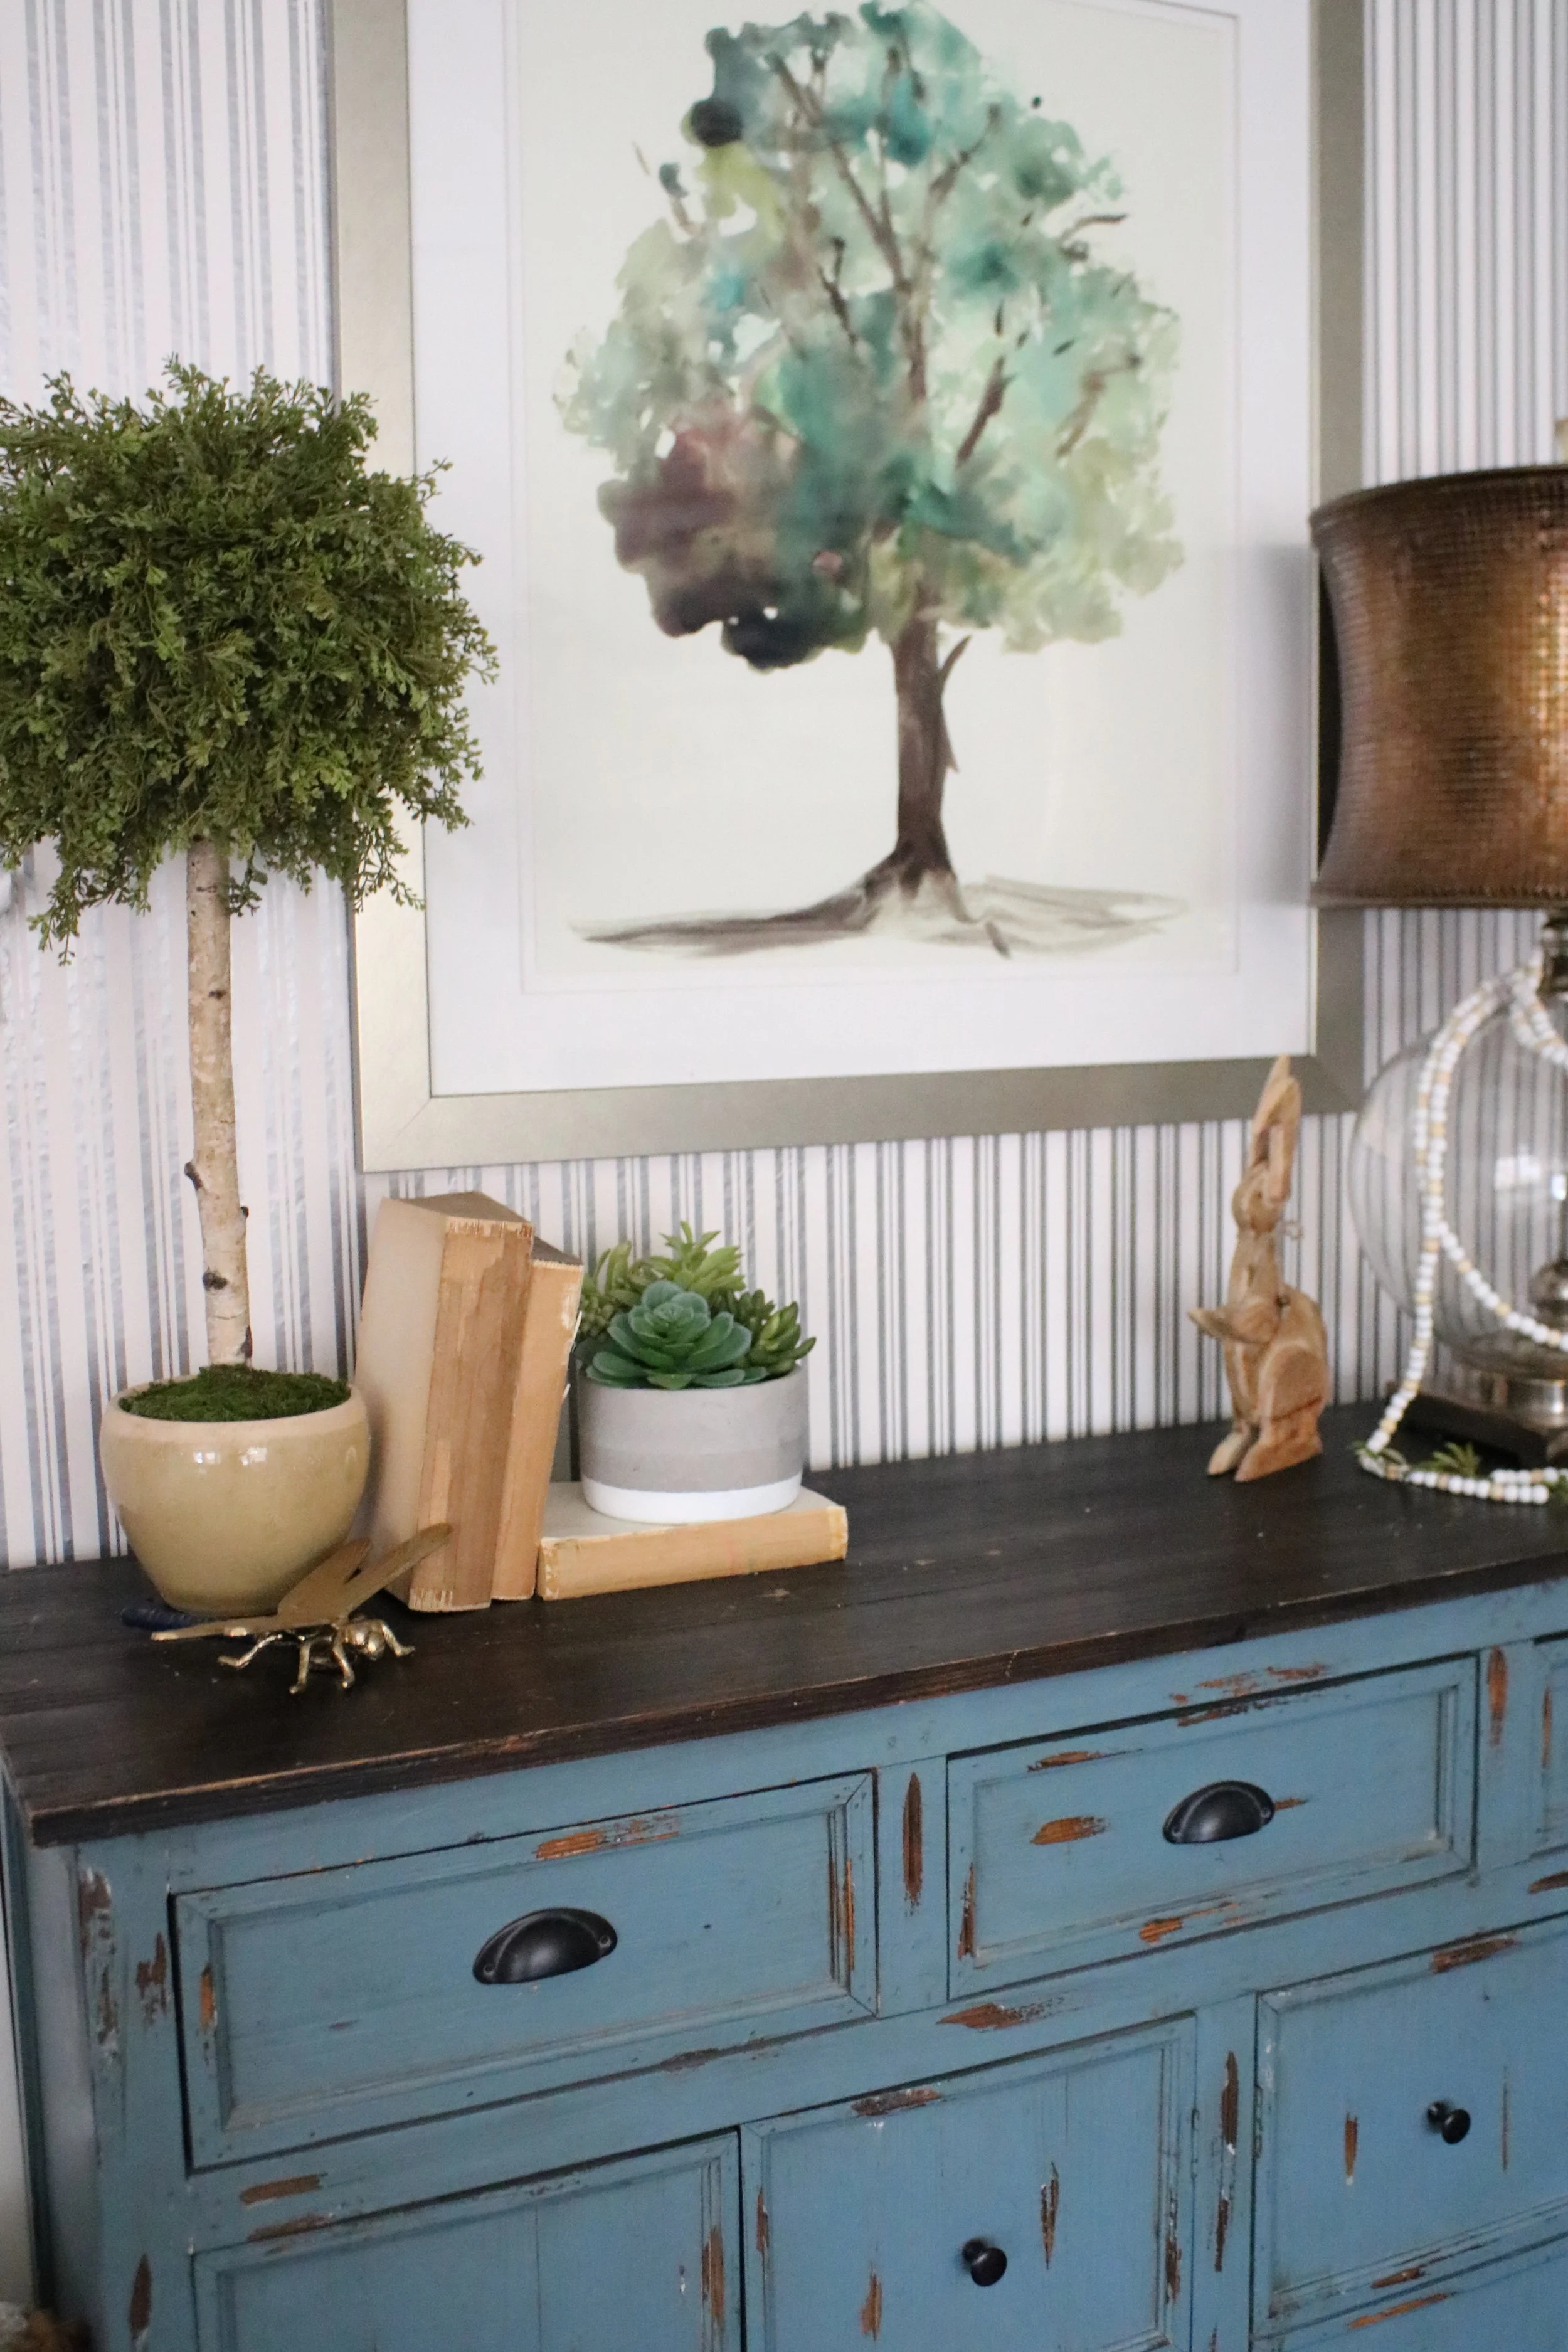
I just love the simplicity of it, its greenery that I can use all over the house as I move it around when decorating. I hope these DIY topiary steps were helpful for you. Let me know in the comments if you decide to try it.
As always thanks for stopping by. Be sure to follow me on Instagram and Facebook for daily inspiration.
Helping you create your Welcoming Home

